|
For anyone who's wondering how I edit my photos. These are editing techniques I use mostly for cosplay or human-subject photos (in other words, something like food or scenery doesn't get edited this much or even goes through these techniques/tools). So of course, go through and pick out all the photos that are keepers and will move on to the editing phase. I use Photoshop Elements 8.0 to edit my photos. The photo I'm using in this example is a photo I took of my friend and cosplayer, Courtneykissme, in her Arcade Miss Fortune (from League of Legends) cosplay. 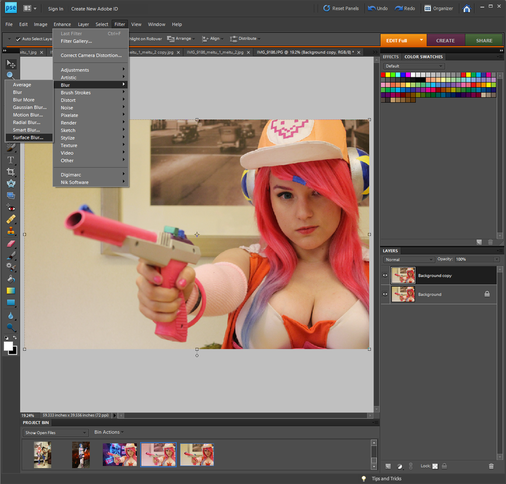 So one of the things I like to do is create super smooth skin to make it look as if the photo is a digital painting or straight from the anime/video game (some great examples--and editing skill goals--are the amazing and professional shot Lightning--from Final Fantasy--cosplays photos you'll see around the internet). This is how I achieve that effect or something similar to it. Duplicated the original image into a new layer. Right click on the image and select Duplicate Layer. Make sure the new layer is selected. Then hit Filter -> Blur -> Surface Blur 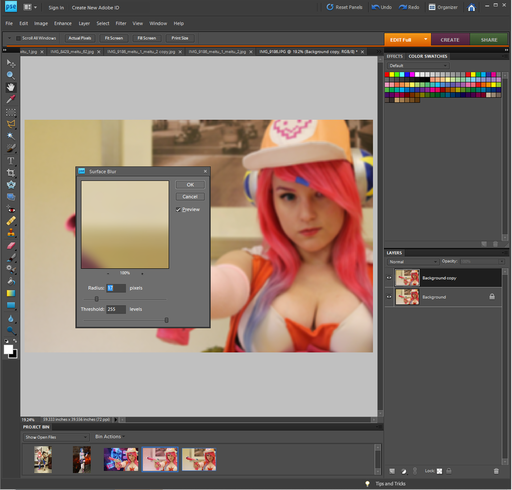 Once you've selected Surface Blur move the threshold slider all the way to the right, maxing out the numbers. From there adjust the radius glider so that the face appears blurred but still recognizable. 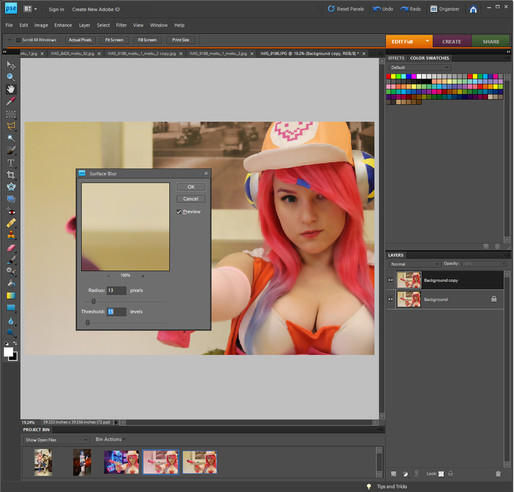 Once you've set the radius glider move the threshold glider to the left until the skin appears smooth but not blurred. It'll usually start looking right around the same number setting as the radius or slightly lower. Hit okay. 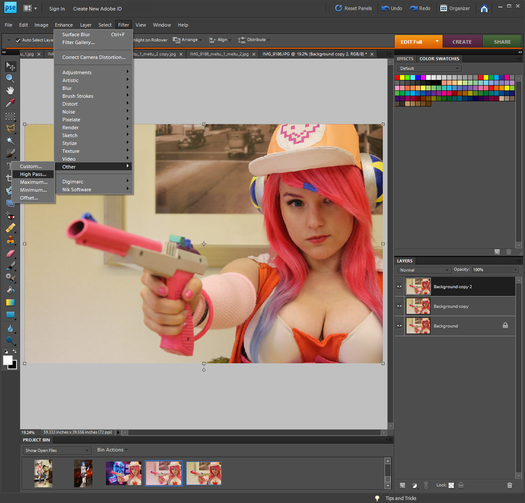 Make another duplicate of the original image and move it so that it is the top layer. Make sure that layer is selected. To add some definition and details back into the clothing articles and hair hit Filter -> Other -> High Pass.  From there adjust the glider so that you can see the details in the hair, skin, clothing. For this you're going to have to eyeball it. Try not to put the glider so far to the right the color begins to return (you'll see what I mean if you glide it to the right). Hit okay. 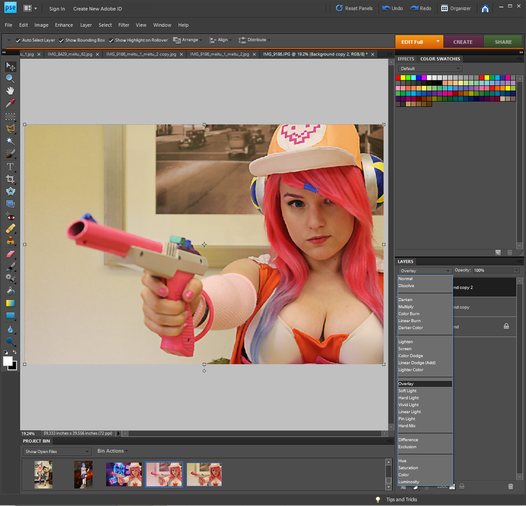 We don't want the photo stay grey. In order to change this go to where it says Normal and has a drop down menu above the layer listings. Click the drop down arrow and select overlay. 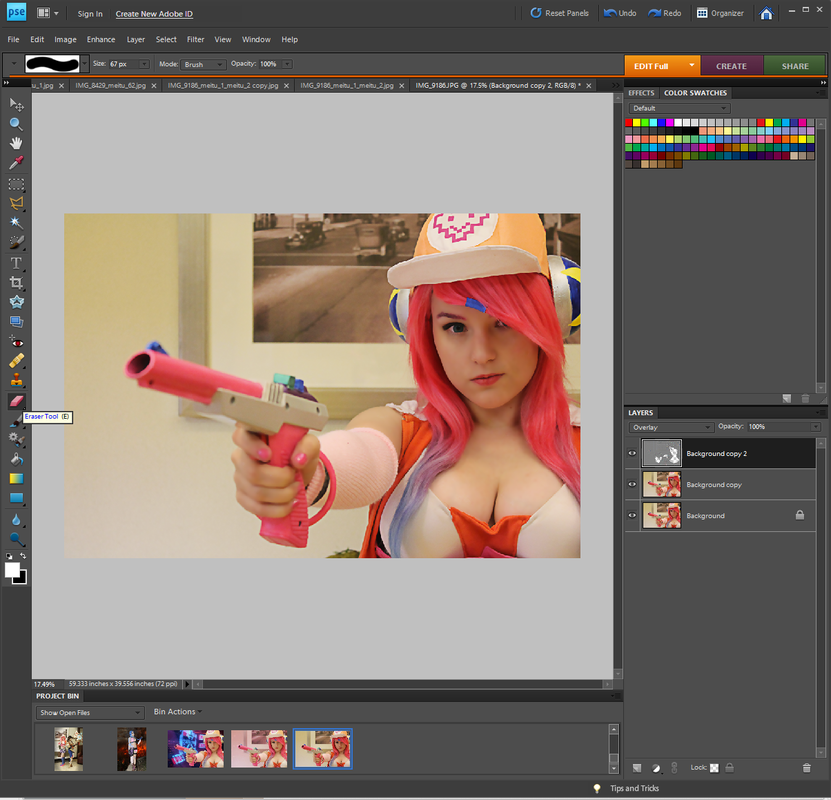 Everything will appear to have more detail and definition again, but I still want the skin smooth and almost-digital looking (aka I want the Surface Blur-ed layer to be what the skin looks like). Still working on the same layer (the High Pass-ed layer), select the eraser tool and begin to erase anywhere the skin is. Feel free to erase any other areas you want to appear smooth or have the effect it was given on the Surface Blur-ed layer--I just stick with the skin. Tip when erasing; work slowly. I avoid just erasing over large connected patches (such as the face and the neck) carelessly. I don't want the line of definition between two areas to fade and soften so I erase ever so slightly around them, avoiding the line itself. Example: I won't just scribble the mouse/tool over the whole face, I avoid the eyes, lips, brows and move around the nostrils and lines defining the nose and jawline. 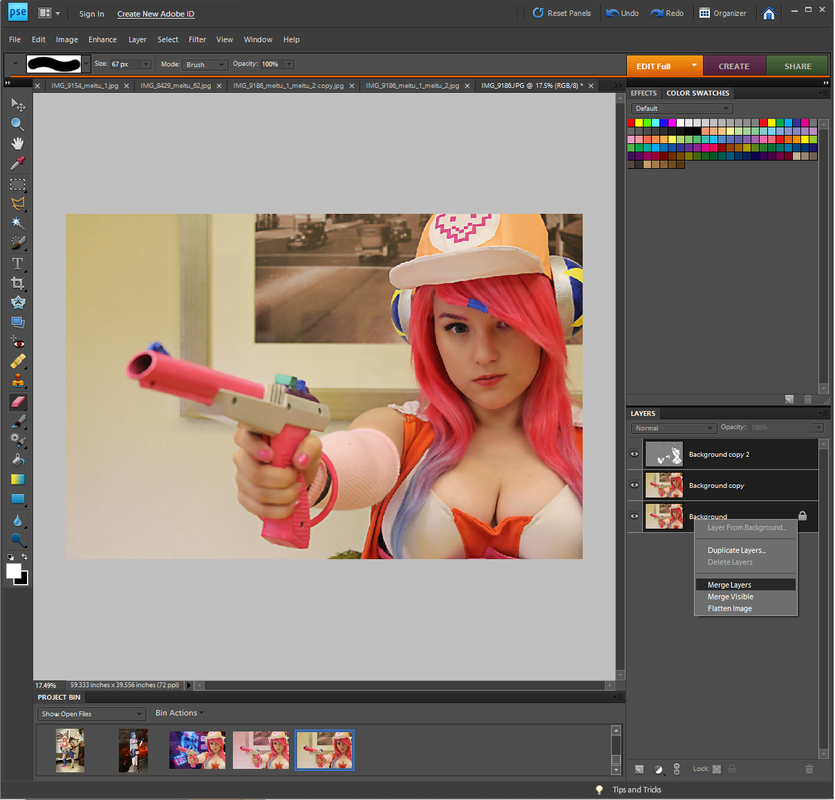 Once your happy with how everything looks so far, merge the three layers together. Ctrl+Click all three layers --> Right Click --> Merge Layers. 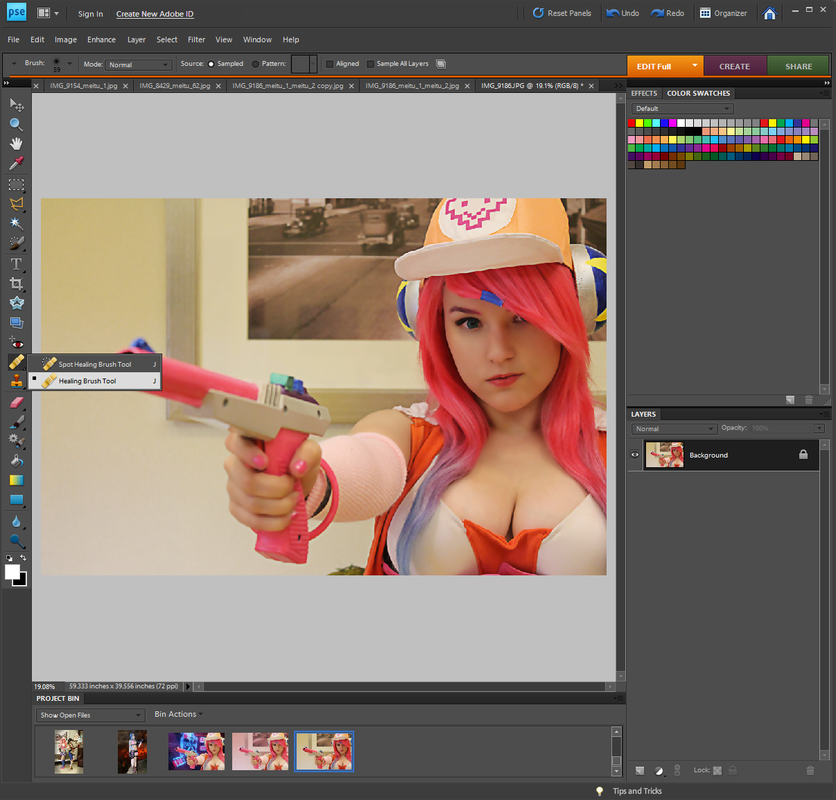 Another thing I do is remove any blemishes, spots of discoloration or dark circles. This can be done at any time, although I do prefer to do this as a first step. For this I use the Healing Brush Tool found in the tool bar. You're able to Alt+Click any spot of skin without blemish/discoloration, then Left+Click any spots you want to cover up. This helps the skin look smooth, clear, even and helps the photo look professionally done. This isn't a necessary step, it's all up to personal preferences and not everyone "needs" this editing done. I just feel it helps give the photo a professionally done feel. I also stated that I do love when photos look like they're straight from the game/animation, or close to it. 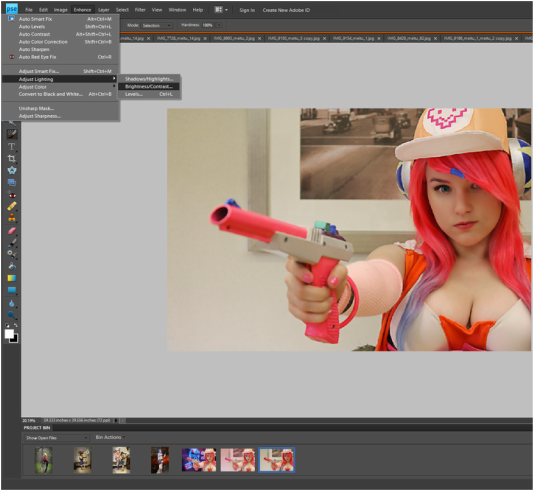 Another thing I will do, especially for photos taken in not the best lighting, is adjust the lighting. Enhance --> Adjust Lighting --> Brightness/Contrast. 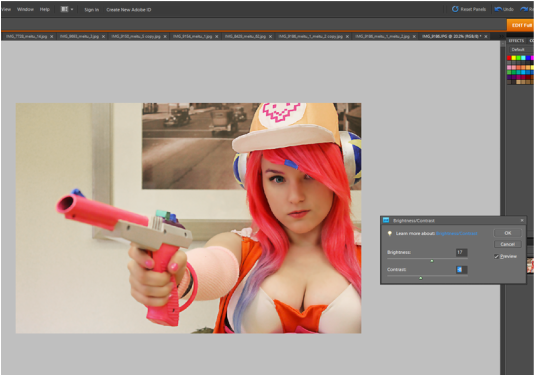 Adjust the brightness or contrast by moving the gliders. This is all left up to personal preference and what you feel looks best. Hit okay. 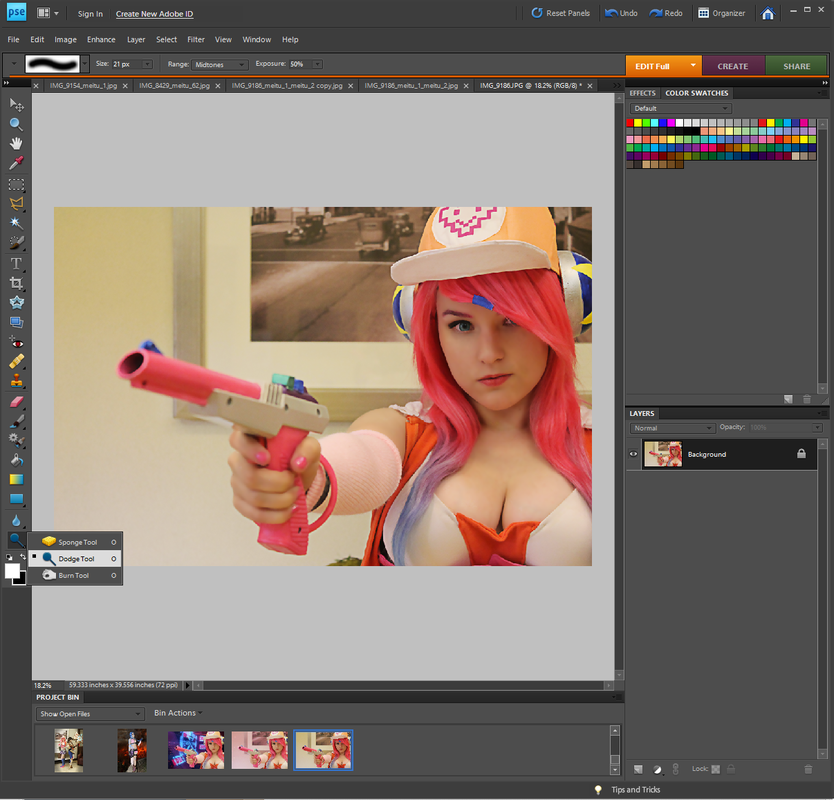 Since I don't wear contacts I'll alter the eye color (the cosplayer in this photo is wearing contacts though). I didn't get a screen shot of this but basically. Create a new layer. Using the basic paint brush tool and the color of your choice, carefully color the iris of your eye (the colored part). Once both eyes are filled in adjust the opacity to make it look more natural. You want details and shadows from the underlying image to show through but not so much that the color of the eye doesn't change. You can also soften the lines using a slight Gaussian Blur. Another way of changing the eye color is selecting the iris of both eyes. Enhance --> Adjust Color --> Adjust Hue/Saturation. Move the Hue (top) glider until you achieve the color you want. Do this on either a duplicate layer of the base/original image or the original image itself. Something I'll almost always do as well is use the Dodge Tool on the iris of the eyes. Since my eyes are really dark and remain having a very dull or dark look to them even after changing the eye color I like to brighten it up and/or add highlights using this tool. Make sure the brush size is small and to remain in the iris of the eye only. I'll sometimes overlap brush strokes a couple times to make it brighter/more highlighted in certain areas (pay attention to where the light is hitting naturally). 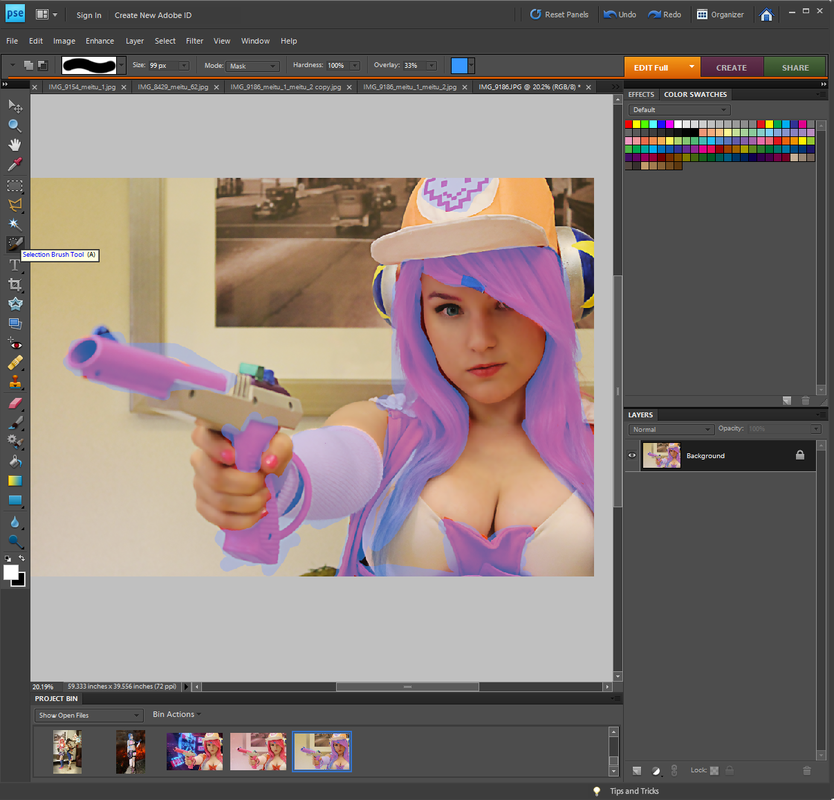 Note: This is sloppily done because I just did it for screen shot purposes. Please know when actually editing I use and try my best to keep neat clean lines. Another thing I do is add to and take away from specific colors and areas. In order to avoid taking hues away or adding them to areas you don't want to, use the selection tool and select the area you want to edit. 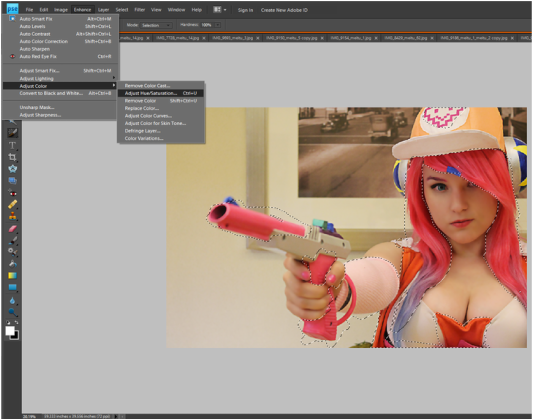 Once selected, go to Enhance --> Adjust Color --> Adjust Hue/Saturation. 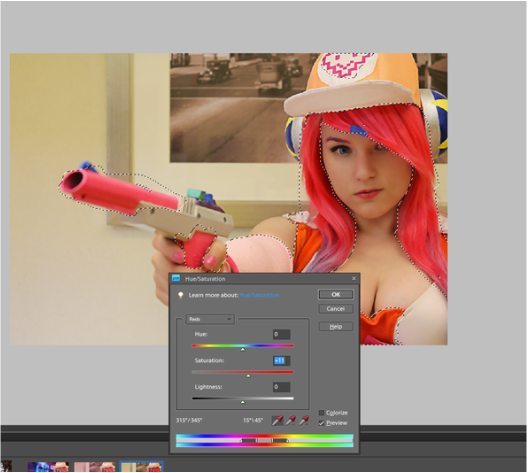 For this specific photo I want to brighten up the pinks in the costume and hair. So in the drop down menu I select Reds and more the Saturation (second) glider more towards the right until I like the coloring. Hit okay. 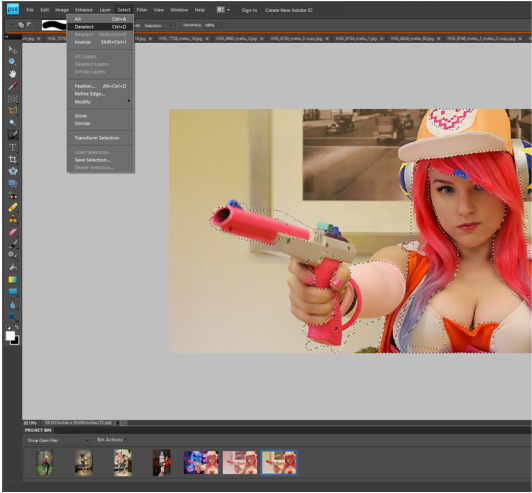 You can either go to Select --> Deselect or hit Ctrl+D. Select new areas you want to change if there are anymore. I'm selecting the skin and background. 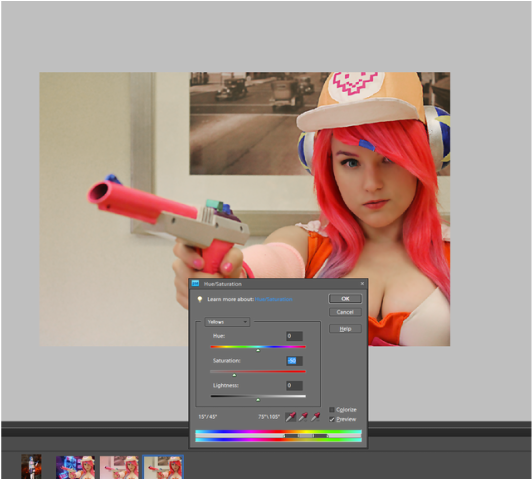 So going to the Hue/Saturation Adjustment menu, I select Yellows in the drop down menu this time. I personally like to remove the yellow tones from lighting and the skin depending on the photo. I feel it makes the photo look more clean and professional. But depending on the style of photo and editing it, yellow light can add to it. It's all preference. In order to remove the yellow tones move the Saturation (second) glider more towards the left. Once it's where you like it hit okay. 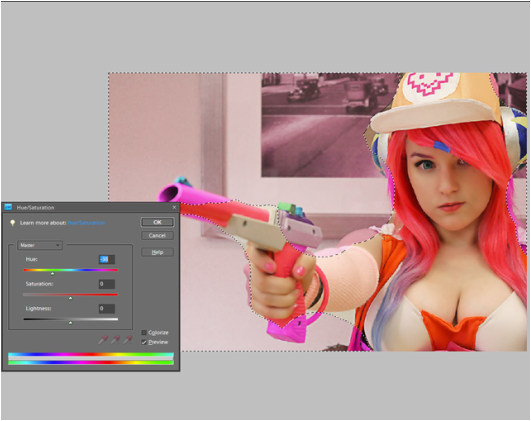 Changing colors of the background or different subjects in the photo. Note this is done sloppily, once again, because I did it quickly for screen shot purposes. Select the area you want to change the color of and open back up the Hue/Saturation window. To change the color drag the slider along the Hue bar until it's at a color you like. You can alter the darkness/brightness and saturation of the color using the other two sliders. 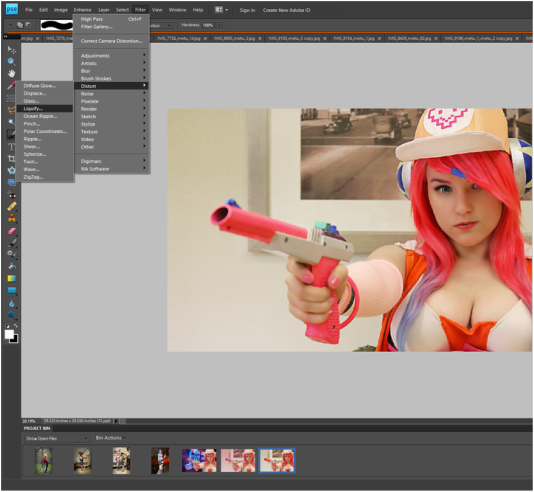 Another thing I'll often do is slightly enlarge the eyes. I like to make it more "anime-like" and other times eyes may be slightly squinted due to bright lighting or some other reason. Anyways, to enlarge eyes you can use a tool found under the liquidfy option. Filter --> Distort --> Liquidfy 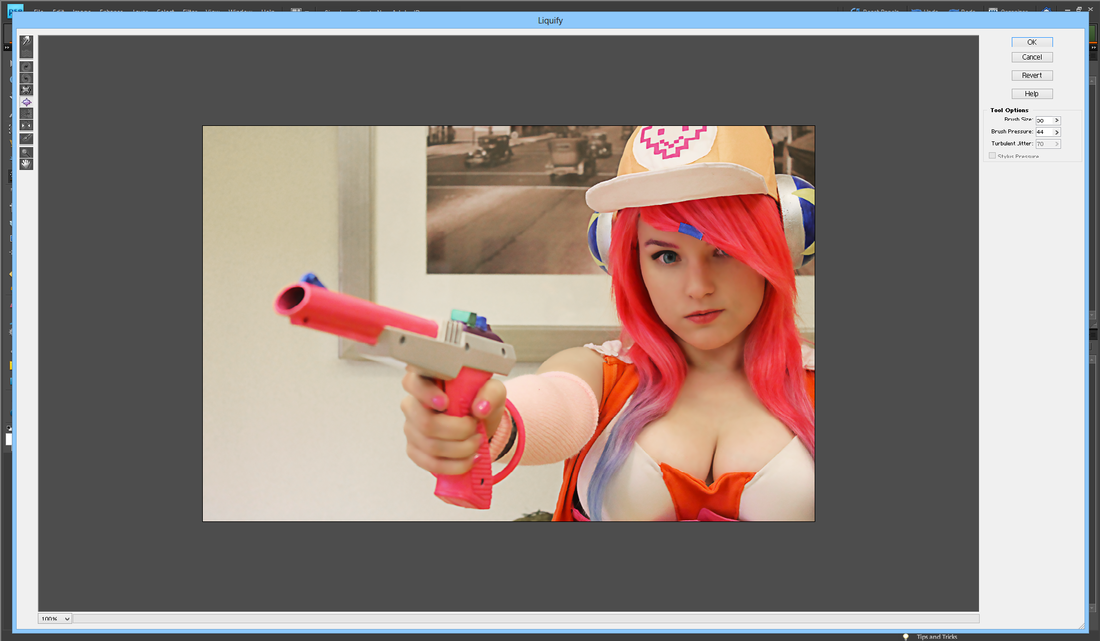 The 6th picture down or the picture of a square with an arrow on each side facing away from the square will be an enlargement tool. It should say something similar when hovered over. Set your brush to be around the size of the eye and just click once or a few times until the eyes are the size you want. I'd recommend not to over do it and to keep it as natural as possible. I like to use this as a little trick to help make the eyes pop or be slightly more fitting to the cosplay/character. 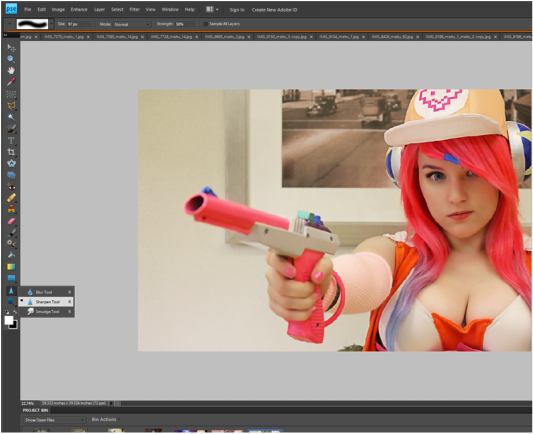 Sometime my camera won't focus quite where I want it to or a picture will be slightly blurred. Usually I find that the eyes aren't as in focus as I'd like. Click the second tool picture from the bottom. You'll find the picture is whatever tool you left off on so it can either be a tear drop, a triangle or a pointing hand. Click image and make sure it's set to the triangle/Sharpen Tool. Adjust the brush size to be around the size of the aspect you're sharpening. For example, when doing eyes I make sure the brush fits just around the entire eyes and simply click once or twice to sharpen it. When doing large object, like an entire person, I make sure the brush is a large size but doesn't fit around the entire person (since people typically aren't a circle--they have limbs and such). Then I'll click and drag the brush around/over the person I'm sharpening. I'll only have to do this once or twice. Keep in mind that if you continue to sharpen an area over and over again it'll begin to look super pixelated and you probably don't want that, this is why I recommend only going over an area once or twice. I also rarely use the sharpen tool at full strength. You'll see an option to adjust the strength in the top bar, a few slots to the right of the brush option. I usually put it anywhere from 30-75%. 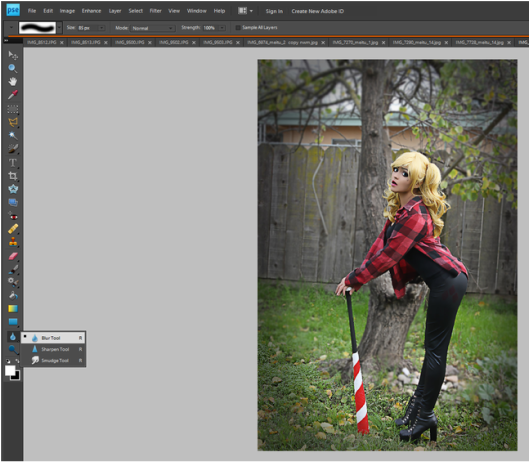 I often blur backgrounds, especially if they're very busy and I feel pull focus away from the main subject (i.o. cosplayer). To do this we'll be going back to that same tool option we just found the sharpen tool under, but instead click the Blur Tool/tear drop. I recommend duplicating the layer for this and do all the blurring on the top layer. I say this because if you accidentally find you've blurred a part that you didn't want to, you'll be able to simply erase it and the original, unblurred photo will be right there underneath. You'll be constantly adjusting brush sizes during this in order to get around the different shapes just right. I usually use a large brush size for a majority of the empty space around the edges (referring to this photo^) and then switch to a brush size of 12 or less when going around or near my subject. For sharp corners, sometimes the circle shape of the brush will mean part of your subject gets blurred, this is where the eraser comes in handy (just erase the subject --or at least that part-- from the layer). I typically set the strength to 100% but depending on the look you're going for you may want to change it. Sometimes I will change the strength several times throughout the photo when I want the blurred parts to fade into an in focus part. In example, if I the subjects just sitting in the grass and I want the grass in the background blurred but not the grass towards the front. I'll change the strength several until it's around 5-10% at the last part to be blurred so everything will blend. You don't need to go down 1% at a time, towards the higher percentages I'll jump down from 10-20% at a time and towards the end 10-5% at a time. 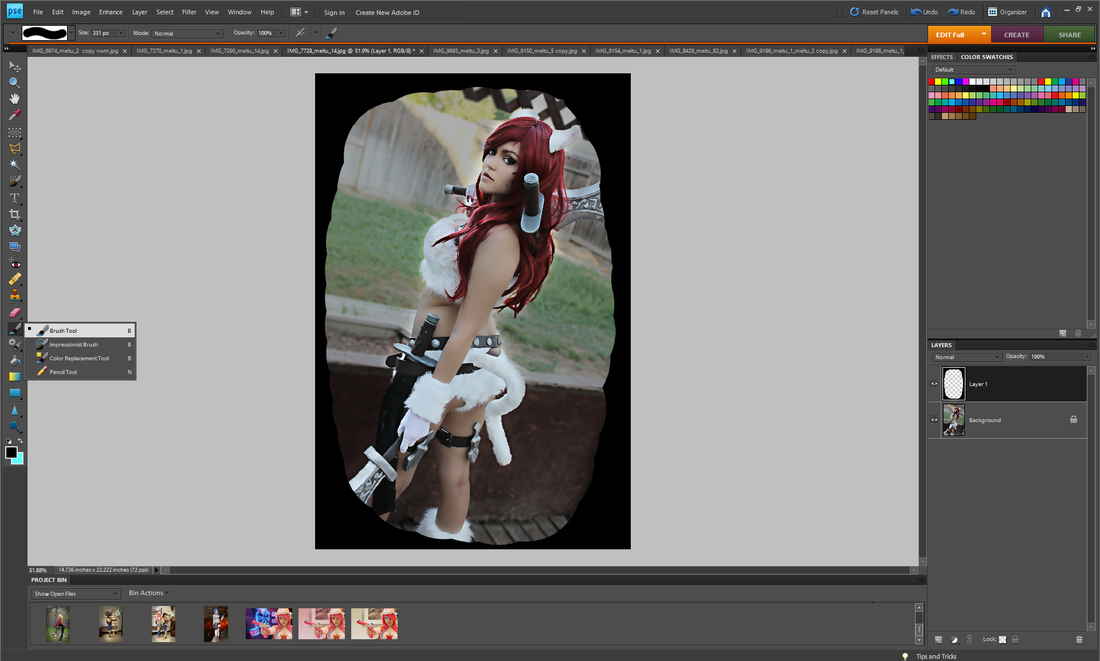 I'll sometimes add a ring of darkness/shadow around the photo or shade different areas of a photo (sometimes I'll shadow the entire background just to make the subject pop). To do this click on the tool picture where it'll either look like a pencil or paint brush. Click on the Brush Tool. Create a new blank layer (can be found at the bottom left hand corner of the layers tab/window). This is the layer you'll be working on. The size you adjust your brush to will depend on what you're shadowing and your photo, you may have to change it several times. For the color choose a black. Then color in the area you want shadowed. If you're doing the entire background leave a bit of a gap around the subject or whatever you're not shadowing. If you don't want even the slightest shadow on your subject make an even bigger gap in between the shadow and the subject then. 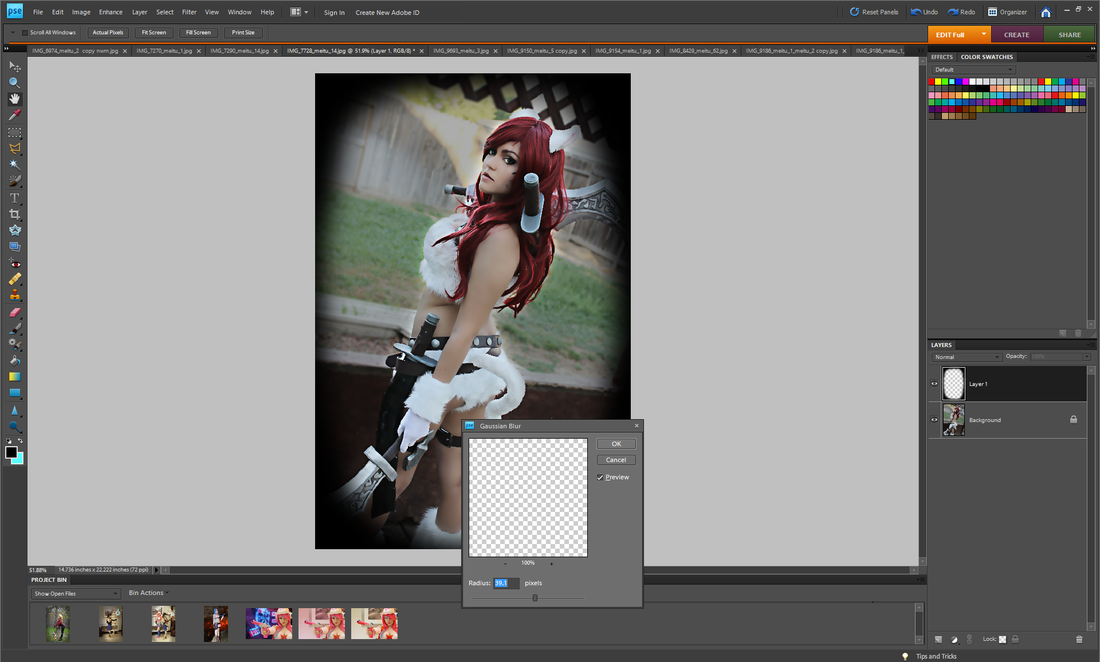 You'll want that gap because we'll be blurring the layer and depending on how much of a fade you want the shadow may get onto the subject after blurred. The more faded you want it, the bigger the gap in between the coloring and subject you'll need. You can always go back in and erase shadows off the subjects but sometimes they may leave weird harsh lines in the shadow that you may have to re-blur (either using the blur process we're going to do right now or the blur and smudge tool). So to blur the shadow and create a fade, Filter --> Blur --> Gaussian Blur Adjust the slider/percentage until you the fade/blur is to your liking. This honestly depends on preference and the photo.  Now to make the shadow more natural/less harsh or when using it just to darken a background, go over to the layer window/tab. Hit the arrow near the Opacity option and adjust the slider until it's where you like. Once again, this depends on both preference and the photo.  Sometimes I like to have more fade to a shadow than just the blur tool alone can do with one layer. So either I'll duplicate the layer we made the shadow on (before any of the blurring was done) or simply color in another shadow on a new layer. For example, if I want the very corners of the photo to stay black I'll create a new shadow layer. I'll repeat the same steps as above but change the amount/percentage I blur it at and the opacity. I usually have it so that the bottom layer has the least opacity (aka lower percentage) and is the most blurred (higher percentage), each layer above that has higher opacity (higher percentage) and less blur (lower percentage). I usually only have 2 or 3 layers of shadow if I have more than one. I'll then Ctlr+Click and select all the shadow layers and Right Click--> merge. I'll then apply a Gaussian Blur one last time to blend all the shadow layers together and adjust the opacity if needed. This is how I typically edit all my cosplay photos. I hope it's both in detailed enough and easy enough to understand. I tried my best!
~Positive outcomes only! ~
0 Comments
So as you'll notice down below, I have a new way of reviewing the products. It's like a star rating system but with hearts! 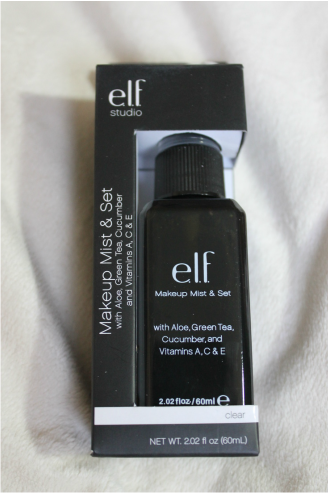 E.L.F. Makeup Mist & Set ~ Kmart ~ $3.00 ❤❤❤❤❤ This does exactly what it says. When you first spray it on it feels hydrating and refreshing. Ever since using this product I've noticed my makeup stays looking how it did when I first applied it throughout the entire day! Usually, my foundation would begin to wear off and areas of my face that get sort of red sometimes (like around the nostrils) would show through, but with this it hasn't happened. 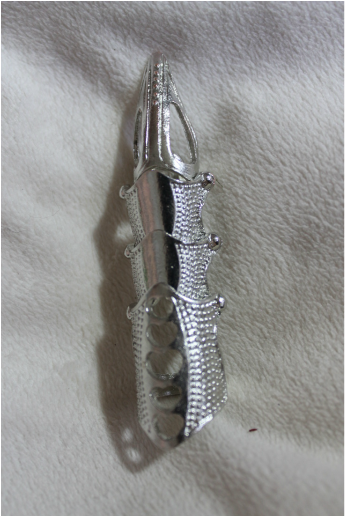 Armor Ring ~ eBay ~ $1.31 ❤❤❤❤❤ I ordered this in the color silver. I love this ring sooo much and wear all the time. It has an adjustable ring band so it's able to fit me very well. I should note on fingers shorter than mine it may get a bit too long (with where the bands are positioned). 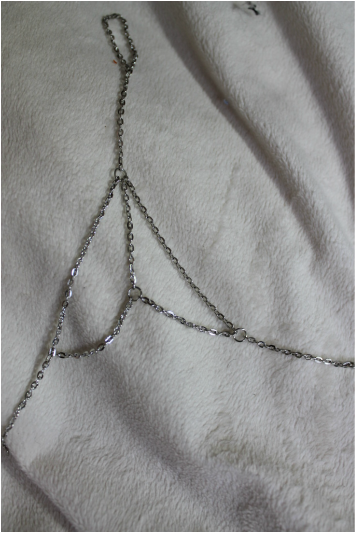 Hand Harness Chain Bracelet ~ eBay ~ $0.79 ❤❤❤❤♡ I ordered this in the color silver. It's a very nice and simple piece of jewelry. The chain does feel like it could be a bit fragile, so I have to take extra care not to snag it on something. The wrist part of it isn't adjustable and made for smaller wrists, so anyone with larger wrists may need to use chain extenders. 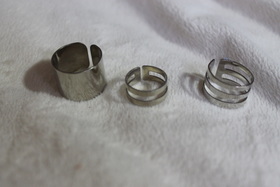 Stacking Midi-Rings ~ eBay ~ $0.99 ❤❤❤❤♡ Comes in a set of 3. I ordered this in the color Silver. The rings are nice and I love the look of them. They are adjustable which is a good thing, because they are very large for my fingers. I guess the downside would be with how much I have to tighten the rings the metal begins to over lap and it forms an awkward shape. 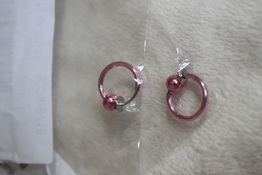 Fake Nose Rings ~ eBay ~ $0.99 ❤❤❤❤❤ Comes in a set of 2. I ordered this in the color Pink. I love these so much. The price was great with it being 2 for a $1. They're available in so many different colors too! They're very easy to put on and take off and comfortable to wear. 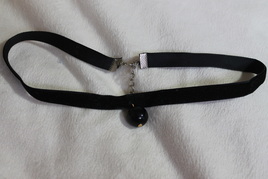 Black Ball Choker ~ eBay ~ $1ish ❤❤♡♡♡ The listing no longer exists. If you try searching for velvet chokers I'm sure you can find something similar though. When I received it, it was covered in some sort of dust but luckily could be cleaned off. The ball on it though had quite a few deep scratches. The choker, while adjustable, is still far too big for my neck and has to be safety pinned if I want it to fit well.  Crystal Elf Ear-Ear Cuff ~ eBay ~ $1.58 ❤❤❤❤♡ The piece is lovely and one of my favorite pieces of jewelry. It's worn on the left ear which is perfect and what I was looking for since my bangs go to the right. The downside would be it is a fairly heavy piece of jewelry and the adjustable cuff part towards the top does feel like if it's adjusted too much or too often it will snap. 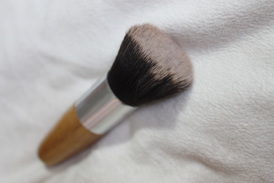 Flat Top Makeup Brush ~ eBay ~ $1.86 ❤❤❤❤❤ The exact listing no longer exists (I purchased it for $1.50) but this is the same brush. There's many listings of this same brush so you may find one for cheaper. This brush is my absolute favorite. It's better and I love the results so much more than any of the other foundation brushes and beauty blender or sponges I've use. It makes my makeup smooth, blended and almost airbrushed looking. 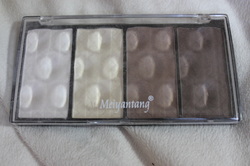 Contour Palette ~ eBay ~ $2.48 ❤❤❤❤❤ I've used this palette for quite some time. The old one lasted me a year or more and I used it quite often. Powder/packed contour is my preferred way to contour. While I own and like the cream contour palettes, I feel they give a heavier look while this gives a more subtle and natural look. 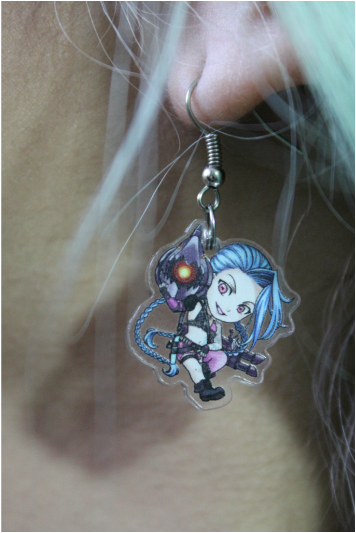 Jinx Earrings ~Convention (Complexwish) ~ $10 ❤❤❤❤❤ These were one of my favorite purchases this month. The artwork is amazing and adorable. The League champion is one of my favorites! The earrings are reversible and sturdy. The seller also has such a large variety of characters and the artwork is just perfect!
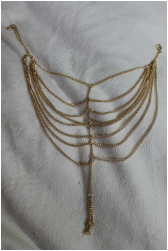
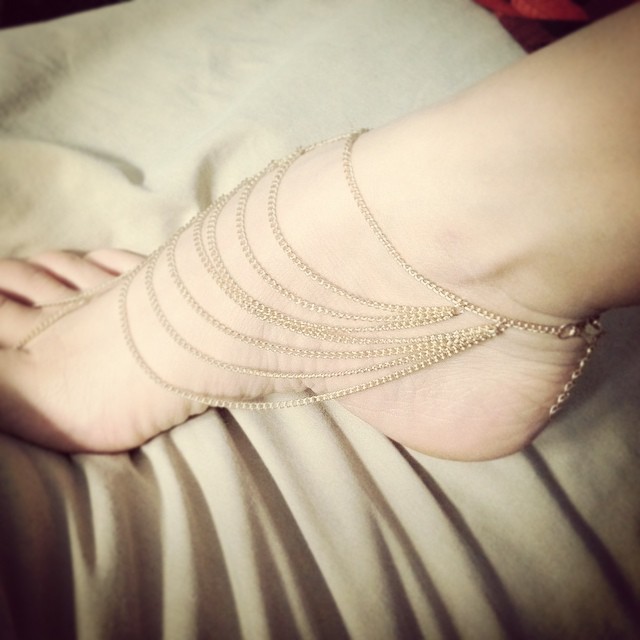
Gold Anklet Chain ~ eBay ~ $1.00 ❤❤❤❤♡ This piece is absolutely beautiful and perfect for summer or a trip to the beach. It can tangled or twisted often but is easily untangled. The chain is thin and feels fairly fragile, so I'll have to take care not to snag it on anything.
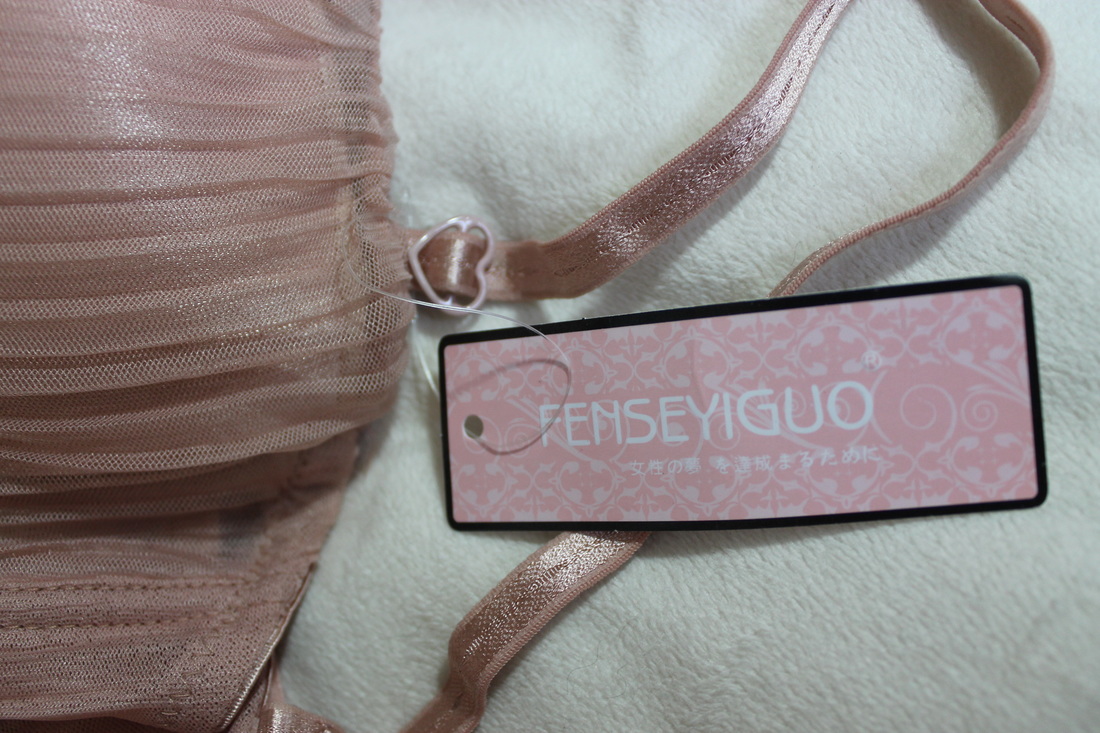
Pink Bra Set ~ eBay ~ $5.43 ❤❤♡♡♡ I forgot to film this product for the video. I love the look of this lingerie set but unfortunately I got a fault-y piece. The seller refunded me the price of the bra (since the bottoms were fine). With the bra a strap was missing and it didn't even have the piece where the bra would hook (since these are removable bra straps). Also, even though it's in the correct sizing, the ruffles get stretched out and don't look as frilly or cute when worn. I love the color and everything but I unfortunately had many problems with the top.  Rose Pattern Overalls ~ Kmart ~ $17 ❤❤❤❤♡ I finally picked up a pair of overalls. I love the style and pattern of these. The only thing I find myself slightly disliking in the short style/length, but even then it's nothing too bad or that can't be fixed. It's nice quality. 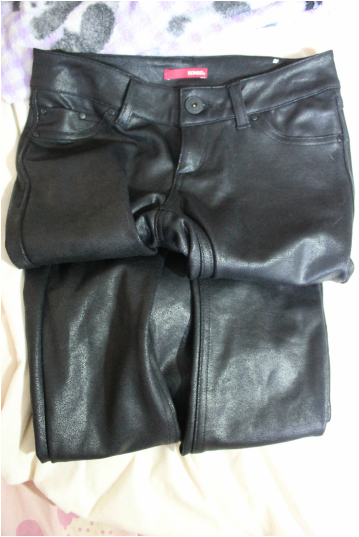 Fake Leather Pants ~ Kmart ~ $12 ❤❤❤❤❤ I love these pants. They fit super well and have a great shape to them. They also have a slight stretch to them and are comfortable to wear. I originally picked them up to modify them for my Gamora cosplay but I found them so perfect for casual wear that I changed my mind.
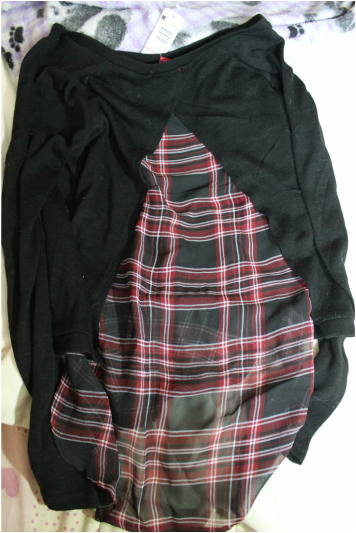
Plaid Sheer Sweater ~ Kmart ~ $6 ❤❤❤♡♡ It's a bit odd looking on the rack but looks much better when worn. Unfortunately the front is quite a bit shorter than the back, so I don't enjoy the cut/length very much. Other than that this top is really cute.
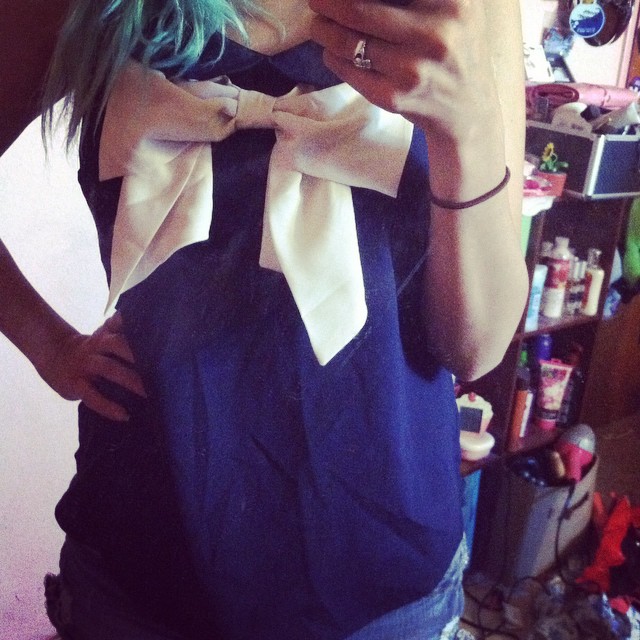
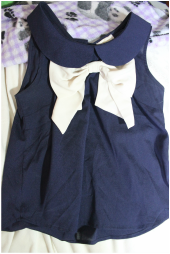
Navy Blue Bow Tank ~ gift ❤❤❤❤❤ I love this top. It's so cute and perfect for summer. It's light weight and is made out of breathable fabric.
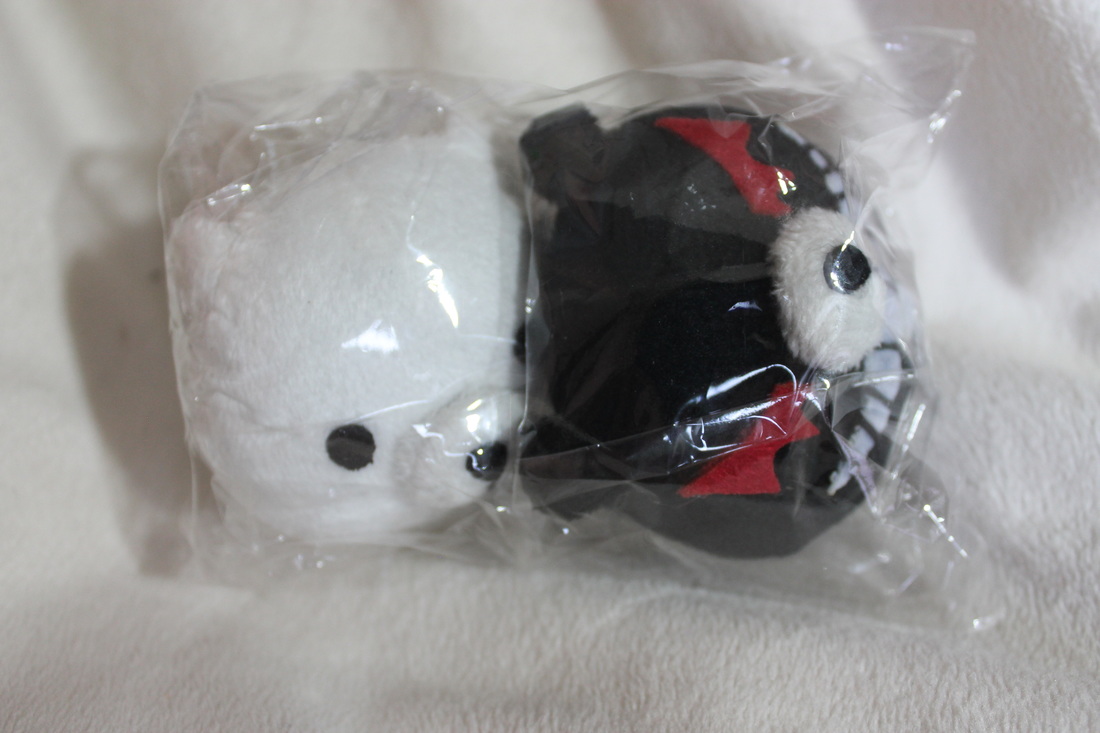
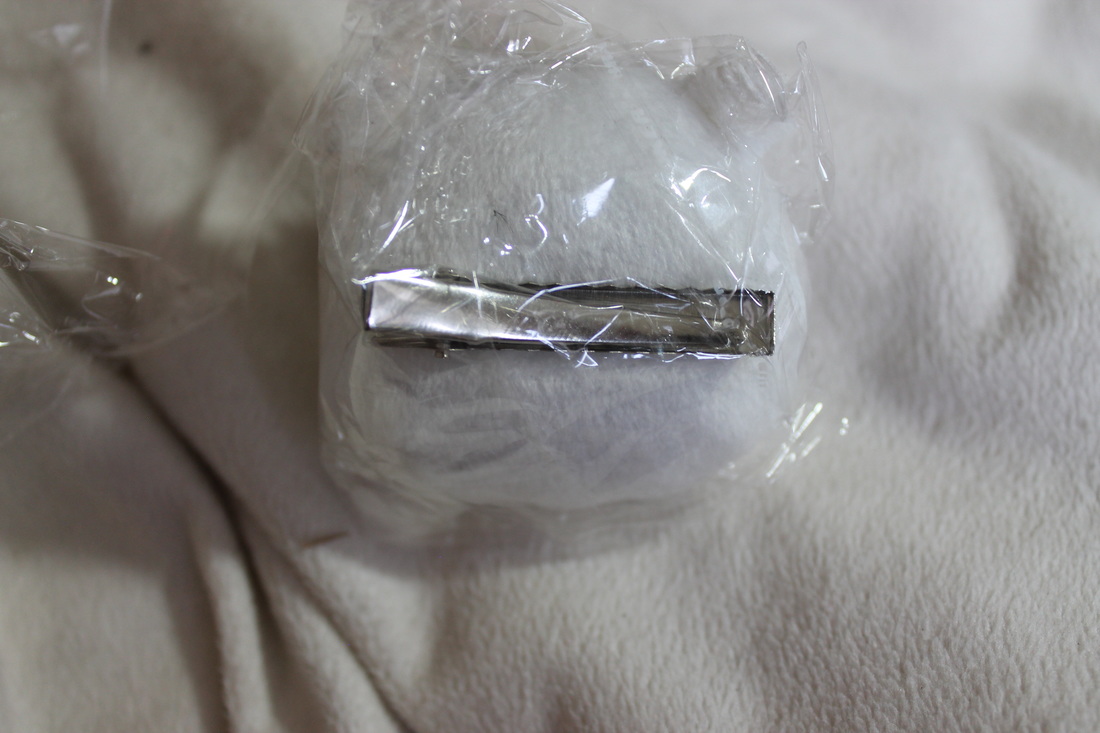
Junko Hair Clips ~ eBay ~ $4.95 ❤❤❤❤❤ These are super perfect and great quality. They're easy to just clip into the wig/hair. They're also a reasonable price! :) 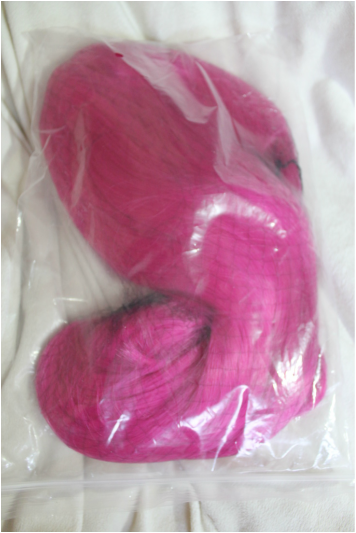 Hot Pink Wig ~ eBay ~ $.99 ❤❤❤❤❤ I ordered it in the color Rose Red. It's very long and super soft. It's a thicker wig as well which is great! It's also the perfect color for my Annie cosplay. The listing shows something a bit brighter just due to lighting and computer differences, but the color was fairly similar (just not as bright/glowy! xD). 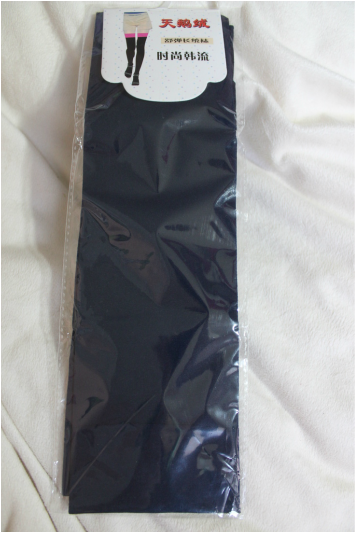 _Navy Socks ~ eBay ~ $2.10 ❤❤❤❤❤ I ordered it in the color Navy. Nice quality and the perfect color for my Shiro cosplay! They're thinner fabric so they need to be handled with a bit more care.  Shiro Cosplay ~ eBay ~ $27.99 ❤❤❤❤❤ I love this cosplay so much. The sizing listed was true to size. I ordered a size small. Everything is so incredibly well made and made from great quality fabric. It even came with a few pieces not noted in the listing which is great! It's also so comfortable to wear. I ordered a different pair of socks (just above this) for the cosplay, so I've been wearing the socks that came with these casually. They're such nice quality and fit well.
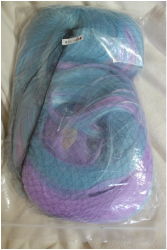
Shiro Wig ~ eBay ~ $12.00 ❤❤❤❤❤ I recieved mine from an auction and got it for $12.00, so the listing I've linked is not exact and I'm sure you can search around for other auctions or listings to find different prices. This wig is incredibly long. It's not too thin but not super thick either, which is fine. It's coloring is great. It did not come styled if anyone's wondering, that is something I'll be doing myself. It's really nice quality too. 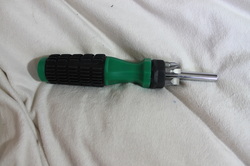 Screw Driver ~ Savemart ~ $5ish ❤❤❤❤❤ It's a screw driver. Not sure what to say. It does what it's suppose to just fine. I do find it convenient that it has a place to hold the different piece around the end and am happy it came with so many different pieces. 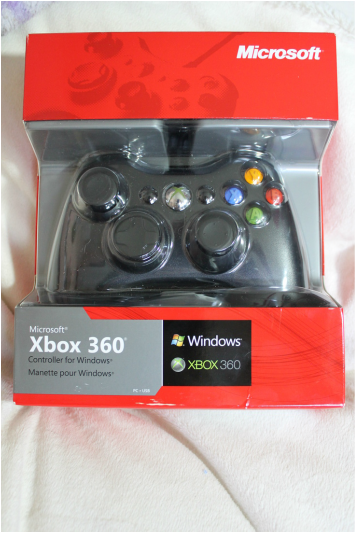 Xbox Controller ~ Amazon ~ (gift) ❤❤❤❤❤ Also not very sure what to say about this. It's a controller and it does it's job. It arrived nicely and so far I have found no faults with it.  Star Lamp ~ eBay ~ $6.20 ❤❤❤♡♡ I have yet to finish putting this together. The instructions' pictures are more helpful than any of the writing considering it's in a different language xD. One piece is a bit off (not necessarily broken but not exactly how it should be), luckily it was able to be fixed with a bit of tape xD. The packaging was slightly weird and some of the pieces where lose/came lose when shipping (didn't leave the packaging, but wasn't in it's slot in the Styrofoam either). Positive outcomes only!~
I recieved the Temptations Snacky Mouse in a Voxbox from Influenster. It's a cat-food brand I believe. What I recieved was a pack of their snacks and the snacky mouse cat toy.
It's a really cute concept and think it'd be a fun way to give treats to cats who are often in playful moods. Unfortunately my cats are really lazy at the moment so they just wanted the treats without the hassle of batting around a toy. The treats are apparently super delicious though because they go crazy for them. We ended up buying several more bags from Kmart ($2-3 for small ones--which is the larger bag in this video-- and $4-5 for larger ones). Now every time my cats see the bag they run over and start meowing. They actually bit a whole in the bag I recieved from Influenster and ate it all over night! This specific post is for the cosplay (or costume part) only. I'll have another post coming all about how I made the prop. 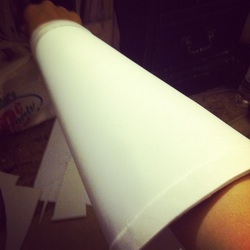 I made the "gauntlet" using craft foam. I used no sort of hooks/clasps/Velcro in order to allow it to come on and off. I made the smaller end as large as the widest part of my hand (when you put all your fingers together--in a cone shape almost). I created a cone shaped pattern using news paper before transferring that to craft foam. 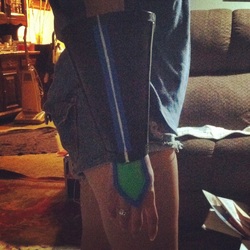 I added details with small strips of craft foam as well. After the shape was finished I coated it in PlastiDip as the primer. 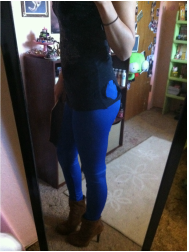 For the pants I purchased blue leggings off eBay. For the shoes I used old boots I had bought at Wet Seal years ago now. I didn't modify any of these in any way. 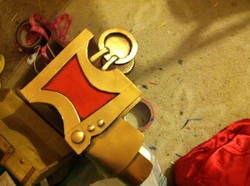 For the shoulder piece I used cardboard to create the basic shape. The two sides and top where all cardboard pieces. The rounded bottom (almost awkward half circles) where craft foam and the side piece that curves in and faces away from the body. On the inside there were a few pieces of cardboard that connected to the different sides in order to give extra support and sturdiness. A thicker craft foam was used to create the gold part on the two side pieces in order to give it dimension. So the red part was the cardboard itself and then the gold bordering that was thicker craft foam. The circles and "pipes" where made using EVA foam (small puzzle-like mats). I cut out a circle then outlined it using strips of the EVA foam and made the pipes the same way. All my craft foam pieces where glued together with hot glue (and any pieces that I felt needed to hold a bit more weight I glued using super glue). On the back of the two circle pieces I place Velcro squares that would attach to the Velcro pieces I sewed onto the jacket. For the nuts and bolts I used different sized googly eyes. This piece was primed using wood glue. And painted with both acrylic and spray paint. I can't really explain how I created the shapes I did. It was done by eyeballing it until I was satisfied and trail and error.  For the chest plate, I took an old bra and added craft foam detailing. Then I created the larger bottom piece out of craft foam, added detailing and attached that to the bra using hot glue (I attached it while wearing it --obviously I did it carefully). Once that was done, I primed everything (even the fabric part) using PlastiDip and spray painted it. I used spray paint for both the red and gold, so in order to keep the gold paint from getting onto the red areas, I covered the areas I wanted to stay red completely in painter's tape. Once the tape was secured and everything I wanted was covered I went ahead and painted the gold parts. After that dried, I could easily peel off the painter's tape.  While wearing the chest plate I patterned the belt using the tape+foil/plastic wrap method. Marked my pattern and cut it out. Then transferred that onto the fabric and cut and sewn that. 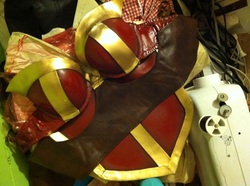 I attached the belt to only the chest plate (so not the bra band) using hot glue along the top and bottom only. 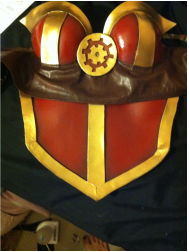 I created the center piece using craft foam, primed it with wood glue and painted it with both acrylic and spray paint. I attached that with hot glue as well. 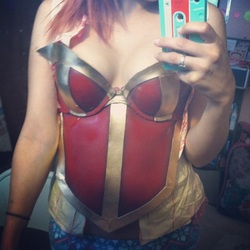 I patterned my jacket before attaching all that. I patterned it using the tape+plastic wrap and then continue to add to it while wearing my chest plate. The way my chest plate and jacket works it, the bra band goes under the jacket while the belt part goes on top (this is why I did not glue the belt to the bra band). The jacket only attaches and meets in the front at the bottom half, the top part was designed to be completely open (almost in a u shape) at the chest then begin to meet or close more near the neckline (reference other photos). 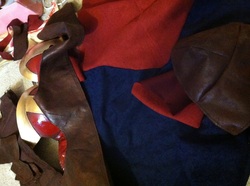 I used a velvet-like material to create the red and blue parts of the jacket. For the brown I used a kind of fake leathery material. For the inside of the collar I used a fake wool-like material. The shoulder piece was made using one long rectangular piece and two curved triangle pieces. The two triangle pieces made the top section and the rectangle made the bottom (this shape allowed the piece to curve over my shoulder). As for more about the jacket shape. I eyeballed it and altered the pattern I made as needed. It was trail and error so I can't exactly explain all the different shapes that went into it. Look at reference photos often to see where different lines fall and colors are since the jacket is made out of multiple colors and materials. 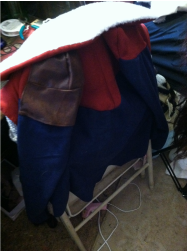 The front part of the jacket (at the bottom) over lapped so that I could have it close using Velcro. I also attached a piece of clear elastic to the front top pieces (the points that begin to come back in above the chest) so that they stayed rested in place. I attached the collar last. I attached the inside wool piece onto the collar first, before attaching the whole collar onto the jacket. 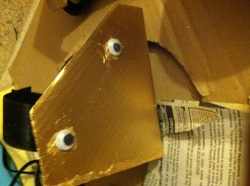 For the knee pieces, I was lucky to have these cardboard pieces that came off of a frame I recently purchased. I only had to readjust how open the where (so that it'd fit around my legs). I used googly eyes for a nuts and bolts effect. I used strips of Velcro that wrapped around my leg to attach all the leg pieces.  The bottom two leg pieces where made using craft foam and primed with PlasticDip. I used spray paint to paint them. The shape was this curvy "I" shape almost (look up reference photos or the game model for better ideas). 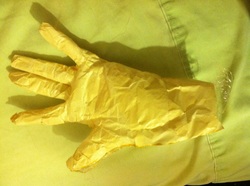 I didn't own any glove patterns at the time so I made one using the same plastic wrap+tape method I had been. There are other ways of making simple glove patterns though. For the left glove I made the "metal" piece using craft foam and looking at the game model/splash art as reference for the shape. I primed it with wood glue and painted it with spray paint. For the belt I created the belt buckle with card board and glue it onto an old belt I had. I didn't own a heat gun at this time but I would recommend using one. The leg pieces for example, didn't keep the shape I wanted. Had I used a heat gun (or a similar method) I would have been able to mold it to custom fit around my legs better and it would have kept it's shape. 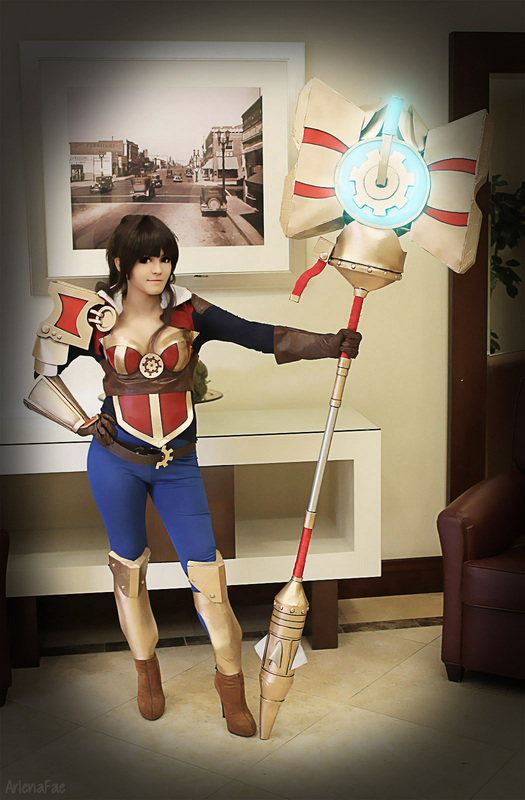 |
Arlena FaeCosplay Tutorials. Hauls & Reviews. Photography. Rambles and Advice. Categories
All
Archives
August 2018
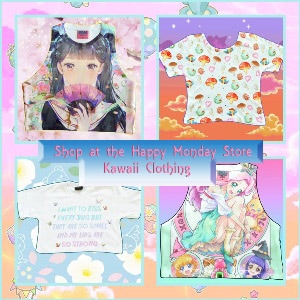
 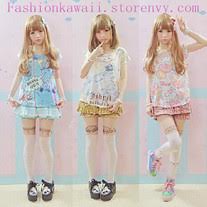
Use the code: "arlenafae" for 10% off purchases at:
http://fashionkawaii.storenvy.com/ |


 RSS Feed
