|
I received a Kawaii Box to review for my followers, so here it is!
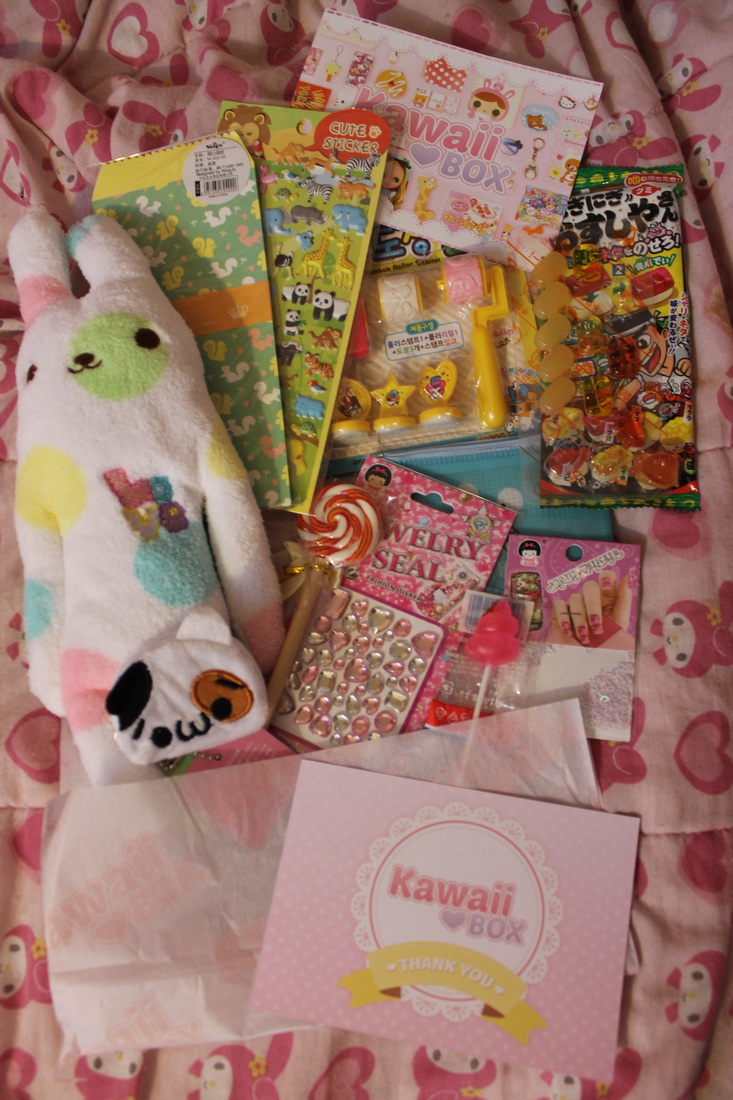
First off, if you don't know what it is, Kawaii Box is a monthly subscription box. Each month you'll receive a box full of 10-12 Japanese and Korean goodies. It can be anything from candy and snacks to stationary to accessories and beauty products. It costs $18.90 a month, shipping included!
Kawaii Box was kind enough to offer a giveaway to my followers and subscribers so keep reading till the end of the blog post to find out how to enter! The winner will receive one free Kawaii Box!
Flan Dakigurumi Plush Pouch
It's super soft and adorable. It makes a great pencil case which is something I've needed! 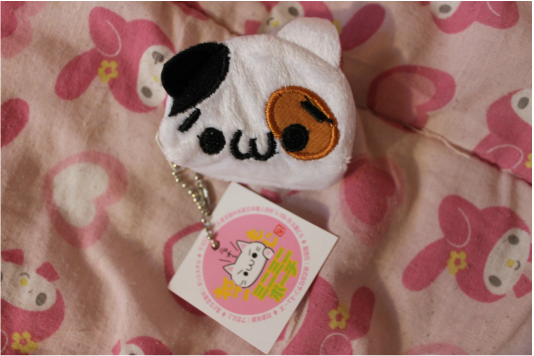
Neko Emoji Mini Mini Pouch
I love this case so much. It's not very big so it'd only be good for carrying around accessories and coins, but it's super adorable. It reminds me of my pet cat. 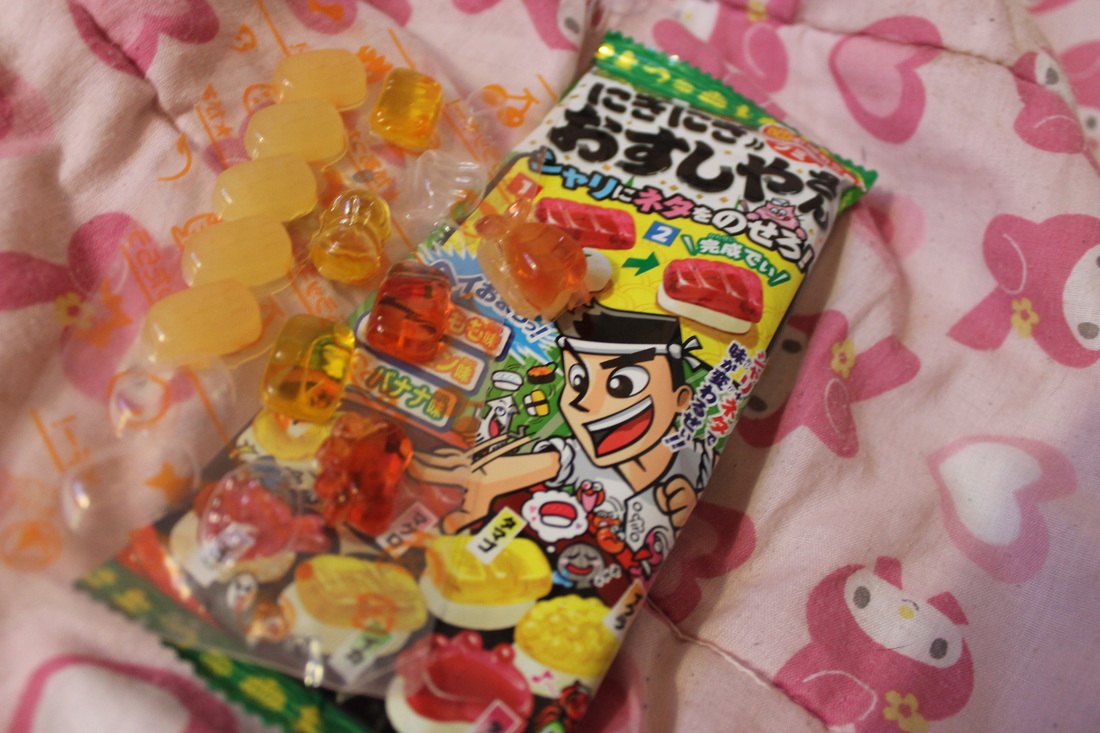
Meiji Diy Sushi-Bar Gummies
This is such a super cute snack. It works similar to the build a buger gummies I've seen around local stores. The flavors are really good too. 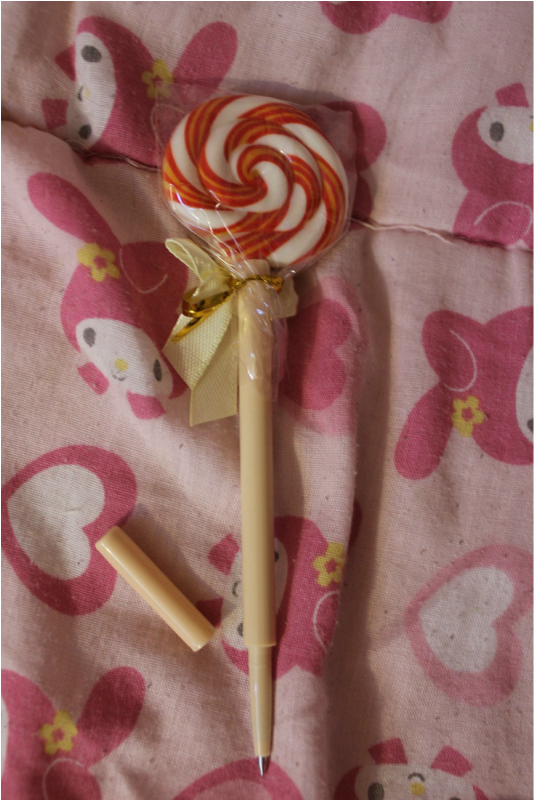
Lollipop Pen
This is super cute. The lollipop looks so real I was sad to discover it was. But it's still an adorable pen and works well. 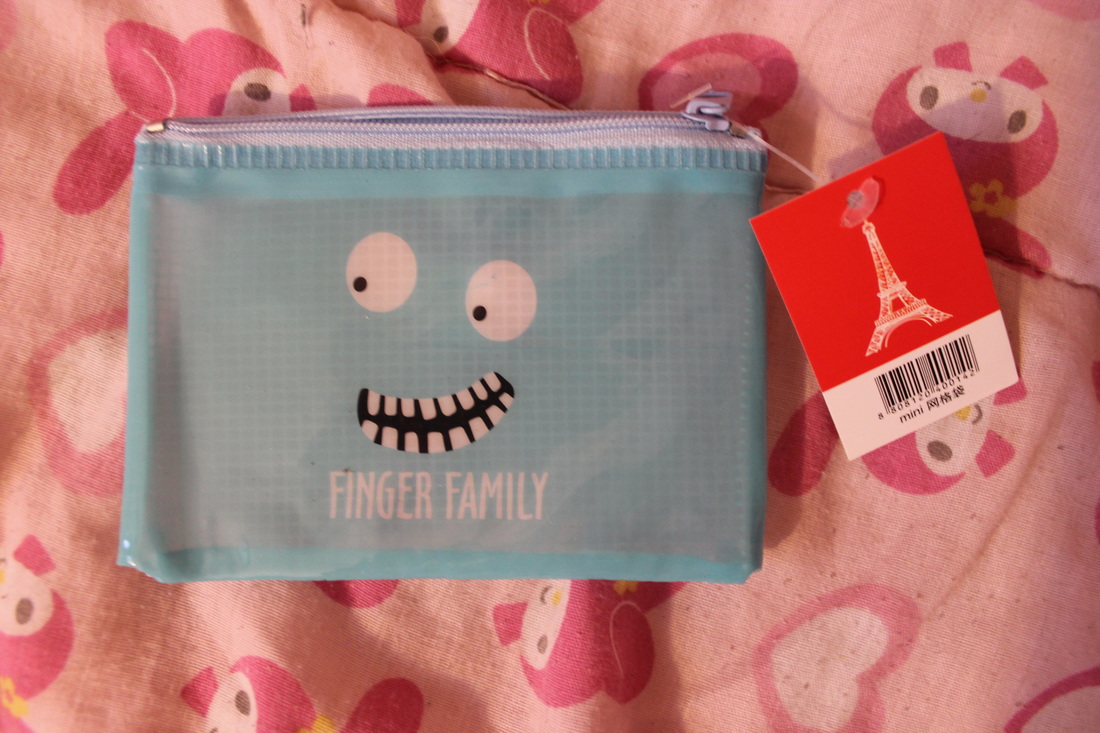
Finger Family Monster Pouch
This is pretty cute. I find pouches like this good for storing tooth brushes and tooth paste when traveling. 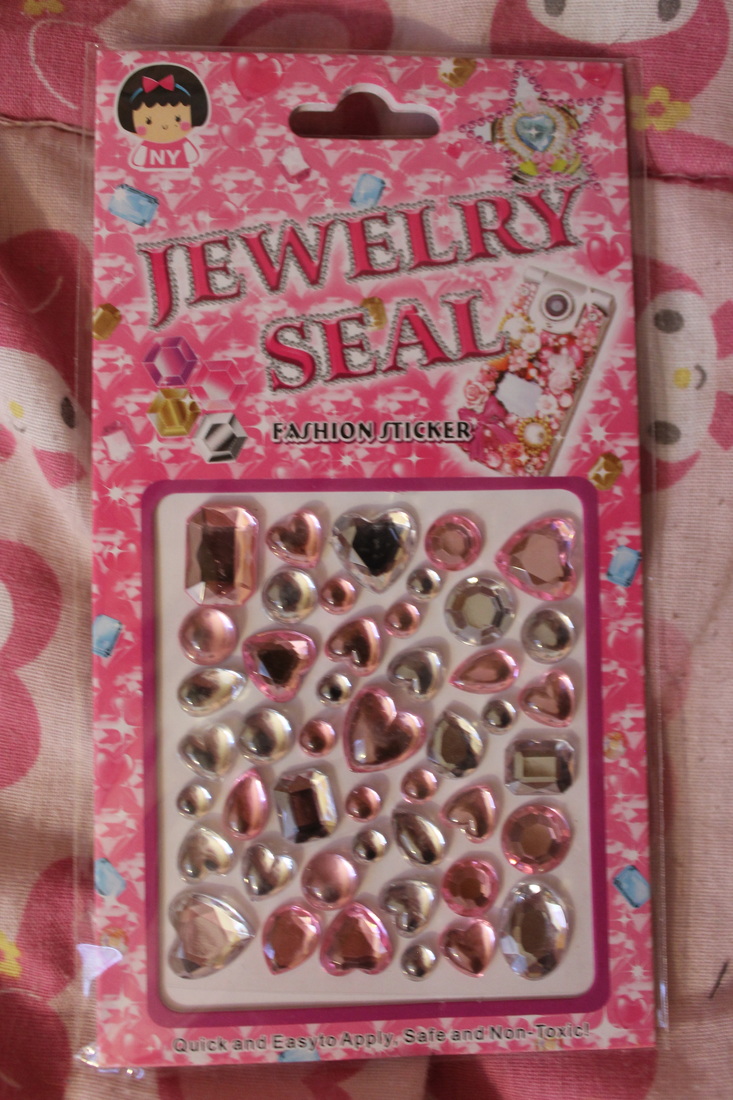
Jewelry Seal Deco Stickers This is great for any one who does crafty stuff, such has making phone cases. Some of the smaller ones could even be used on nails. I think I'll whip up some phone cases and uses these in it. 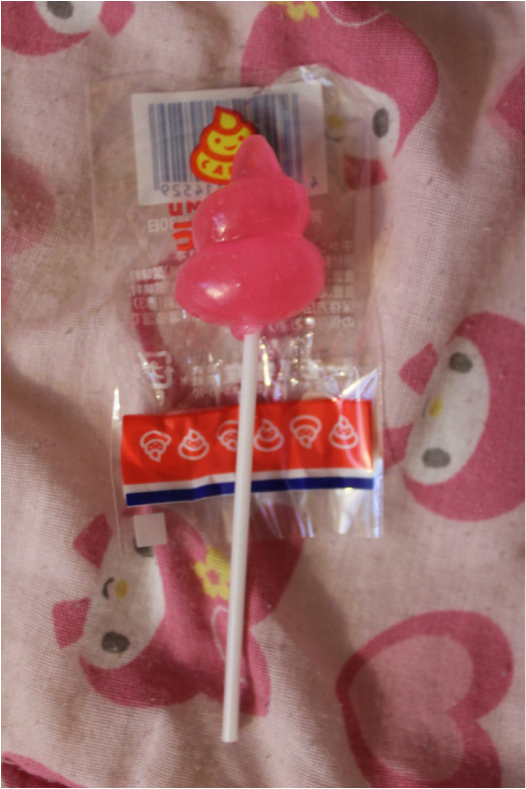
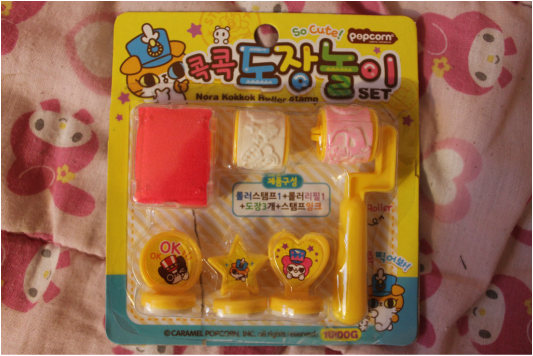
Popcorn Rolling Stamp Set
This was a cute little thing to include in the box. The stamps and ink works fine. I'm unfamiliar with the characters but they do look adorable. Some of the stamps seem perfect to use in teaching or assistant teaching jobs. 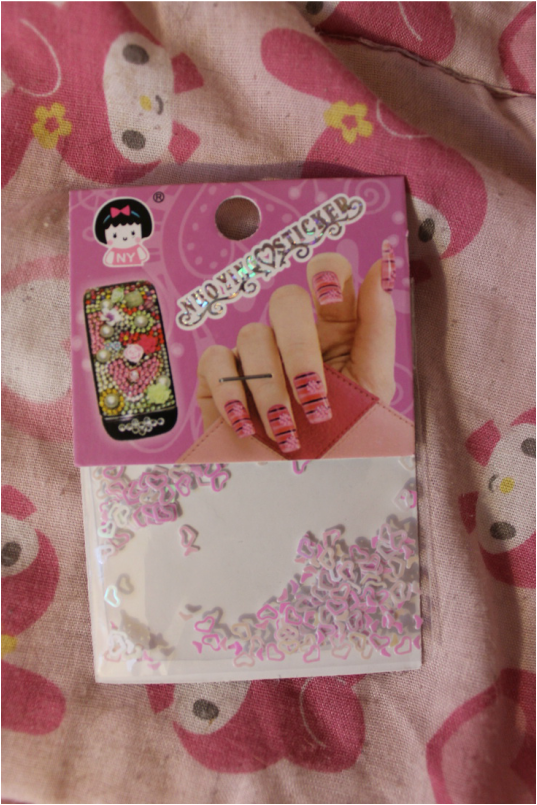
Heart Shaped Nail Flakes
I can't wait to use these. They're super cute and I love the white-to-pink holographic coloring of them. 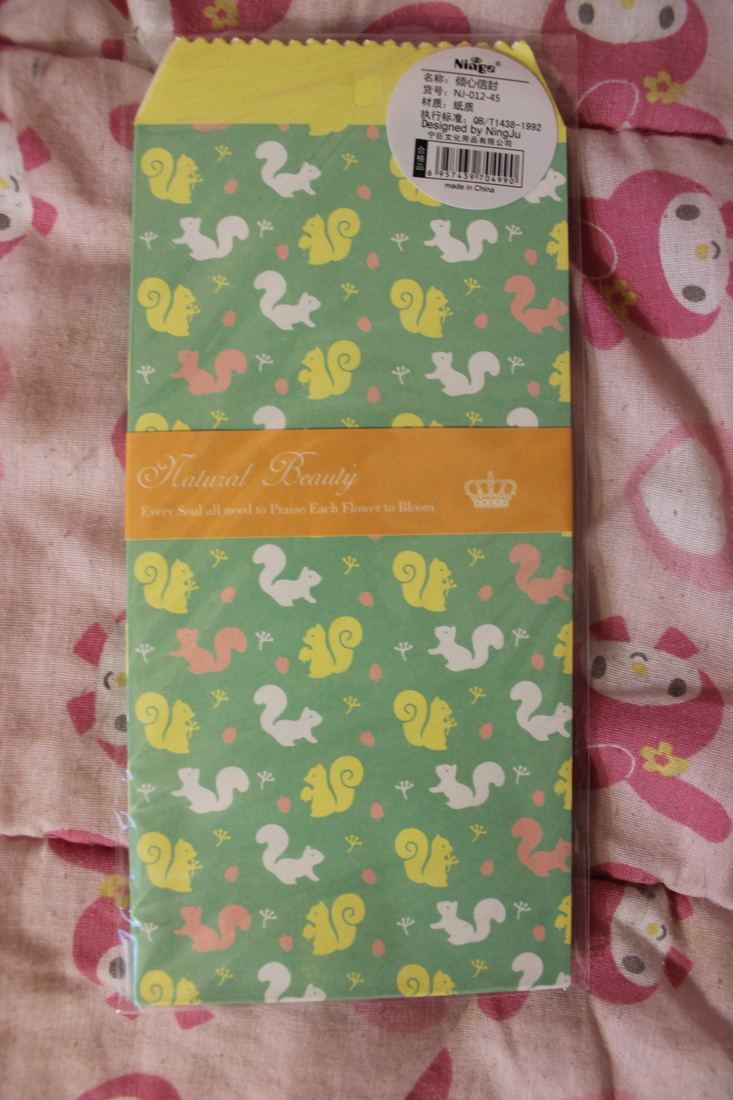
Pattern Envelope Set
I love stationary so I was super happy to get this in the box. It's pretty cute and nice quality. 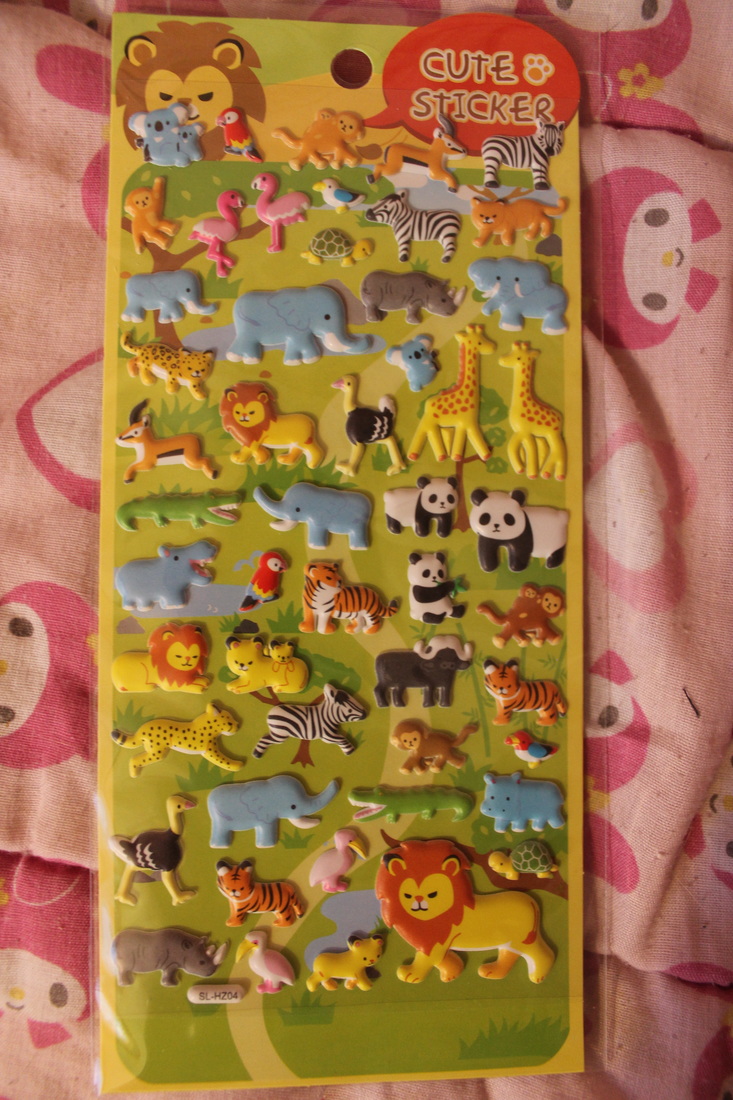
Animal Sticker Sheet
These are super cute. It's perfect for anyone who crafts or does scrap-booking or just loves stickers. Over all I think this is a pretty cute subscription box to subscribe to. I think it's especially great for anyone crafty because a lot of boxes seem to come with something that's diy or good for crafting. If you like Japanese and Korean goods I definitely recommend it. Kawaii Box give away can be found below! ~Positive outcomes only! :)
0 Comments
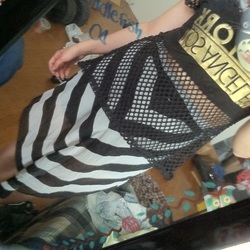 Black & White Skirt - $6.76 The original brand is Charlotte Russe. The site listed it in good condition and I agree. It was basically like new. I saw nothing to say it had even been worn before. This is a size S and it fits great! 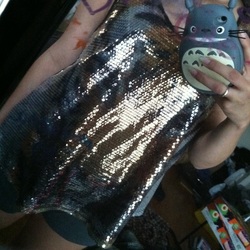 Tiger Sequins Top - $5.02 The original brand is Forever 21. The site listed it in good condition and I agree. The only thing I was disappointed with is it appeared to be shorter in length, more crop top-looking, than it actually was. This is a size M and it fits well. 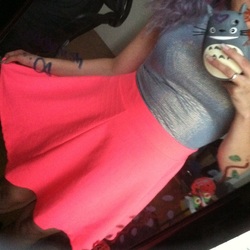 Holographic Top - $3.01 The original brand is MOA. The site listed it in good condition and I agree. It appeared to be a crop top in the photo but turned out to be the length of a normal tee. It is an easy fix and still looks good with a skater skirt, so it's not much of a disappointment. It also had a pattern that couldn't be seen in the photo but still looks how I wanted and looks just as holographic in person. This is a size M and fits amazingly! 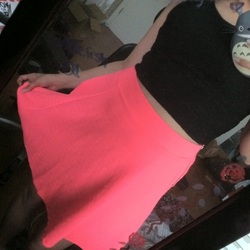 Black Crop Top - $6.79 The original brand is Soprano.The site listed it in good condition and I agree. It's exactly what I wanted! It appeared to be a crop top and was. The texture of the fabric is just like how it appeared in photos. This is a size XS and it fits perfectly! Pink Skater Skirt - $7.50 The orginal brand is H&M. The site listed it in good condition and I agree. The skirt is much brighter in person that it appeared in the photos, but that's okay. I enjoy the bright neon pop it has. This is a size M and it fits great. 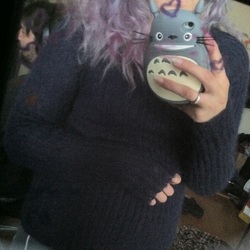 Knitted Sweater - $8.92 The original brand is Banana Republic. The site listed it as having a bit of wear but it's still pretty good. The only real wear to it is the fuzzies sweaters get over time, but none of the knitting was torn or worn down. The color also appeared to be black in the photos but is actually navy blue in person, so that's a little bit disappointing. This is a size M and it fits well. 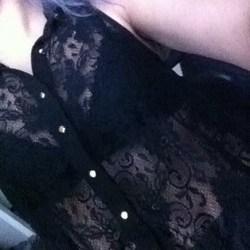 Lace Tank Top - $7.12 The original brand is Papaya. The site listed it as good condition and I agree. It's exactly what I expected and I'm super happy with it. This is a size S and it fits great. 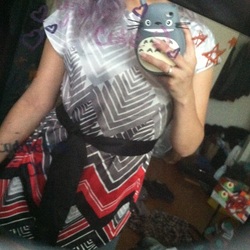 Silk Patterned Top - $10.80 The original brand is Worthington. The site listed it as good condition and I agree. I'm pretty sure it's never been worn before. This is a size M and it fits well. Using My Link will get you $15 worth of credit. Watch my video to find out how to earn even more and check their site often for different deals and sales.
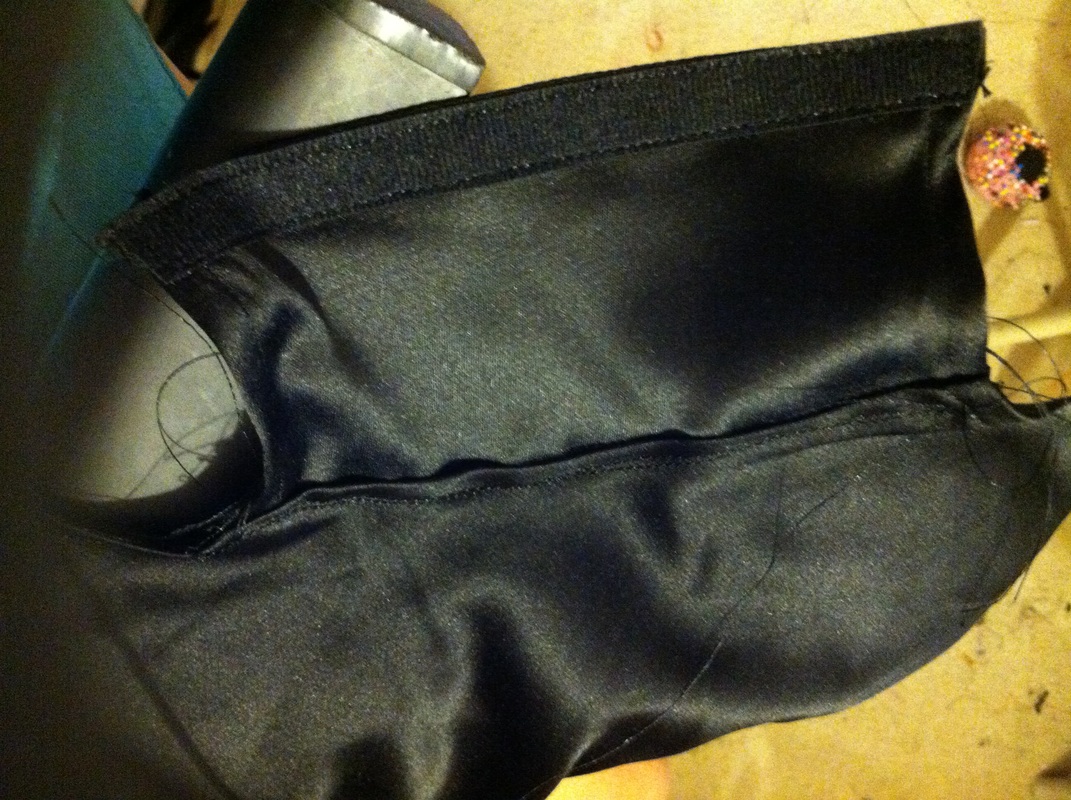
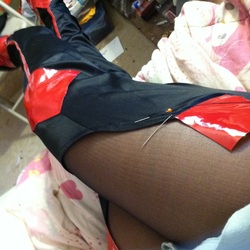
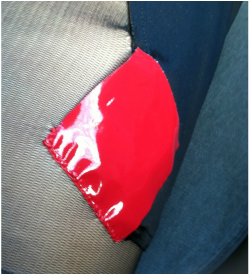
~Positive outcomes only! :) 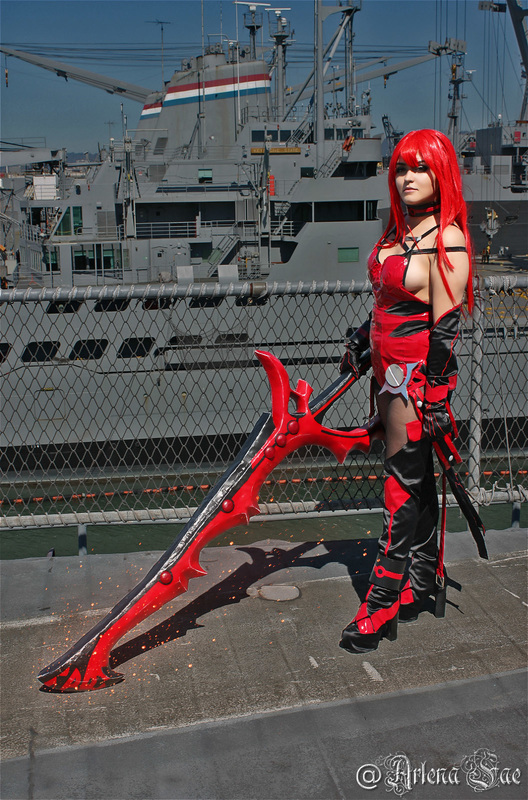 This is how I made my boot covers for my Elesis cosplay. I hope this is able to help you--even with my poor quality photos. 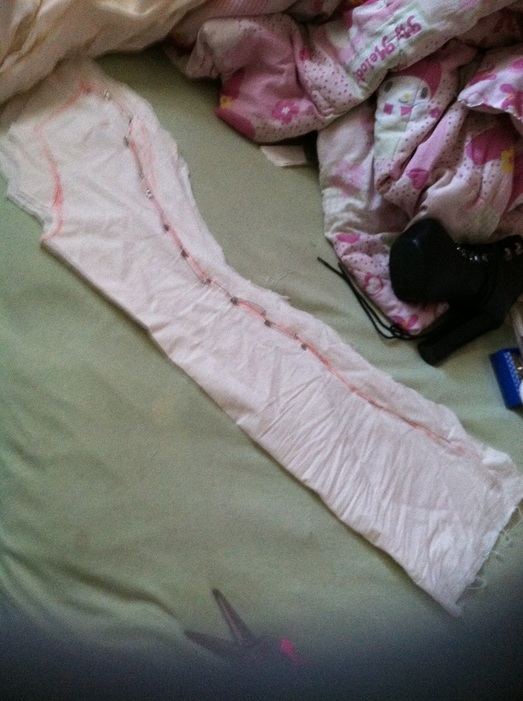 First I made a mock-up using muslin fabric. To create my pattern I laid my leg (wear the shoes you'll be using when doing this) on the fabric and traced around it as best as possible, giving some extra room since a leg isn't, well, flat. It's a good idea not to cut out the exact shape until later, for now keep some extra fabric around what you have traced out. The fabric I'm using for the boot covers is not stretchy. You need to take that into account when making boot covers. With non-stretchy fabric you either need to widen at the ankles or add a zipper. Ankles are typically much smaller than your foot, so that part of the boot cover may not slip over your foot. A similar thing can happen at the knee--this is why it's a good idea to make a mock-up, to make sure everything fits right and avoid messing up on the nice (and probably more expensive) fabric. For stretchy fabric you probably won't have to worry about these problems. You typically size stretchy fabric smaller than your actual measurements so that it'll fit correctly and snugly when worn. 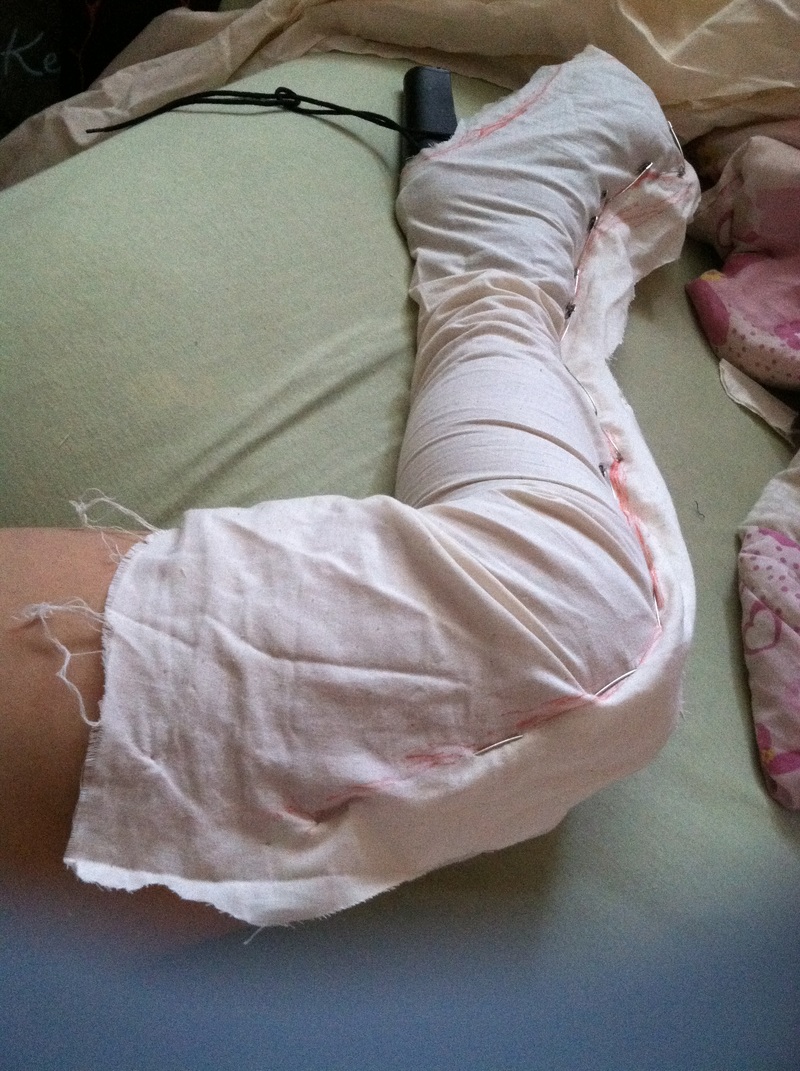 Cut out the pattern plus that extra fabric and pin it together. Then try it on. Keep adjusting the pins as needed until you're about to slide it on and off with little to no difficulty. If you're using a zipper just make sure to have a bit extra for attaching the zipper--other than that just make sure it fits well, no need to slide it on and off except at the foot. If you're using stretch fabric, it's probably best to just pin the fabric snugly around your leg from the start and use that. Muslin is very stiff so it won't behave like the stretch fabric will. If any changes are made I like to retrace along the pins--in a different color. Then cut off any extra fabric but leave some room for seam allowance. 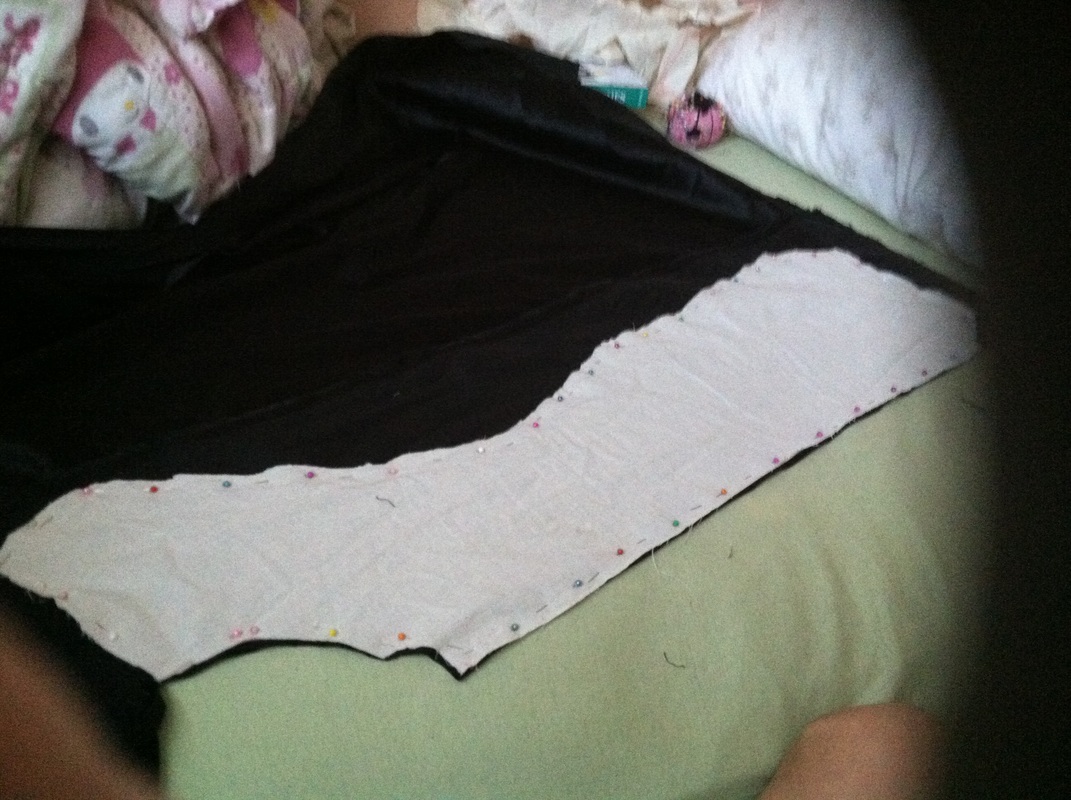 The pattern should create two pieces for each leg (a total of 4). Don't worry about the bottom of the foot for now. Transfer this to the final fabric and cut that out. If you're boot covers are like mine where the sides are different from one another, make necessary changes either to the mock-up or on the final fabric before cutting. If the sides are different then you should have 2 different mock-up pattern pieces, making one of each for each leg (a total of 2 of each). Sew all your pieces together, finish your seams and your hems and you'll be done with this part. Remember leave the top and bottom open.
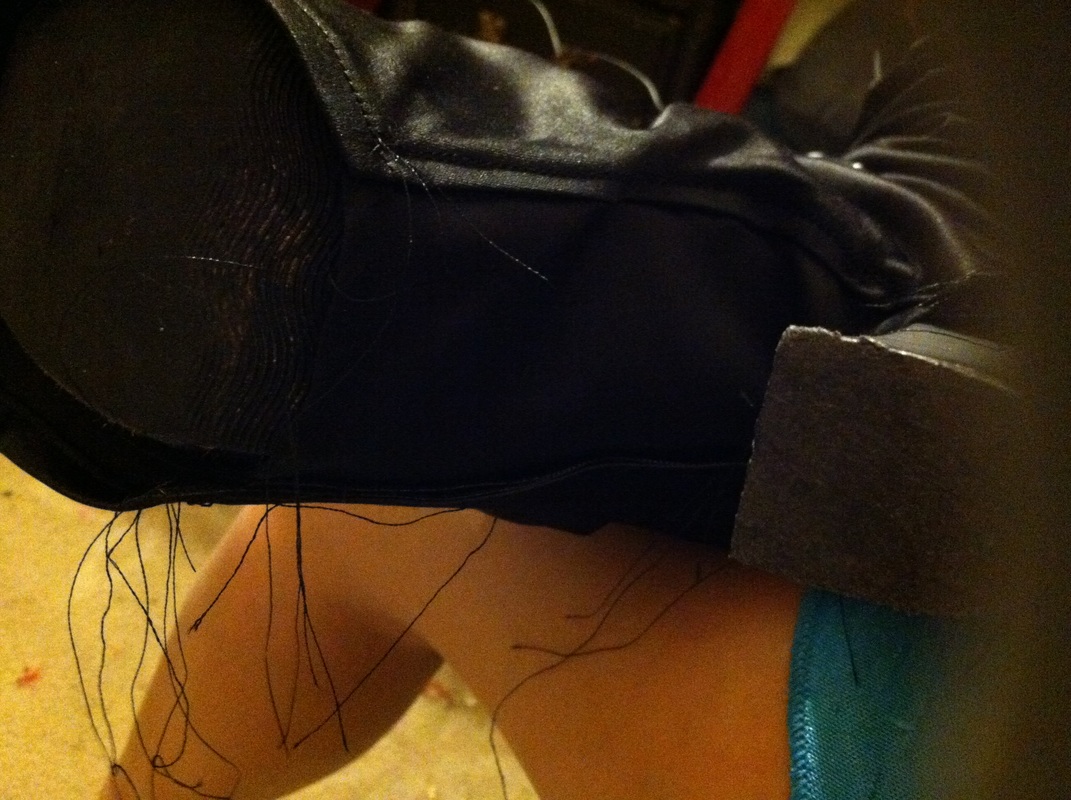
For the bottom part of the shoe these are multiple ways to do this. You can trace the bottom of the shoes onto the fabric, give seam allowance and attache that to the rest of your boot covers--probably best for flats. I've seen peoples sew it like socks, so you just sew the entire thing at the foot shut---works best for stretch fabric. What I did was trace the arched part of the heel--a rectangle shape--and sewed that onto only one side of the boot cover. On the other side of both that flat and the boot cover I added a thin Velcro strip. So I'll be able to put the boot covers on then Velcro it at the bottom for security.
If your boot cover needs help staying up, you can use fashion tape or tights like what I did. I used black tights because that's what the costume called for, but for those with skin showing nude tights will work. Put on the tights, then the shoes and then the boot covers. Make sure both boot covers are even and in the correct place and pin the boot covers to the tights, along the top. I decided to hand-sew the boot covers onto the tights--when I tried to take it off and then sew it, it wouldn't stretch the way it needed to when worn again. So just be careful when hand sewing, although pricking yourself a few times is probably unavoidable--the pain of cosplaying. I only sewed along the highest point of the boot covers. You can sew all the way around if you want, but it's very difficult, if not impossible, to sew anything behind you. If you really want to, I suggest getting someone to help you. I had also added all of the details onto the boot covers before sewing anything to the tights. 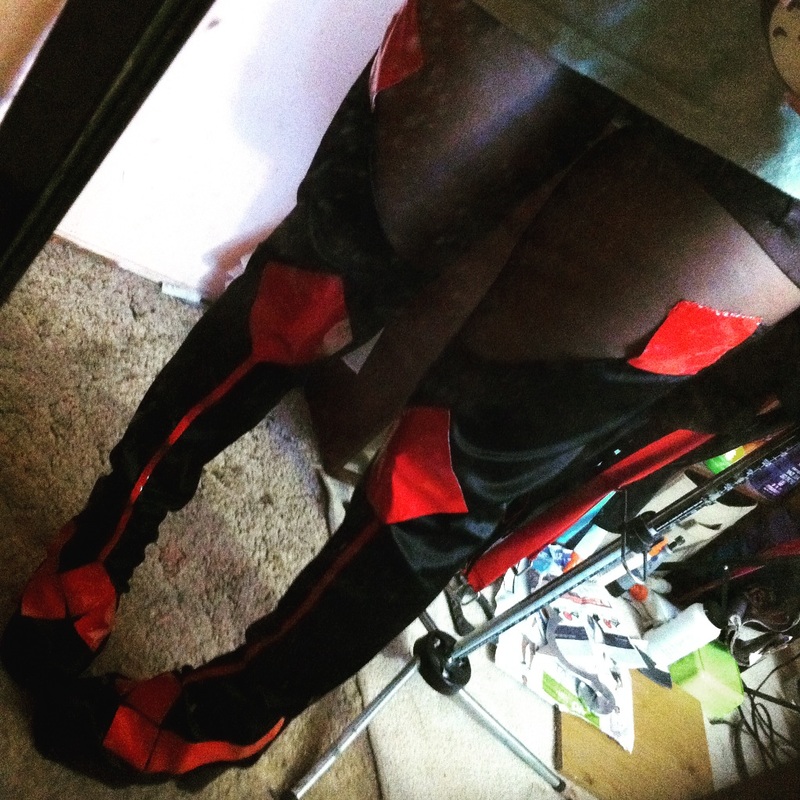 And that's how I made my boot covers. I hoped this explained everything well enough and is able to help some of you cosplayers out there! :) ~Positive outcomes only! :) 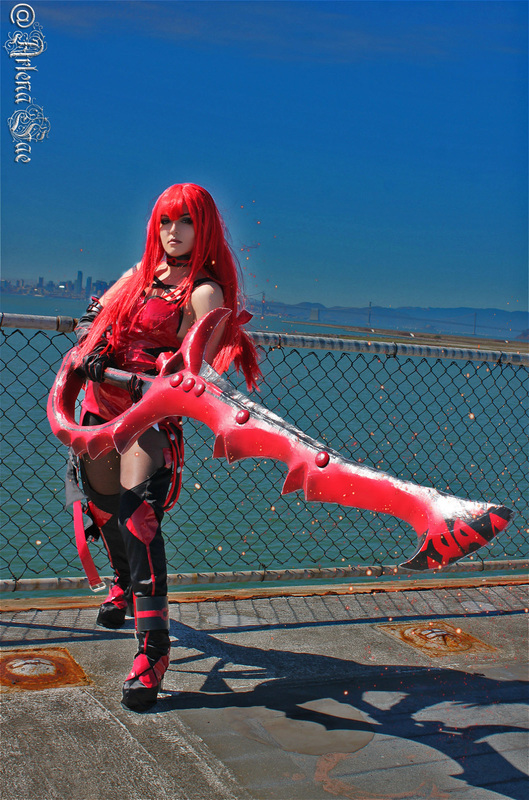 |
Arlena FaeCosplay Tutorials. Hauls & Reviews. Photography. Rambles and Advice. Categories
All
Archives
August 2018
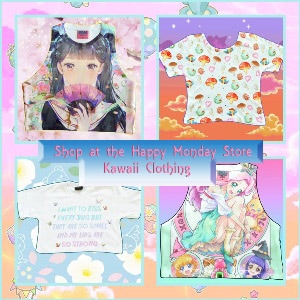
Use the code: "arlenafae" for 10% off purchases at:
http://fashionkawaii.storenvy.com/ |
 RSS Feed
