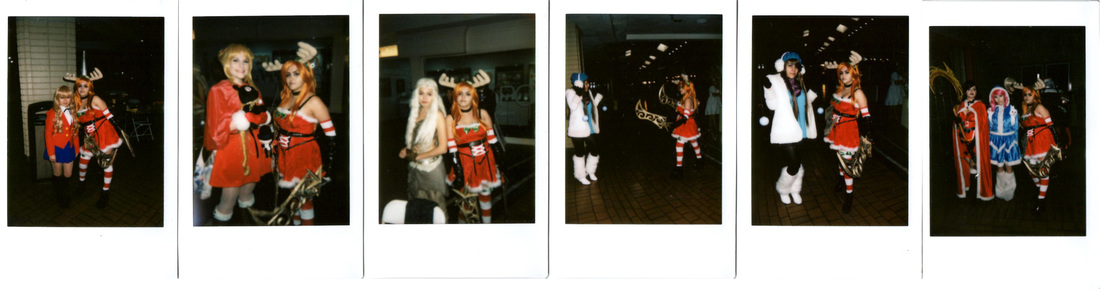
 So here's a little over view of the Ani-Me Holiday Fest event I attended. The convention was a lot of fun. It's was a local, free convention that took place in a mall. The area itself was on the smaller side but it still had a large amount of people attending. And for the area we're in it's definitely one of the bigger (or even biggest) local conventions. The cosplay scene or amount of cosplayers who attend and cosplay at this series of conventions has definitely grown! There's so many amazing cosplayers too! And all the cosplays, whether bought or handmade, are so well done and always look great. 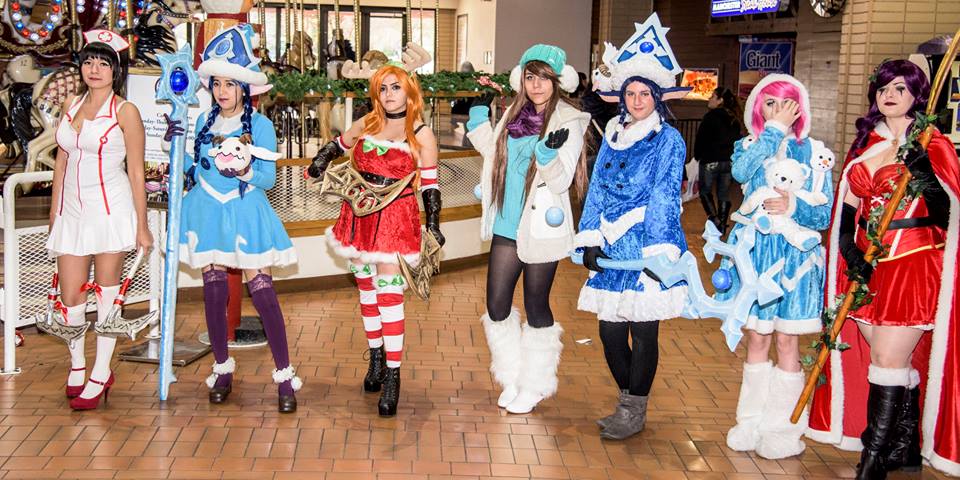 The two group photos were taken by Boss Man on Facebook. We had a gathering for all the cosplayers at the con and another one for all the League of Legends cosplayers since there was quite a few. Keep in mind the photo below wasn't all of the cosplays who attended, either. It was fun talking with and meeting the other local cosplayers. I also entered the little cosplay competition and derped out a bit on stage because I have no perception of time, whoops! There were also some pretty cool booths/tables! I really loved all the artist tables, they're all so talent--I wanted to buy so many prints. There were some funny and creative panels and performances, as well. 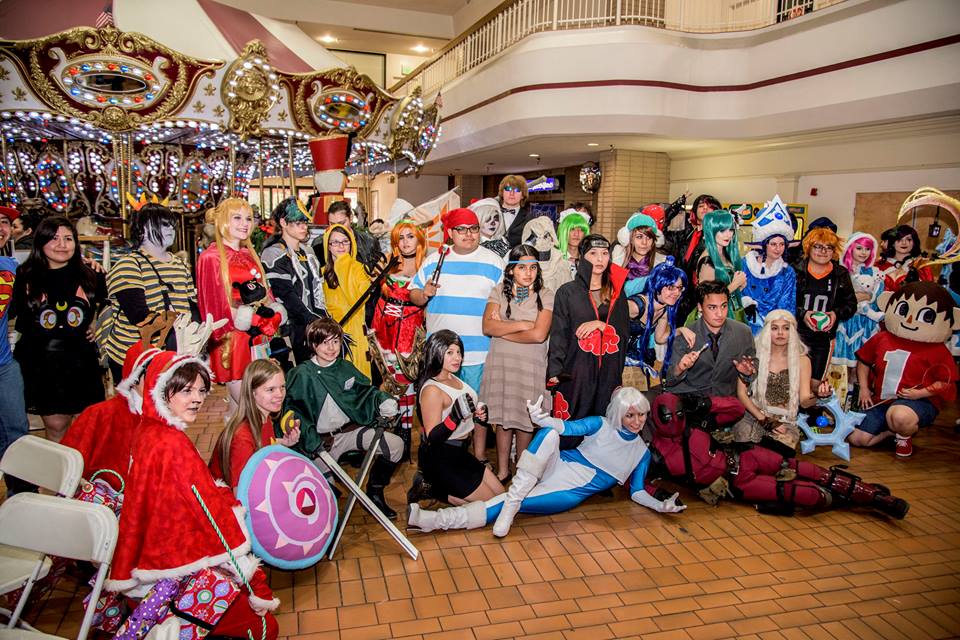 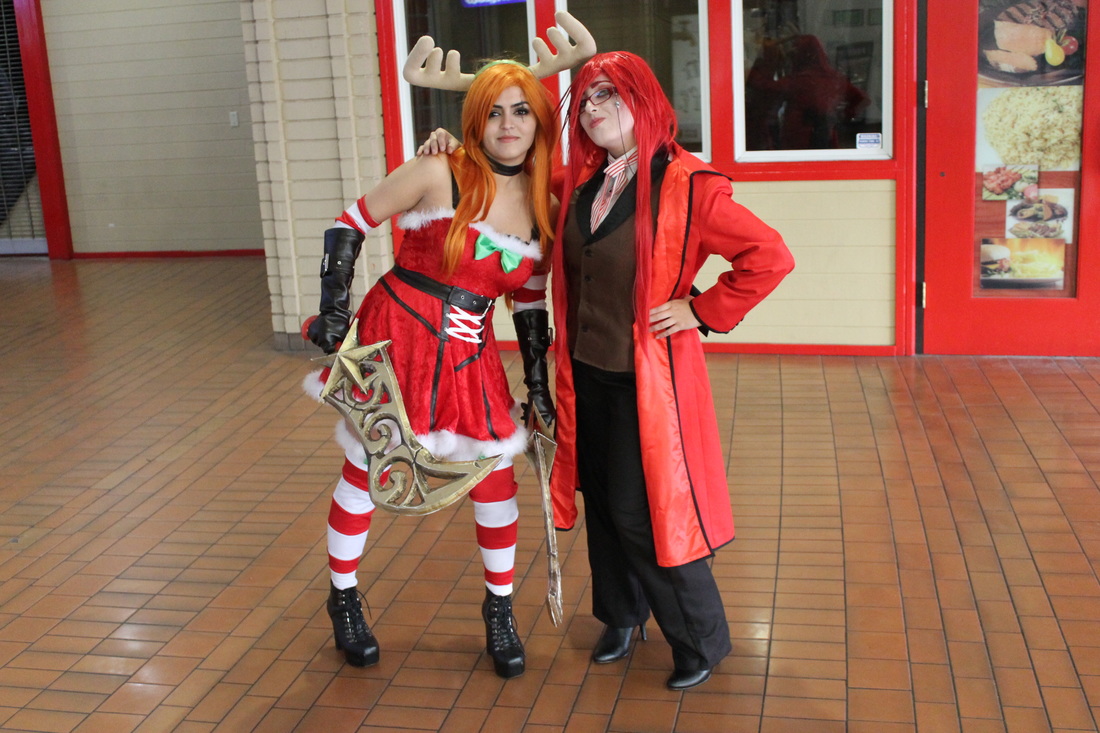 I cosplayed as Slay Belle Katarina from League of Legends and let me just say, this cosplay did not want to be made. Everything technology wise, like my sewing machine and Dremel kept breaking or not wanting to work correctly. So I had to improvise and injured myself many times in the process, then proceeded to ignore safety directions for products like Bondo and spray paint--breathed in way too many fumes I shouldn't have and got it in the cuts on my finger. Follow the safety directions! Don't take short cuts like me in attempt to finish something in time. Luckily I ended up getting help doing the sanding on my props from my cousin. She'd never done anything of the sorts, nor is really interested in it, but she's super supportive and helpful and it was really nice of her to help me out! I'm pretty happy with how this costume turned out. I wish I could've gotten the props a little smoother but I didn't choose the best materials to make them from. I also wish some of my stitches and seams were nice, but my sewing machine kept doing odd things which messed up the stitches, ate the fabric or resulted in loose/un-stitched pieces that I had to resew. It still got the job done and unless you're specifically looking at the poorly stitched parts it's not ever noticeable. I created everything but the shoes from scratch on this costume! The headband was an old one I removed all the decorations off over and replaced the fabric with green. Then I made antlers and attached those to the headband. I made the pattern for the dress using muslin before sewing the final product.I made all the belts from scratch as well and punched all the eyelets in both the belt and corset pieces, then added Velcro so the extra ends of the belts would stay put. I also created the striped fabric by combining two different ones and hand sewed all the furry bits onto the costume. I'll have more about all the specifics in a later post. Overall, the convention was super fun and I love seeing how the Ani-Me conventions are growing. I really enjoyed the artist tables and fellow cosplayers. It's always fun to see and share creativity! I'm so excited and will not only be attending, but help in judging the cosplay competition at the next Ani-Me convention, Ani-Me 5.0. ~Positive Outcomes Only~ 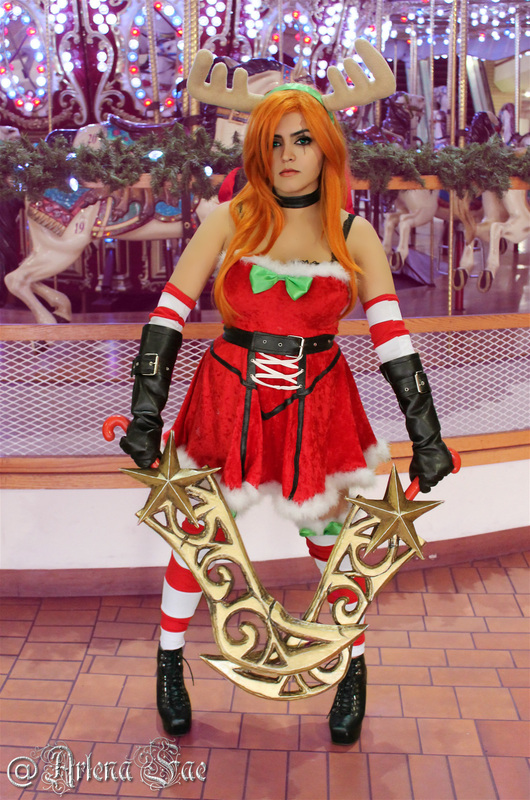
0 Comments
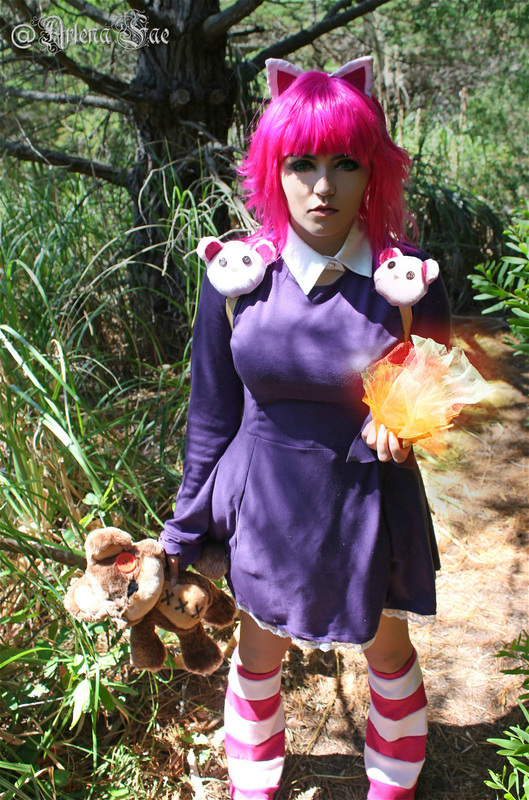 Here's a bit of an overview on how I went about making my Annie (from League of Legends) cosplay. I made her original classic skin, not the new one--I don't really enjoy sweater vests. 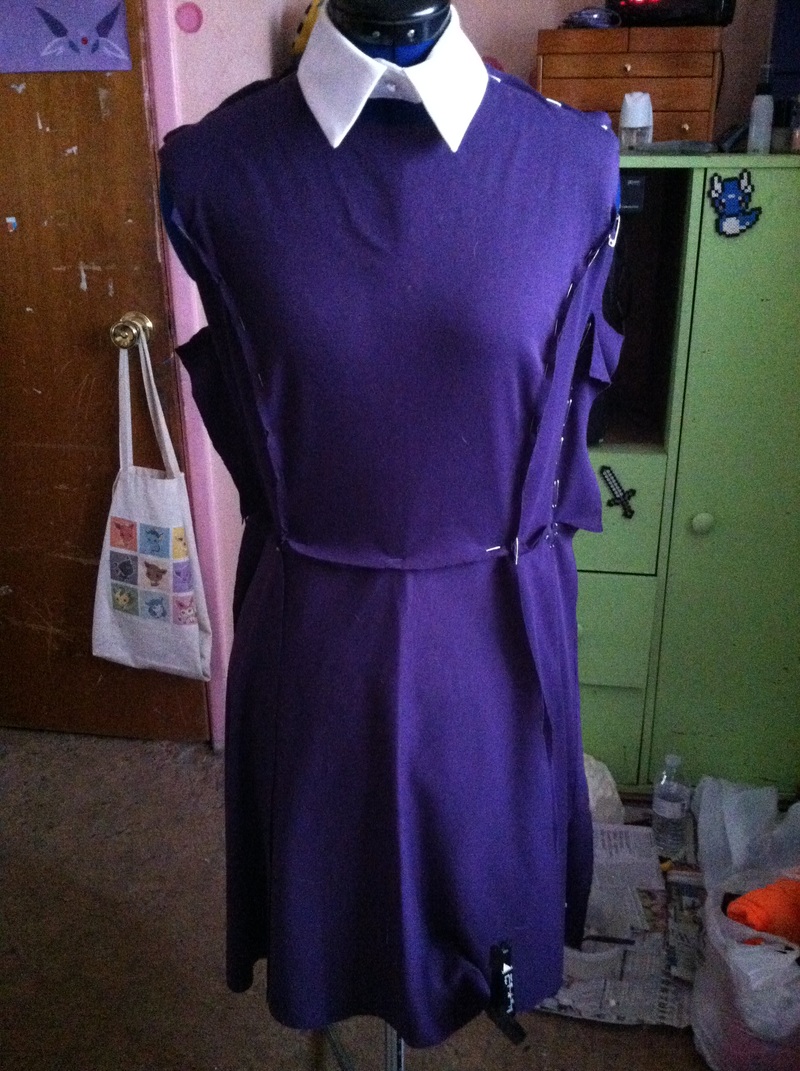 For the dress, I used a pattern from Simplicity. I can't remember the specific one, but just browse around and I'm sure you'll find something suiting. I did mod it a bit, mostly the length and the cuffs. The fabric I used was a type of stretch, lightweight cotton material. For the collar, you could easily just layer the dress over a button up shirt. I had one I ordered off eBay already (it's an accessory sort of thing), so I just used that. 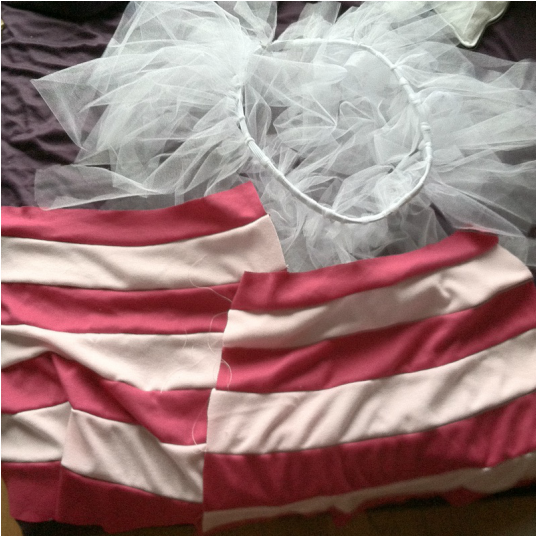 To make the skirt poofy, I took tulle and attached it to an elastic band I cut and sewed to fit me. All i did to attach the tulle was cut long, thick strips and tie it around the elastic band, at the center of the tulle strip (hope that makes sense-you end up getting two layers from that one strip).For her leg warmers, I used two different fabrics and sewed them together in a horizontal stripe pattern. I cut multiple strips of each color about 2 1/2 inches wide--with seam allowance on either side. The very top strip is folded over and has an elastic band sewn inside. The fabric I used was the same as the dress, a comfortable, lightweight cotton with some stretch to it. To make the pattern--so they would have the right shape and length--I used newspaper and created a cone shape around my leg. 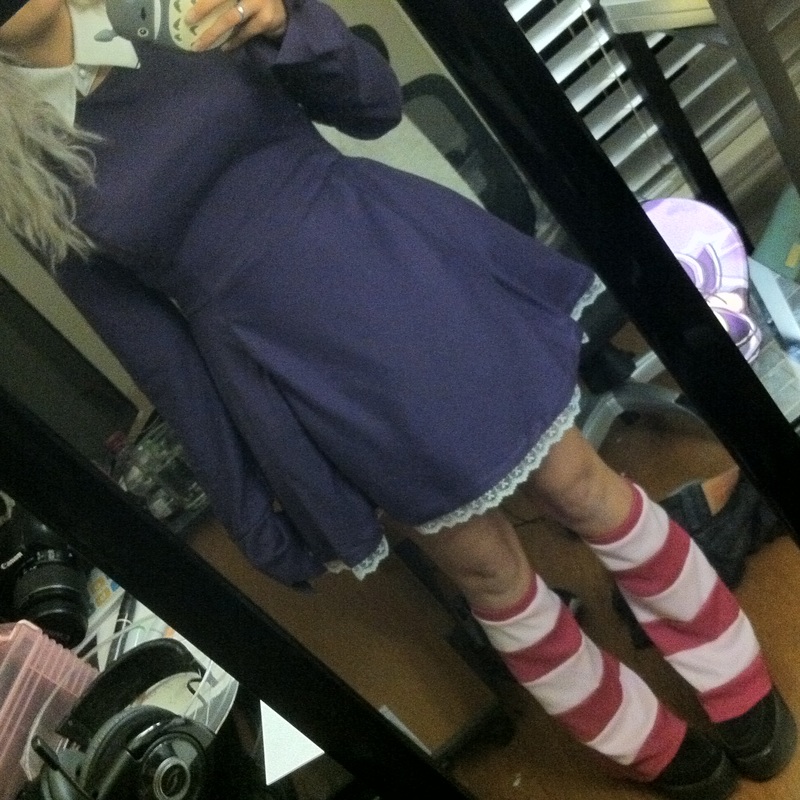 I also added lace around the bottom of the dress. 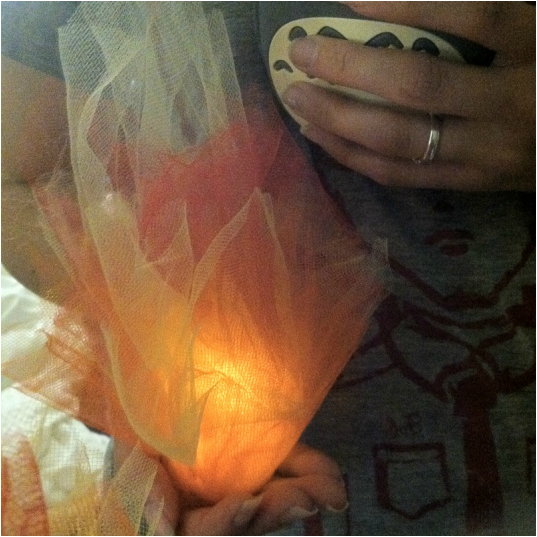 For the fire, I used red, yellow and orange tulle and wrapped those around a battery-powered, flickering tea candle ($1 for 2 on eBay). I cut and shaped it better after it was wrapped around the candle. Just fiddle with it till it looks how you'd like. 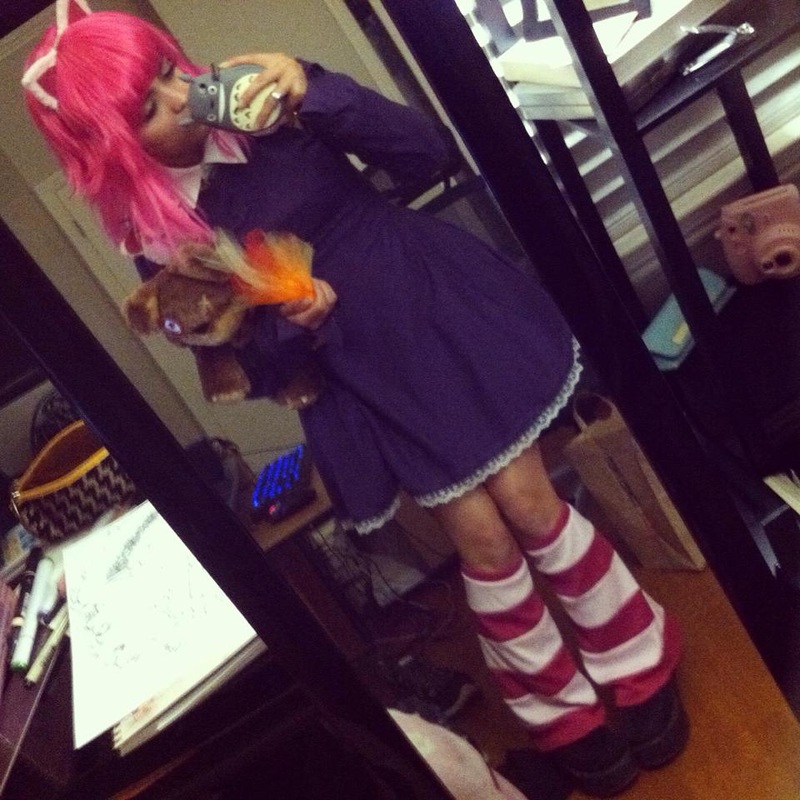 I already owned a cat ear headband, so I traced those ears and made a sort of covering using the fabric I used on the leg warmers. A cardboard base glued onto a headband could work just as well (or stuffed ears). I also made some bear heads using the fabric I used for the leg warmers and attached those to a small, pink backpack I already owned. Tibbers was bough from the Riot store. And that's how I made Annie. Hope any future Annie cosplayers can find this helpful. I also sell some of the accessories, like the leg warmers, in my store! ~Positive outcomes only! :) 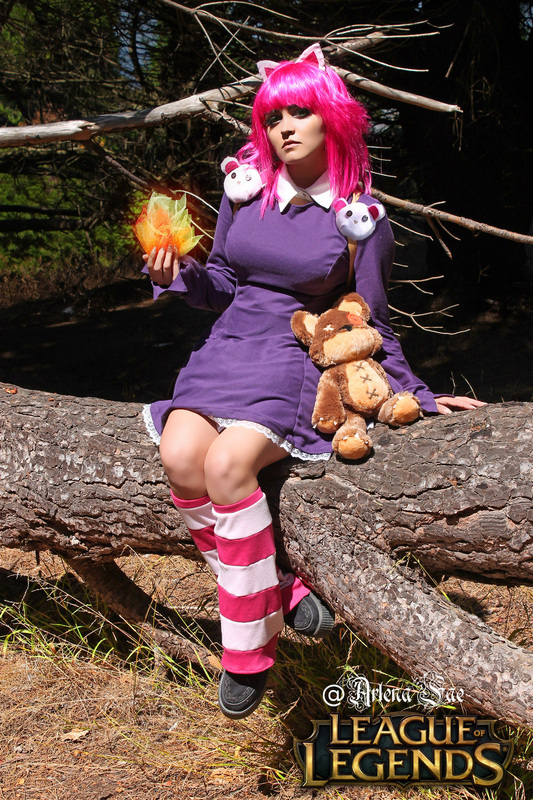 This works best with and I'd only recommend using stretchy materials when following this tutorial. 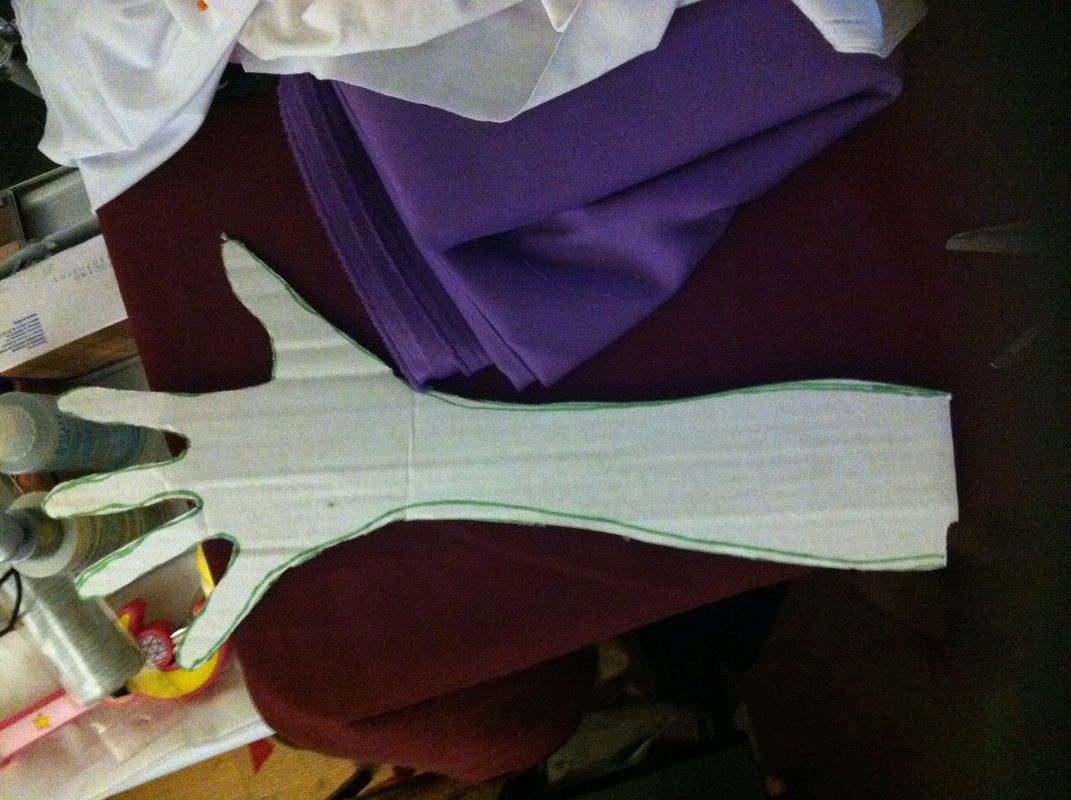 Trace your hand and as much of your arm as you want onto a piece of cardboard, then cut it out. You should get something like in the photo above. 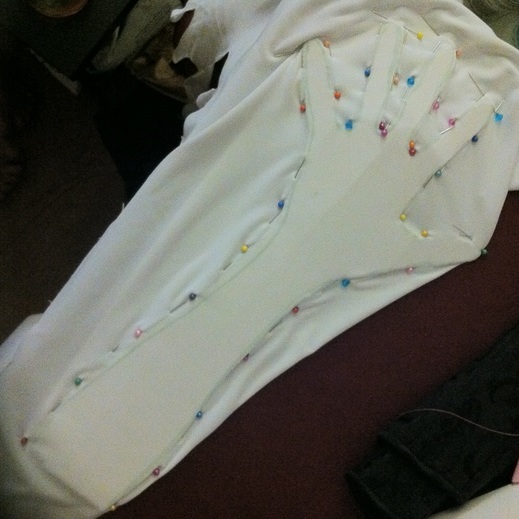 Next take two layers of whatever fabric your using and place it below and on top of the cardboard hand. Have the right side of the fabric facing inward, towards the cardboard. Pin along the edges. 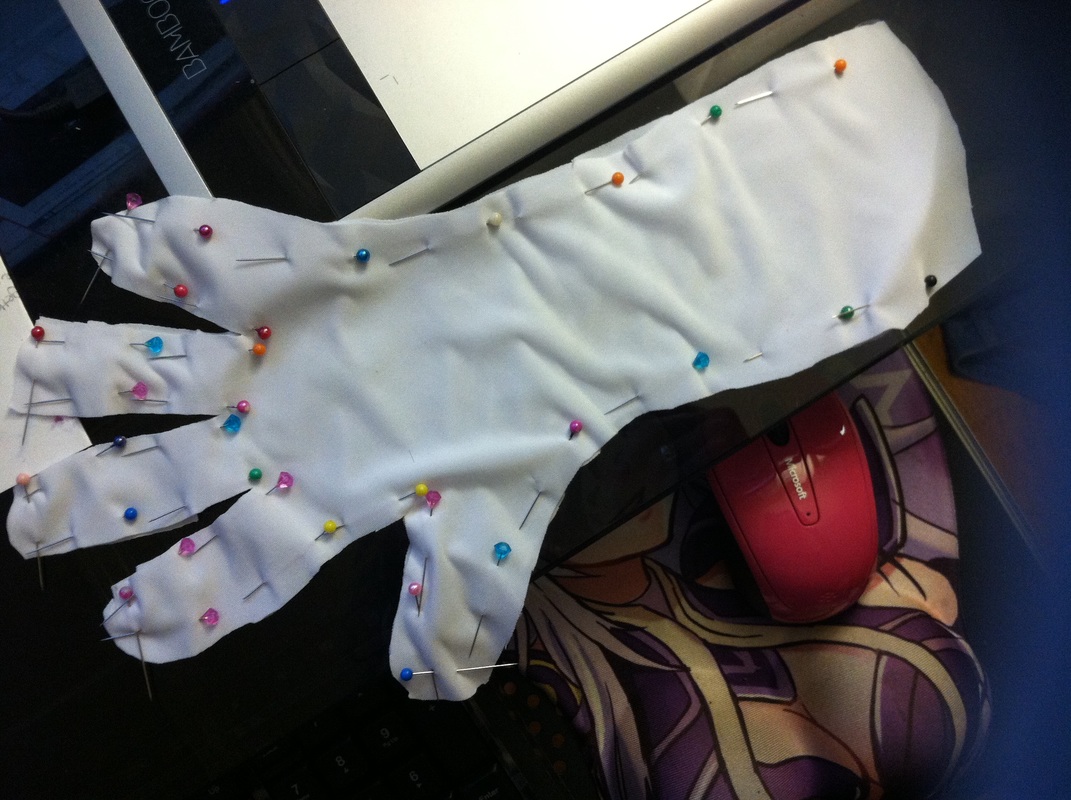 Cut off excess fabric/around the cardboard, give some seam allowance. Then remove the cardboard. This can be a little tricky and some pins may come loose.Outlining the shape using fabric marker/chalk or using safety pins instead of sewing pins could be helpful. 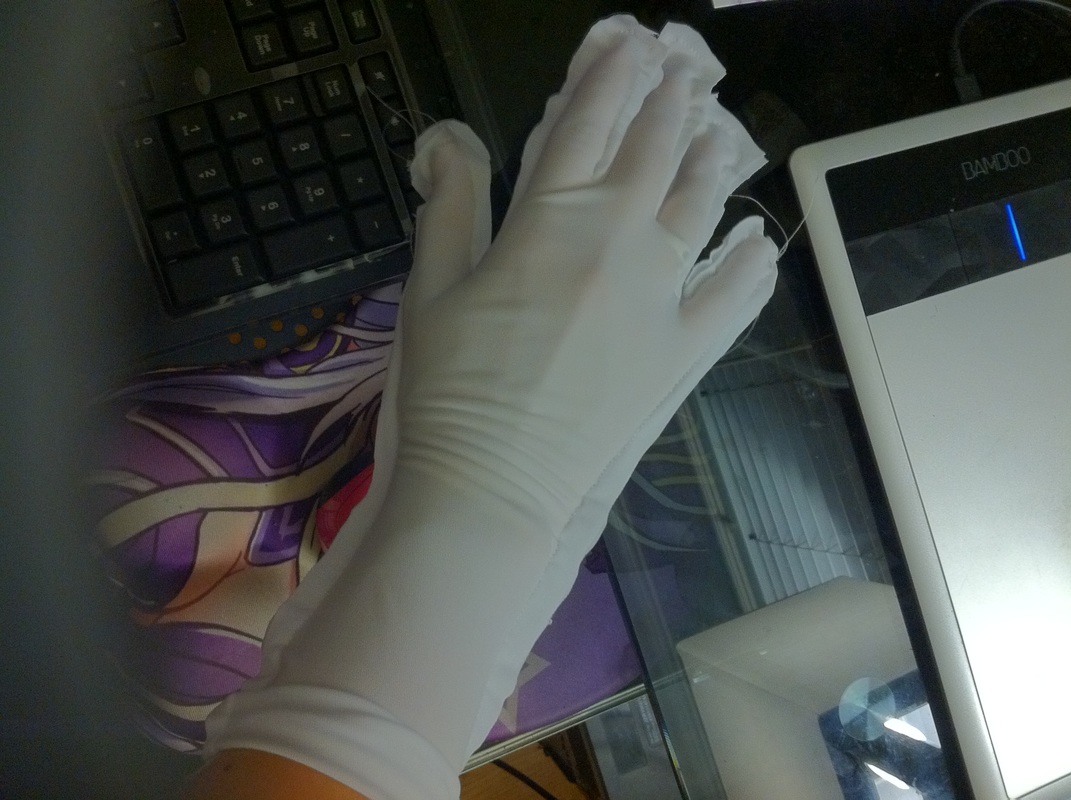 After that, sew it up. Cut off any excess fabric and finish your seams. Remember to add whatever other details you need before or after sewing the glove pieces together depending on the design. And your finished! 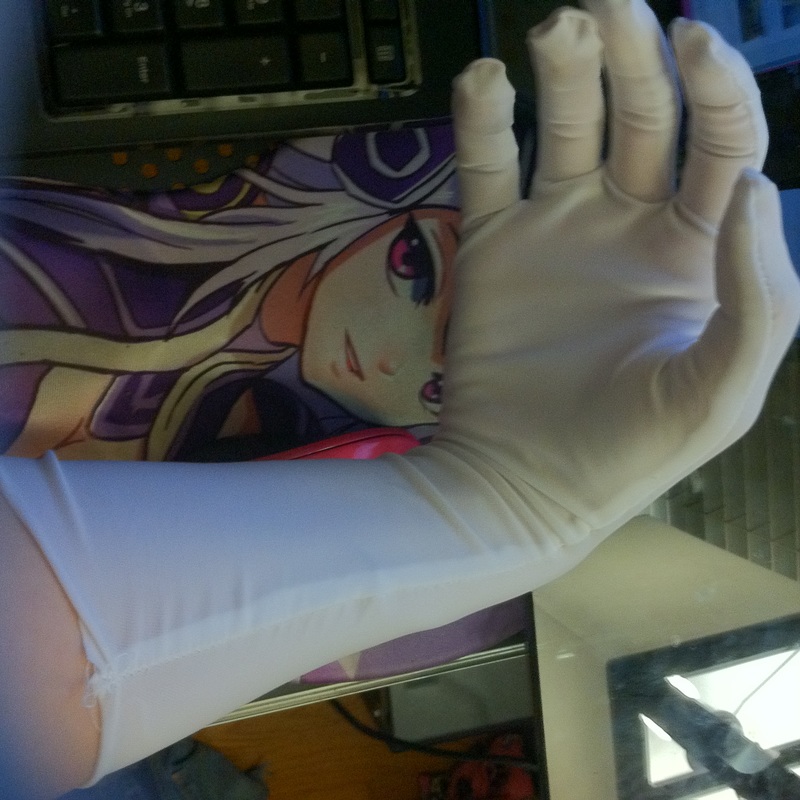 I hope this was explained well enough for you all to find it helpful! :)
~Positive outcomes only! :) |
Arlena FaeCosplay Tutorials. Hauls & Reviews. Photography. Rambles and Advice. Categories
All
Archives
August 2018
Use the code: "arlenafae" for 10% off purchases at:
http://fashionkawaii.storenvy.com/ |
 RSS Feed
