|
Unfortunately I never took progress photos for this. These were also the first props I ever made. So they're not perfect, nor very good. I'll explain what I would've done differently as we go along. 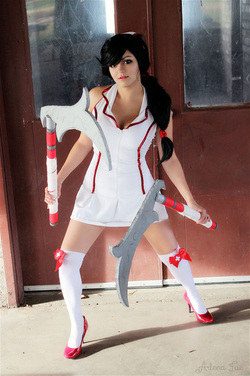 For this I used thick foam poster board and Styrofoam posts. I traced and cut out the shape onto the poster boards to create the blades -use a reference photo to figure out the shape. I wouldn't say poster boards were a bad choice. They worked out fine. Of course, worbla or expanding foam may work better and offer more dimension. I could have also used craft foam or carved the detailing on the blades.  If I were to go back and redo the handle I would've used PVC pipes. But, for the handle, I used a Styrofoam post I found at the local craft store. It wasn't typical Styrofoam though. This wasn't full of many pores (at least on the outer layer/surface) -so it allowed for an even (but rough) look once painted. If I were to go back I would've have primed it before painting. If using the Styrofoam and not PVC, I would've paper-mached it for a more smoother texture and too fill any holes. I did attempt to give it more dimension by creating slight indents around the handles where the rings of color were (the silver rings). After that I simply painted it all using a paintbrush and acrylic paint. To finish it off I used only white fabric I had laying around then wrapped and glued that around the handles. I also glued the blade and handle together. I believe I used super/crazy glue for this (do not use hot glue on Styrofoam). If I were to go back and redo this I would've used better fabric (the one I used was fleece/felt like) and would've shaded and highlighted the weapon to finish it off. This prop did not last long. It only lasted a few days worth of use. I wore this costume for Halloween a few years back and it lasted that night and had to be touched up before shooting this cosplay.
0 Comments
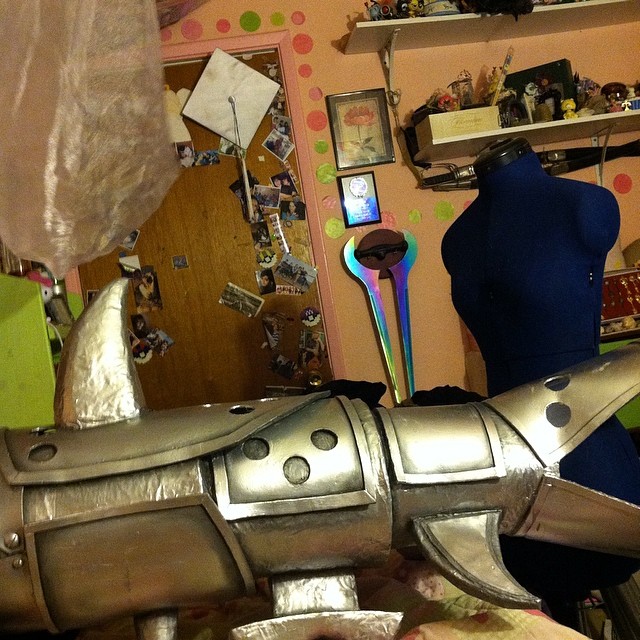
Here's how I made Pow Pow, Jinx's mini gun from the video game, League of Legends.
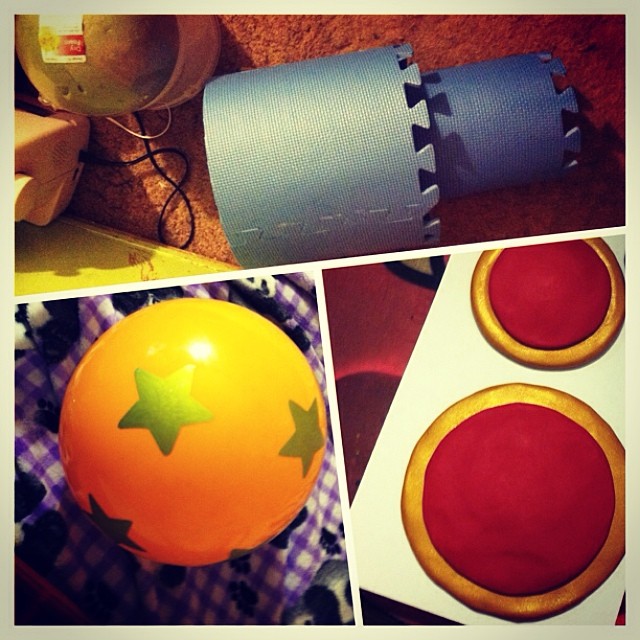
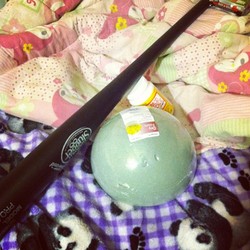
For the base of the end I took an old ice cream bucket and removed the handles. I also picked up a dome/half circle of floral foam at Walmart. 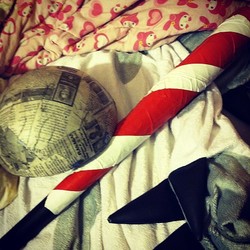 Floral foam is easy to break and crush and very fragile. So using it as is isn't a good idea. In order to make it sturdy I wrapped it in quite a few layers of paper mache and let that dry.
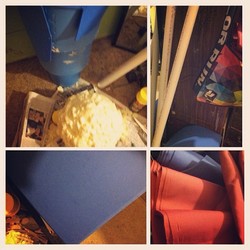
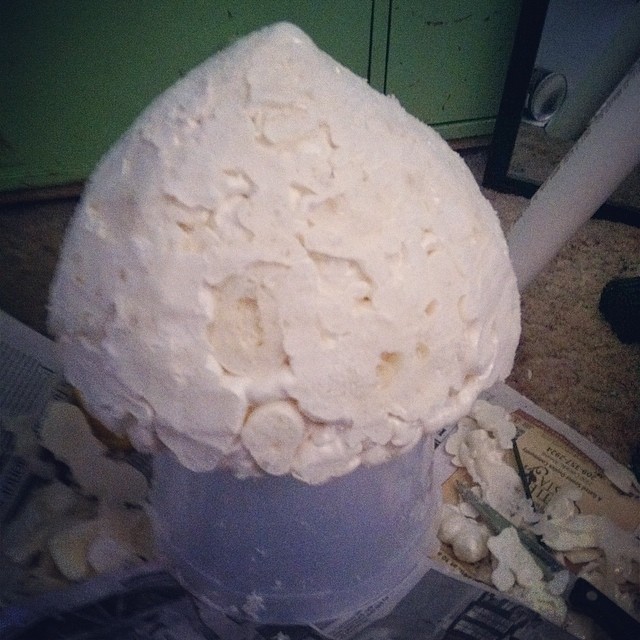
The reference photo I used and preferred had a funnel shape look for the end of her mini gun. In fact, a person who made that design said they used a giant funnel. Since I couldn't find a large enough funnel I used floral foam and expanding foam. I first attached the floral foam onto the bottom/underneath of the bucket using hot glue and super glue. Then I covered the floral foam in expanding foam adding more to the top rather than the sides. After that dried I used a box cutter and steak knife to give it the shape I wanted. If you're wanting to get the shape of how it is in a majority of her photos and game model you could easily follow the same steps and shape it more squared and angled with the steak knife and box cutter. Cardboard could even be used instead. Paper mache that once it's done.
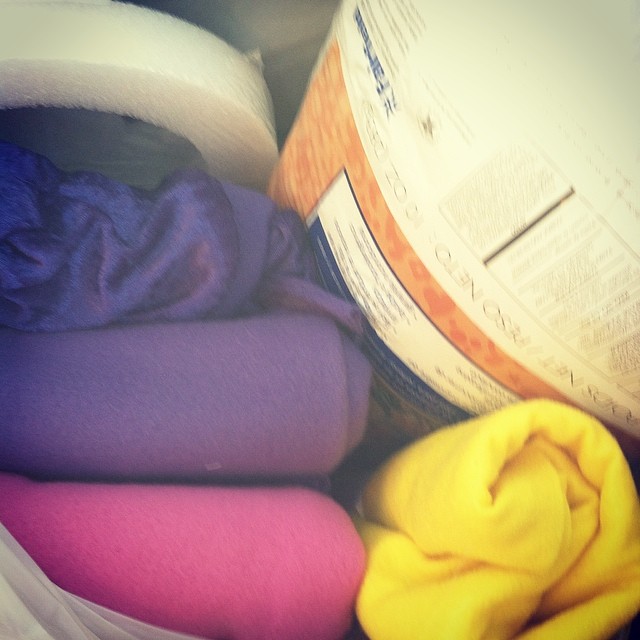
For the handle toward the front I took a Styrofoam disk with the center cut out and covered it in a few layers of paper mache. For more information on how to paper mache refer back to my How I Made Fishbones post. 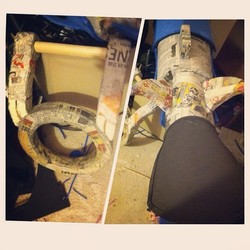 For the handle part of that piece I cut out the original shape in cardboard. Then covered both side (one side at a time) in expanding foam and shaped it once both were dry. Paper mache that. Next I cut a piece of a wooden post to a tiny bit longer than the length of the Styrofoam disk. I carve out a shallow notch, in the shape of the ends of the wooden post, into the sides of the handle and glued it in there using both hot glue and super glue. Now that the actual handle is finished, I attached that entire thing onto the Styrofoam disk with both super glue and hot glue. If you want even more security and nut and bolt on both ends could work too. 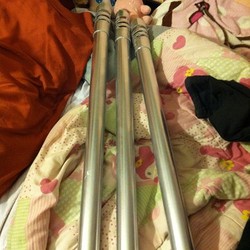 For the barrels I made the ends using craft foam but first cut out a pattern using just normal paper. I didn't have access to any, but it's recommended to use a plastic primer for spray paint before painting the barrels. Once you're ready spray paint it with metallic paint. Since the ends are pink I later went and wrapped a sheet of paper around each barrel just under the craft foam part and then spray painted it. Remember to seal all craft foam pieces with before hand. For the rest of the attachments I used a mixture of craft foam and expanding foam. For other two pieces that go around the barrels I used crafting foam. I cut out a circle then places the pvc pipes ontop of that and traced 3 smaller circles into that then cut it out -this makes sure it'll fit right around the barrels. For the handle at the end of the mini gun I used a card board cut out of the shape I wanted and cover it with expanding foam, shaped it and then covered it in paper mache and attached it with super glue and hot glue. I did the same for the small hook-like piece that comes off of that. The vent-like design on the side is made from crafting foam as well. I first cut out the pattern on a normal sheet of paper then traced it onto crafting foam, cut that out then glued it to the funnel part with hot glue. For the bucket part, I once again used craft foam and cut out little half oval every inch or so across a long rectangular craft foam piece. I used hot glue to attach it. I took all those pieces out and spray painted that. For the front handle I just spray painted the whole thing pink then went back later and used acrylic paint to paint the handle brown and add slight wood detailing. For the bottom piece I first spray painted the entire bucked with metallic grey paint, once dry I wrapped that in paper and spray painted the funnel part with the pink paint. I'd later go back and use an orangey-yellow color for the cut out half oval pieces of the bucket, and using the same technique and paint as I did with the wooden part of the front handle, I painted the back handle. Note: The reference photo I used had wooden handles and the back one looked barrel (like wooden barrel, think root beer or something) shape. 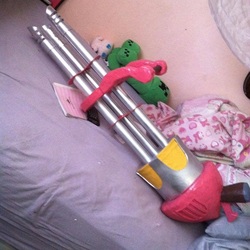 I also cut out a circular piece of craft foam that fit in the opening of the bucket and had 3 smaller cut outs that fit the pattern/shape of the pvc pipes and painted that with the metallic grey. I slide all the pieces onto the barrel then placed them where I wanted them in the bucket and filled it with expanding foam. I used the expanding foam like glue since I knew it'd be the sturdier option for keeping the pvc pipes in place. Keep in mine you're going to have to sit there for 5 minutes holding them as still as possible while the expanding foam sets and then have some set up so you can have the barrels facing upwards, to finish drying completely for the next like 15 hours. I'd later go back and super glue and hot glue all the rest of the pieces on the barrel in place. If you have longer nuts and bolts available to you, I'd recommend attaching those through the bottom of the Styrofoam disk and the two bottom pvc pipes for more security. The ears were cut out in craft foam and painted with acrylic paint. I just attached those with hot glue to the Styrofoam disk. And the bottom piece was made from two identical pieces of cardboard and expanding foam. I covered one cardboard piece in expanding foam, let that dry, cut off the excess around the side then made the top (top as in when it's laying flat on what would technically become the side after it's attached) as even as possible then hot glued on the other piece of cardboard. Then I went around the sides/edges and covered it in craft foam. I also traced out that same shape (as the cardboard) 2 more times in craft foam, only with a center piece of the cut out as well, and glued that onto either side of that piece. Seal that and spray paint it pink and once that dries paint the middle (that was cut out from the craft foam) purple using acrylic paint. Go ahead and attach that to the underside of the mini gun using hot glue and super glue to glue it onto the bottom of the bucked and bottom of the front handle. I shadowed and highlighted everything using oil paints. I'll probably make an entire post on highlighting/shadowing, like where's best later on (or someday xD) but for more tips check the Fishbones post (posted right before this). I used a guitar strap to carry it, making a loop with one end and looping it around the top pvc pipe just behind the front handle and bolting it to the bucket piece on the side that rests against me.  And finished. :) Hope you all enjoyed this post and/or found it helpful.
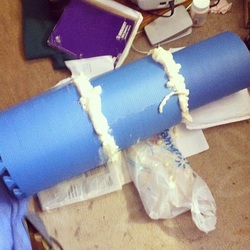
~Positive outcomes only. Here's a little bit on how I made Fishbones, Jinx's rocket launcher from the League of Legends video game. So first I started off by gathering my supplies. I used a lot of different kinds of foam ~craft, EVA, expanding~ and glue ~super, hot~. I bought EVA foam squares (aka exercising mats) and turned those into the base of Fishbones. Most people used a large pvc pip or one long even strand of foam or something else that's sturdy. But at the time of making this it appeared to me that Fishbones had levels throughout it, although it could've been the different sizes of armor on him.  Either way, in order to achieve this look I took 2 squares and formed a circle with them (just by gluing them together it shaped correctly ~same with the rest) to create the first half. I took 2 and a half for the second piece and for the 3rd used a little more than 1. Reminder I was basing this off of the music video version of her, and in the exact paused scene I was referencing, Fishbones looked to be about as tall as she is. All the cosplayers of Jinx I've come across go off of the video game model when it's miniaturized on her back, so if mine is looking over-sized, that's why. I wanted to go all out huge. A rocket launcher would be huge in reality anyways xD.
To attach all the pieces together I laid them so that the little "teeth" on the bottom piece of each would lay just after the little "teeth" on the top piece. Basically I just laid them inside each other until it looked about even. Then I placed the bottom two on top of different sized objects (books) to get it so that the piece would lay center with no foam pieces actually touching each other. And then I took a can of expanding foam and foamed all around the lower piece and inside of the large piece (using it like glue but to fill in the gaps as well). Since the foam expanding a lot more in some parts than others, I had to go back through with a knife (or a long bladed box cutter would work) and remove some of the foam (in curved cuts) to let the eva be able to even out and make everything as even as possible. Once I did that I finished it off by removing all the excess foam on the outside (I didn't bother with the inside, that part will be blocked off anyways).
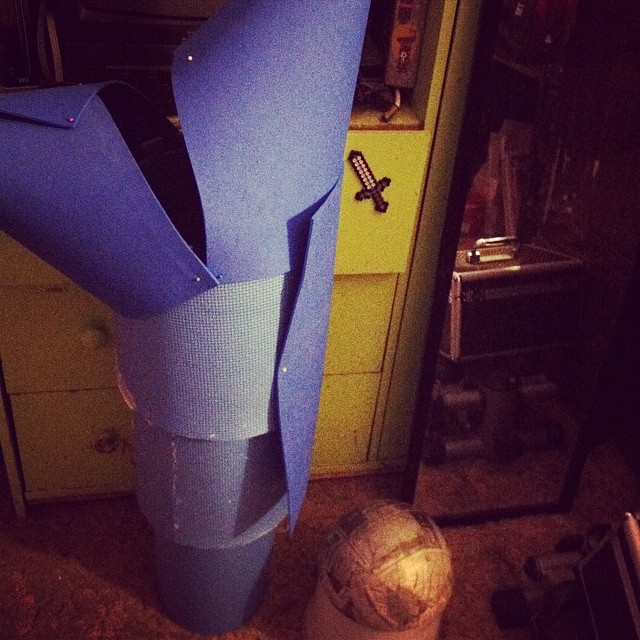
Next, I used craft foam to make the armor pieces. Before cutting anything I laid it out and pinned it (using sewing pins) to the eva foam and drew out a rough sketch of the shape I'd want it at using a pencil (and light pressure!). For the fins and the handle I took a cardboard outline and covered it in expanding foam, shaped it with a box cutter and steak knife, then paper mache-d those. I made the handle larger because I've planned to revisit this and alter the prop when I have money for it. I found a small portable fog machine online that has a small switch box for it so the handle is designed for me to be able to cut out and place the switch box inside of it with the flips sticking out and just poke a hole through the bottom (which means wiring has to be detached and reattached but whatevs :P) and it'll be able to be strung through the prop and connect to the fog machine. I also wanted to wire in lights to the switch box as well. But that's for a later date. In order for that expected mess and the current mess to be nicely hidden I cut out circular shapes out of craft foam, one that'd fully cover the back and fill the hole completely and another for the front that covers most of it but leaves spaces so that the fog could still get through. To attack these I took all the extra teeth that I had cut off of the eva foam from earlier, stacked them up and glued them to be the same height as the 2 different levels and glue them into the props then the circular pieces onto that (it also made the prop sturdier). So that the tails fins at the back would be sturdy when getting knocked around a bit I took thin wooden sticks/post (circular onces) and attached that to the center underneath/inside of each fin with glue. I also used a knife to cut in ridges every so often so it looked like it'd was metal piping or wiring and fit in with the rest of the prop. For the outline of the armor I cut thin (maybe an inch or 1/2 an inch) of craft foam and glue it onto the armor pieces. The teeth where triangle shapes cut from craft foam as well and attached to the head with hot glue.  Before gluing anything onto the base I unpinned it all and took it all off so that the base could be paper mache-d. There's a rough side and a smoother side on this eva foam but I when with the rough side (mostly because for me it didn't matter). In order to paint foam you have to seal with (either with wood glue, or plastic dip I hear works) ~it was out of my budget though either way, but old news paper and .79 cent Elmer's glue mixed with water wasn't! That's how you paper mache by the way. Take either the more expensive mod podge (which I did once because I didn't know ;-; ) or Elmer's (craft) glue and mix it with equal parts water. Paper mache will make some areas a little wrinkle-y though. Just as a heads up. In photographs its an easy fix with lighting and smoothing it in editing but it may be noticable especially when close up a conventions. 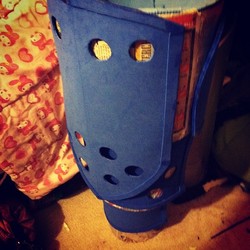 Once that's dry go ahead and attach all the armor pieces. Once that was mostly attached I went ahead and used a box cutter to cut out the holes in the armor. Using light pressure and a cardboard sheet underneath, I made sure I didn't cut through the Eva foam. In order to get even hole sizes I used a spool of thread and traced that lightl with pencil. I eyeball-ed the spacing between each though. I attached the head pieces on, so that they'd be movable, using nuts and bots. It's easy to just poke a screw through the foam so you're going to need a nut at the end of it so that the screw doesn't just slide out and you can tighten it enough to make the head stay in place and not just easily flop back down or fall off. 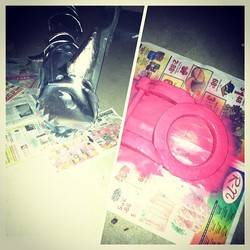 Once that was all done I went ahead and painted all the armor pieces with wood glue to seal it. A smarter quicker (but slightly more expensive way) to coat it is with different sealers (like plastic dip) or spray wood glue ~I already owned lots of wood glue (thanks grandpa!) so I used what I had. Once that's all dried I took it outside, laid down some new papers and coated it twice with metallic "aluminum" colored spray paint.
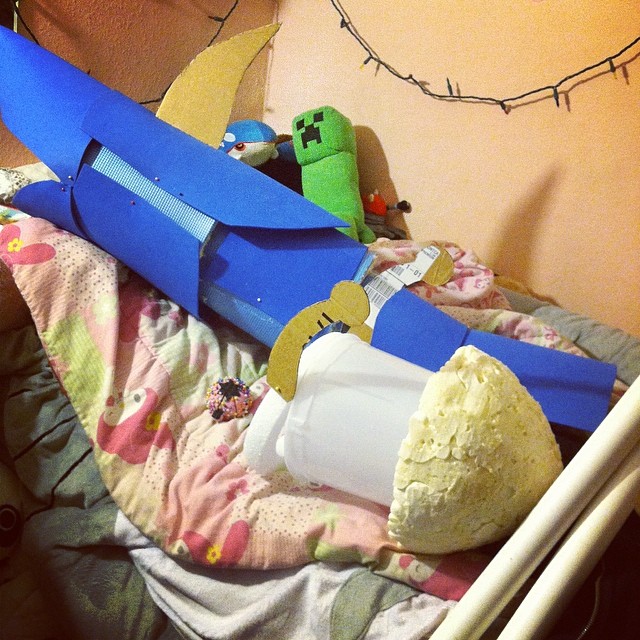
For the shading and highlighting I used oil paints I bought from walmart. Acrylic paints work too but it dries a lot faster and can be more difficult to blend. Oil paints take a day or two until they're completely dry and are easy to smudge out and blend. I shadowed every ridge, the more underneath something (whether it be a prop or another piece of armor) that more shadow and darker of shadow I made. For the highlighting, I highlighted just a long, very thinnly, along the corners of the ridge of the different pieces of armor. I also took a small amount and blended, blended, blended it along the top curvatures of the head piece and fins. Once the highlighting and shadowing was done I coated once more in gloss-y, non-yellowing clear spray paint. I wanted it to still look metallic and oil paints dull out and matte that areas they're in but the gloss paint fixed that. For the eyes I took a sheet of plastic (a plastic bag jewelry came in ~same material of the bag wigs come in) and painted it. I did this so that the lighting in the future could show through it and make the eyes look like they're glowing that color. ~I actually attached a flashlight (a small one) at the con using duct tape (ghetto??? xD ) and it worked like I wanted :3 Although it wasn't noticeable in the lighting. If you have a brown belt go ahead and use that for the belt around fishbones. I didn't have one to spare though so I just used some belt-like fabric I had and shaped a belt buckle out of polymer clay. Then glued that all on. 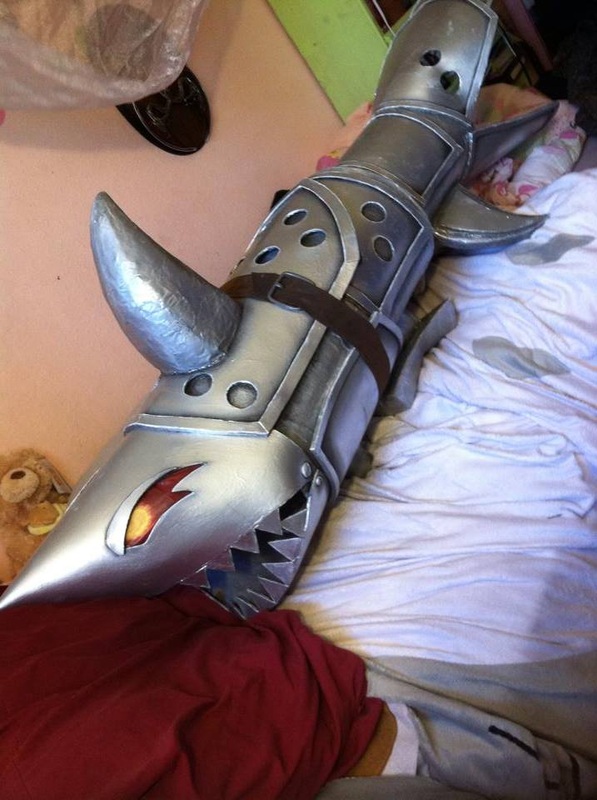 And finished!
I wasn't 100% happy with this. I could do better, especially if I had better material and the right ones. But for what I had to work with I am happy with the outcome. Oh and in order to carry it around, at the convention I attached a guitar strap to the underneath using 2 nuts and bolts (same technique as the head). It turns out this post is a lot more than a little bit? o.O ~Positive outcomes only :) |
Arlena FaeCosplay Tutorials. Hauls & Reviews. Photography. Rambles and Advice. Categories
All
Archives
August 2018
Use the code: "arlenafae" for 10% off purchases at:
http://fashionkawaii.storenvy.com/ |


 RSS Feed
