|
So I ordered two test prints to see how this method works. If I like how the prints look, the company, shipping, etc. If I do then I think I'll list some prints on my Storenvy :) I have it all set up to go. I figured why not. If they sell they sell, if they don't oh well. They'll all be pre-ordered anyways so after so long (and I have at least 1 order) I'll order a batch of prints (or the amount I need), sign em and what not, and then ship them out. 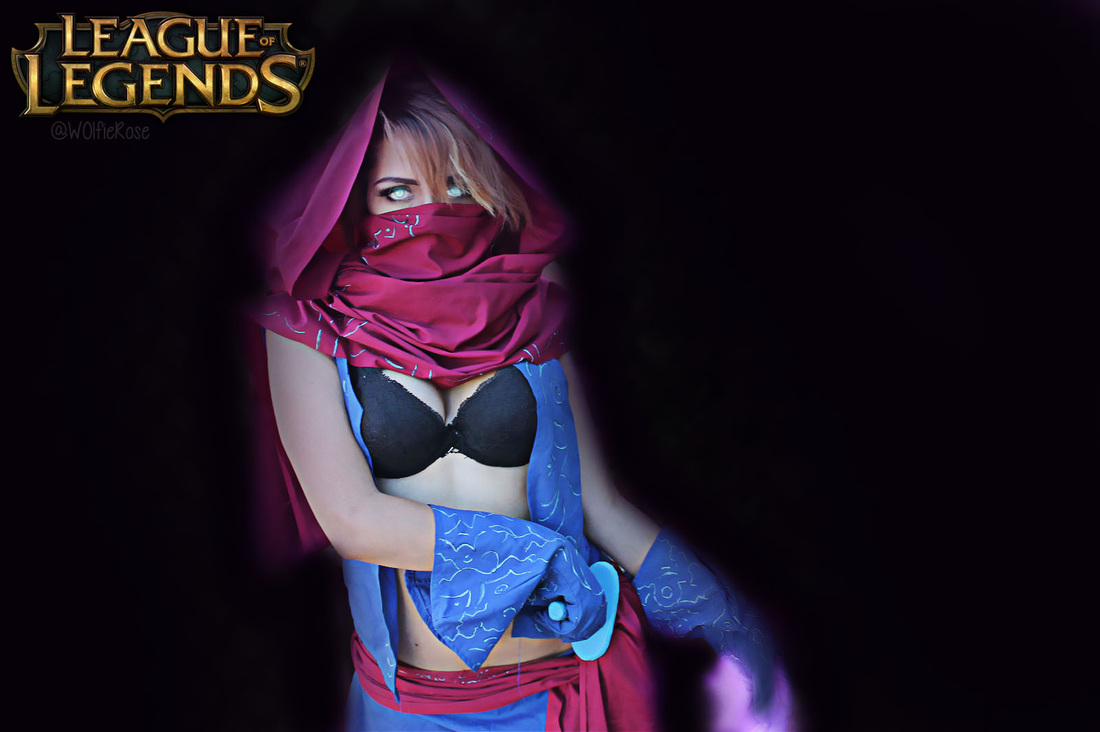 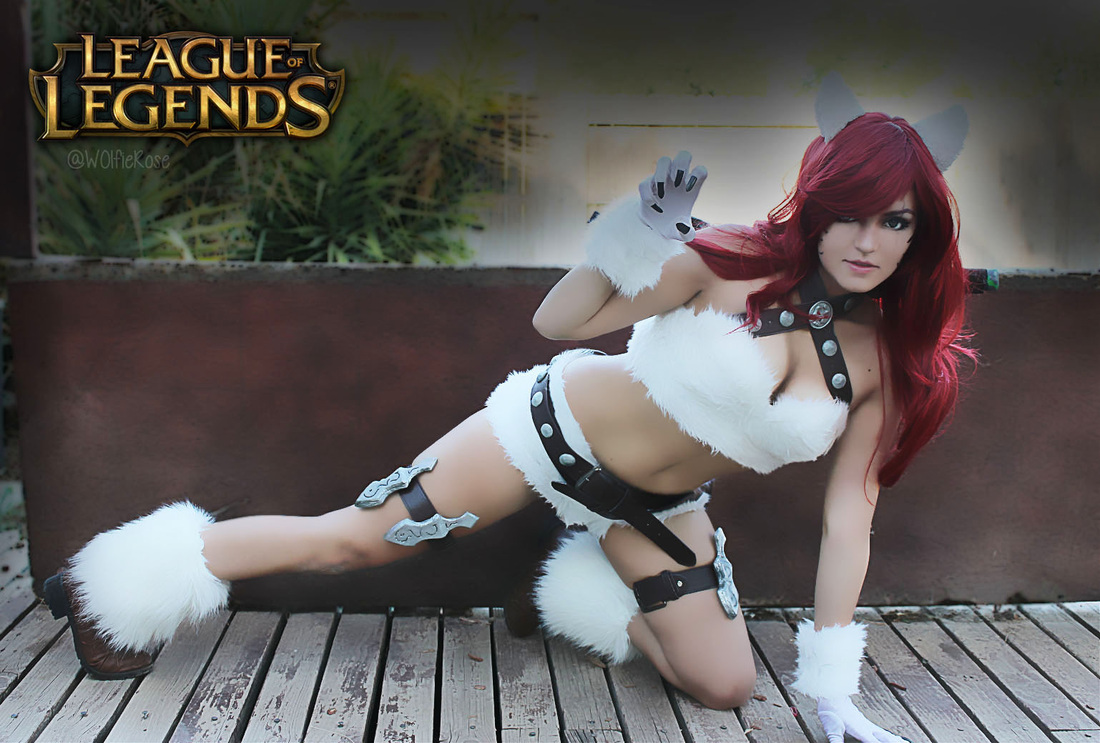 These are the two test prints I choose (without the watermarks of course ~ @w0lfierose ), The Malzahar is in the larger size 8x12 inch and the Katarina is in the smaller size 4x6 inch. The larger prints will range from $10-13 at the moment and the smaller prints will range from $5-6.50. I determined my prices by adding up the costs of the prints to be made, shipping & shipping material, and picking a middle ground between the few most common print prices I saw. 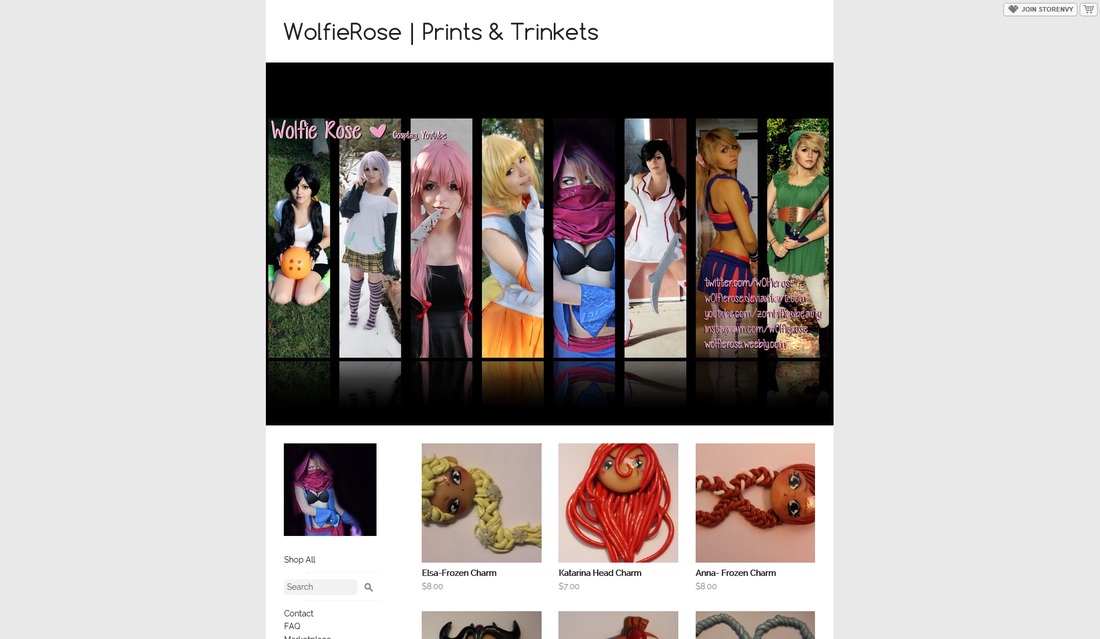 I also updated my website's URL and appearance.
0 Comments
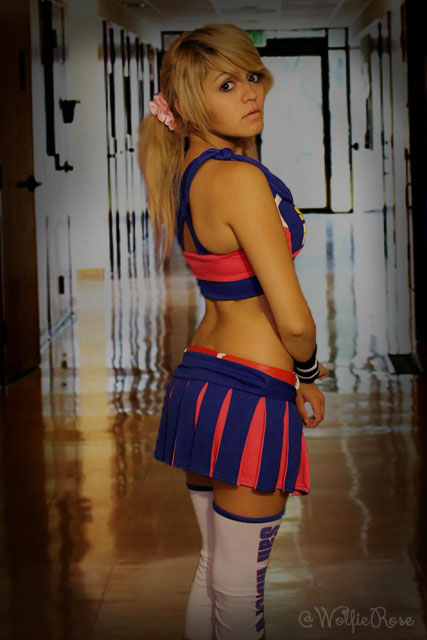
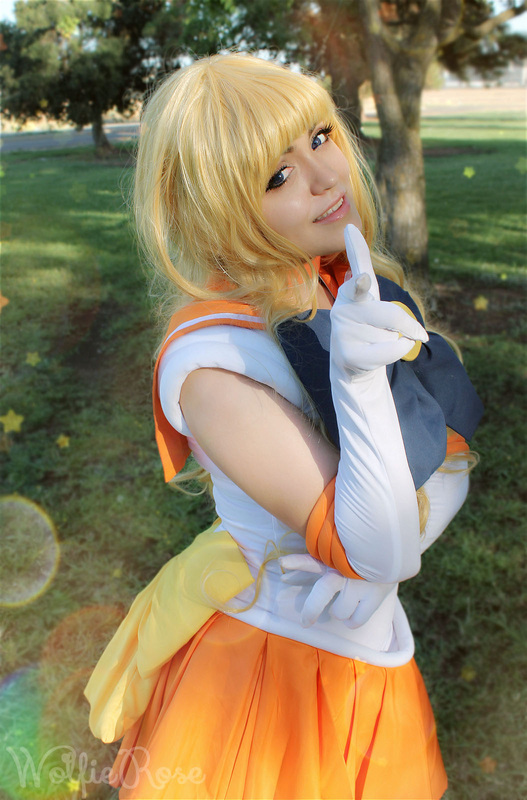
I've seen so much... controversy, I guess, on sexy cosplays.
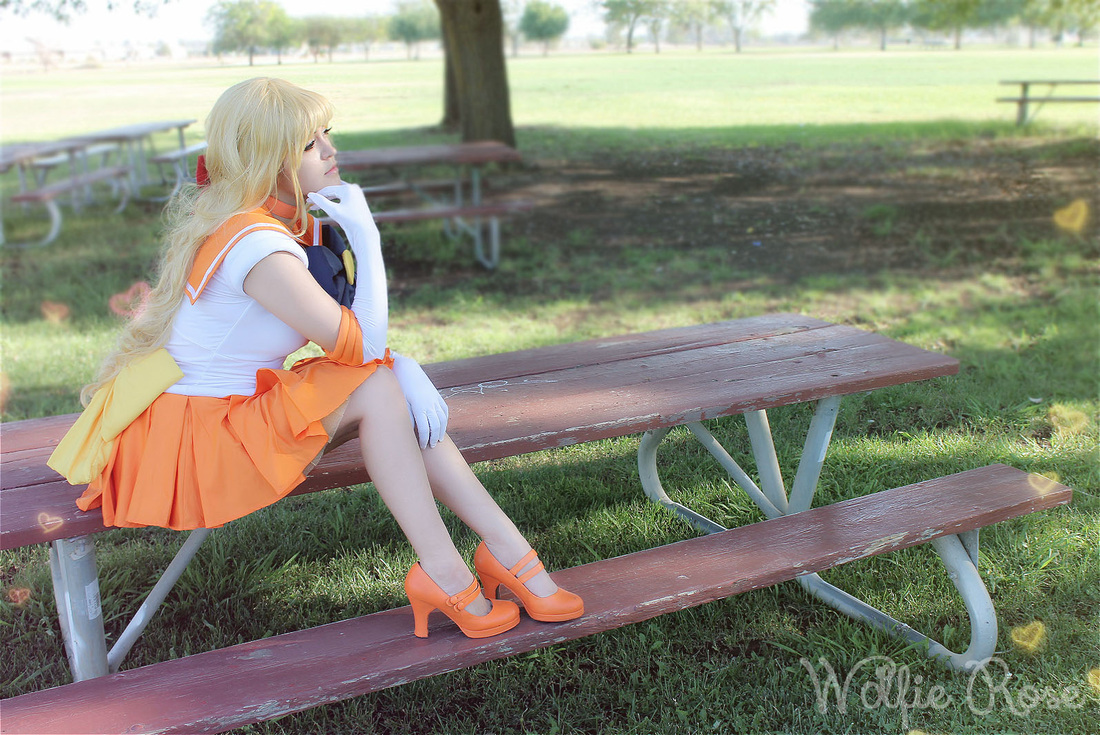
It's quite silly actually. There are no rules to cosplay. Everyone should be allowed to cosplay who they want and how they want regardless of gender, body, skin color, etc. It is cos-PLAY after all. It's for fun. It's a hobby and passion for many even, so their genetics, appearance and whatever else shouldn't be a reason for them not to cosplay or create costumes of characters the love--whether it be for the character themselves or the costume design of that character. And since there are no rules to cosplays, then sexy cosplays aren't an exception. They allow a lot of people to design their own creative and unique take on a character. It's also no a bad marketing strategy and let's be honest, people know it'll sell or get attention (everyone loves boobs right?). And that's not a bad thing. These people put a lot of time and work into their costume and it takes a lot of confidence to wear it in the first place, if they want attention for their work and/or know it'll be a way to draw in more viewers of for their other work, so be it. They deserve it! You don't have to look at it if you don't want to anyways. And if you do enjoy their work, even if it's not that specific cosplay, you shouldn't complain. If it's what brought you there and made you discover this awesome new cosplayer, then it's a good thing right? If it's not, but it's bringing in new admirers, then yay! The community is growing. You have a lot more people that share a common interest with you, socialize. And then there's other people that do sexy cosplay just because they love sexy cosplays and they're awesome and boobs are great. No shame in that. I feel a lot of people that have a problem with sexy cosplays are angry about it out of jealous. This happens a lot either way though. A lot of people get jealous because "they're prettier", that cosplay got more attention and they may feel theirs was better or more deserving, "they only have so many likes/fans/whatever because of the boobs/butt/whatever." And yeah that happens. Someone does a sexy cosplay and draws in a lot more attention than someone who might have done an incredibly well done accurate cosplay or even someone else who also did a sexy version. Then people get mad and angry due to jealousy and the fact that they feel they may have tried harder on their cosplay or don't understand why they didn't get the same reaction. Sometimes the people don't cosplay, and are just upset and mad because maybe they want to and don't have the confidence to or feel because they don't look like that or whatever there's no point (have more confidence, though!). But life isn't fair. Everyone says that and it's true. This will always happen, in every aspect of your life. And yeah it'll suck. Put a lot of work into something, get these high hopes that it'll do great and so many people will love it, then it doesn't work out quite that way and you get sad, hurt even. Then you see someone else who may not have been accurate to the character or you feel didn't do as well getting so much more attention and you get jealous. But to be fair, you honestly don't know just how much work they did or didn't put into it. You also don't know how hard it might have been for them to put on the cosplay. A lot of people aren't comfortable with their bodies but are trying to be, or just found the confidence and made the decision to be proud and this is one way of tackling it. You can't hate them for it. It sucks, yes it does. But you'll just have to work harder, keep trying, try new things, whatever... just don't quit. Things won't always be fair. A lot of things will be harder for you then it is for other people, and you'll have to try harder and put more time into it than someone else. They have their own struggles though, so it's not like their life is absolutely perfect and they have all the luck, you probably just won't ever get to see or hear about it. You're always going to find someone better, more popular, etc etc. Don't let that stop you and don't hate them for it. Just keep doing your own thing and you'll get there. People have the ability to love, admire, be fans of, whatever as many people as they want, so I'm pretty sure it's not like there won't be room. And of course, then there's the people who are like "they're just doing it for attention, they probably don't even play video games/watch anime/etc". But come on, is there anyone out there who is really going to put all that time and money, sweat and tears into cosplaying someone or something they have no idea what it is or is from? No. Now they may not be an expert, knowing every little detail or even finished the game/series but they'll probably at least know something. They don't have to be a know-it-all on the topic just to cosplay it. In fact, some cosplayers will cosplay a character they have never seen before just because they love the costume design. The closest you're probably going to find to a sexy cosplayer who knows nothing and is just seeking attention is probably some sexy Pikachu (comic relief people, keep that in mind xD). Buuuttt... even then, I'm pretty sure they've all had at least some experience with Pokemon or at least Pikachu since it's usually a part of everyone's childhood. You can't keep judging a book by it's cover. And if they really are doing it purely for the attention and no absolutely nothing of what they're cosplaying, so what. Just let them be. Let people who wanna admire it and be a fan of it do so and you can just choose to ignore it. They probably have other reasons or hope this will lead up to and help them achieve larger goals, so good for them. They're doing something that probably makes them happy and will help make them more successful in some way. They're obviously doing something right too, so it's not like they don't deserve the attention they're getting. I think the only time they wouldn't is if they were lying about being the creator of the cosplay or the cosplayer themselves (fakes on so many different social sites) and other situations along those lines of course. Sexy cosplays aren't a bad thing or something to rage over. I honestly never saw a problem with it. Yes, I've seen some cosplays I've found to be meh by but either I get over it or just ignore it. I don't smite and hate them for it though. I just say/think well it's not my cup of tea but good for them, and go about my way. If you don't like it then ignore it. It probably doesn't directly affect your life and it's not like it's hurting you that they're cosplaying this. You may be "the biggest fan ever" but that doesn't entitle you to being the gate keeper of the fandom. If you don't like sexy cosplay, my advice to you is just to ignore it. (I'm also wondering how do you not like boobs?? Like whaa? xD). But no really. Just ignore it. No need to dwell on subjects and topics that make you angry or unhappy. At that point you're just bringing unneeded negativity into your life and it's no one's fault but your own. And trust me, dwelling on the negatives won't get you anywhere's and will only leave you miserable. So ignore these things that don't affect you and focus on things you do enjoy. Most of the time you see these cosplayers on social sites or at cons. It's very simple to just scroll past it or keep walking. ~Positive outcomes only! :) I've been considering selling prints, but that's only if anyone's even interest? ;^^ ~And once I have a bit more variety in my cosplays (which I should soon!). I just always thought it looked like a fun idea and a fun way to make some spare cash to help with future cosplays! >< They'd be signed of course (if wanted), along with any little message you'd want and what not (that always seemed like the funniest part! xD ). So far I was thinking these photos? (They'd be unwatermarked in the prints too, btw).
  It'd also have to wait till I figured out how to even get prints made and what not.
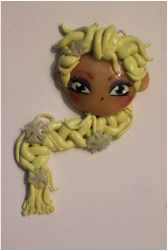
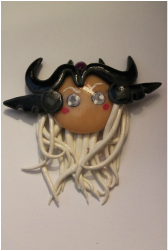
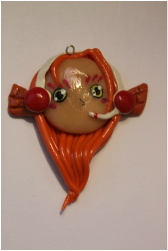
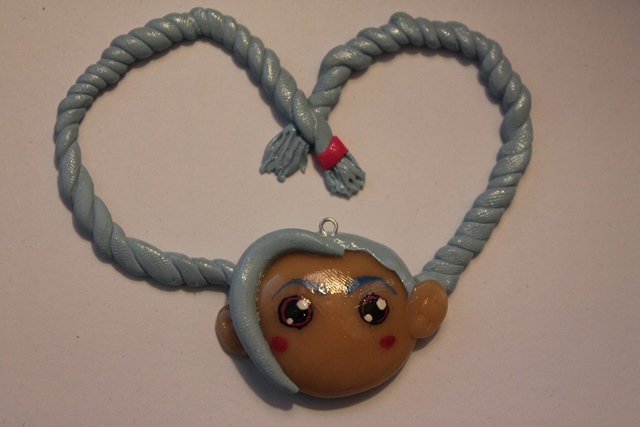
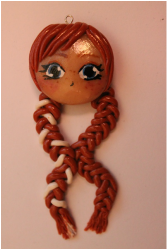
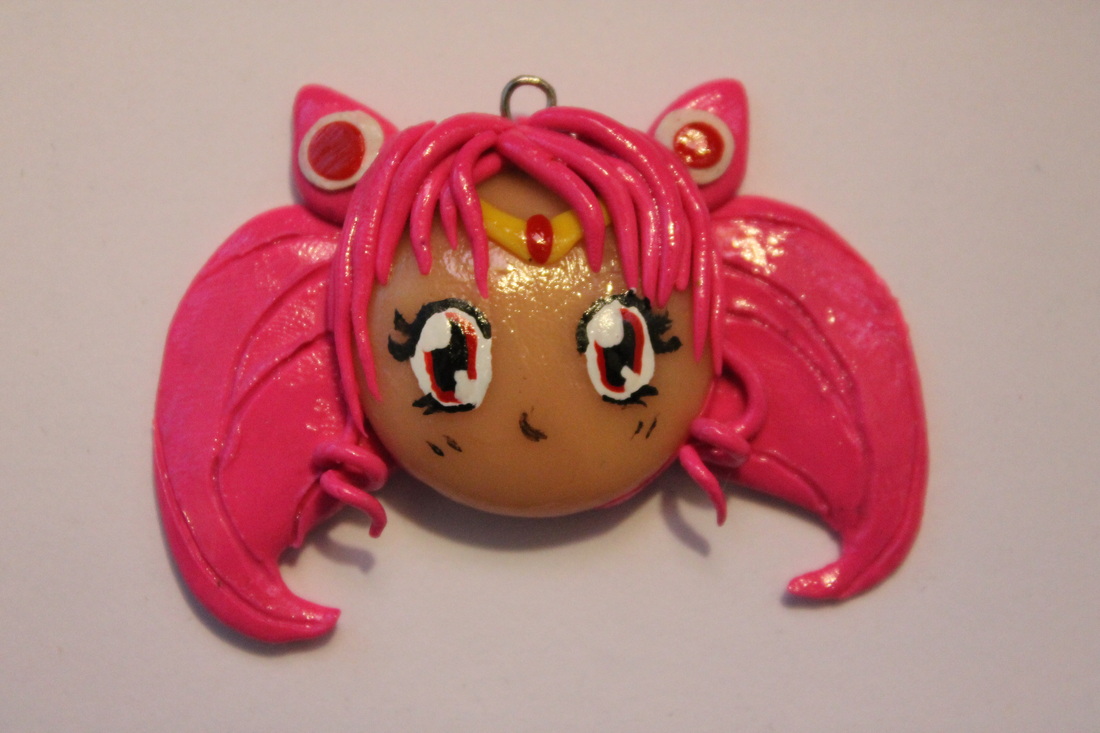
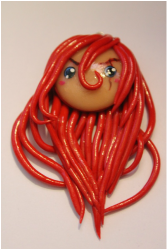
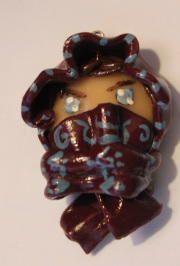
Yeah, but if anyone's interested I guess I'll look more into it. Until then! :D ~Positive outcomes only! :) I recently re-visited making polymer clay charms again. So I added some of the newer ones to my storeny and re-opened it. I'm not sure how long I'll keep it open though. But here's so photos of the most recent charms I just added. :)
For as long as my store is open I will be willing to do custom orders. ~Positive outcomes only! :)
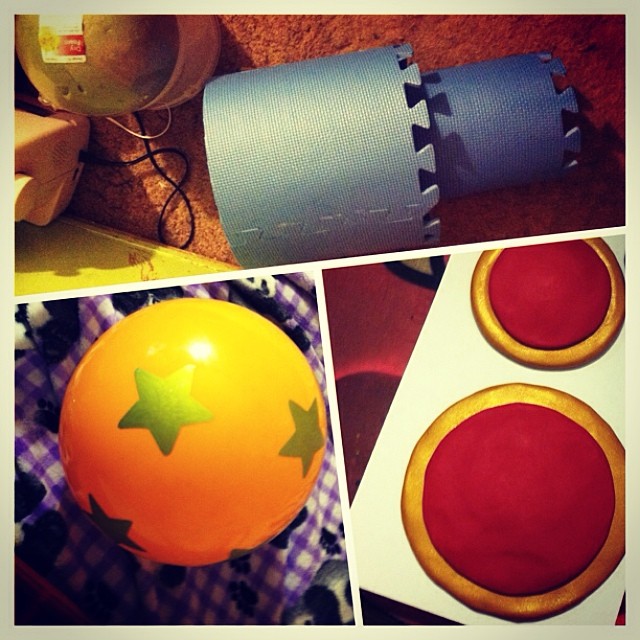
Here's how I made Pow Pow, Jinx's mini gun from the video game, League of Legends.
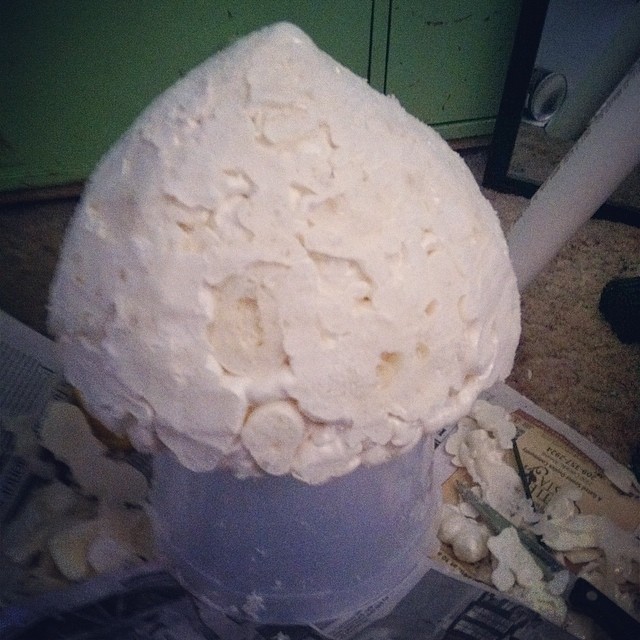
For the base of the end I took an old ice cream bucket and removed the handles. I also picked up a dome/half circle of floral foam at Walmart. 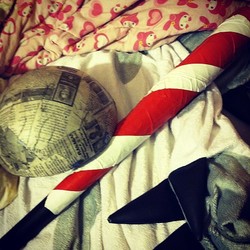 Floral foam is easy to break and crush and very fragile. So using it as is isn't a good idea. In order to make it sturdy I wrapped it in quite a few layers of paper mache and let that dry.
The reference photo I used and preferred had a funnel shape look for the end of her mini gun. In fact, a person who made that design said they used a giant funnel. Since I couldn't find a large enough funnel I used floral foam and expanding foam. I first attached the floral foam onto the bottom/underneath of the bucket using hot glue and super glue. Then I covered the floral foam in expanding foam adding more to the top rather than the sides. After that dried I used a box cutter and steak knife to give it the shape I wanted. If you're wanting to get the shape of how it is in a majority of her photos and game model you could easily follow the same steps and shape it more squared and angled with the steak knife and box cutter. Cardboard could even be used instead. Paper mache that once it's done.
For the handle toward the front I took a Styrofoam disk with the center cut out and covered it in a few layers of paper mache. For more information on how to paper mache refer back to my How I Made Fishbones post. 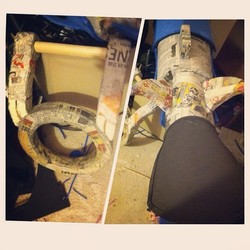 For the handle part of that piece I cut out the original shape in cardboard. Then covered both side (one side at a time) in expanding foam and shaped it once both were dry. Paper mache that. Next I cut a piece of a wooden post to a tiny bit longer than the length of the Styrofoam disk. I carve out a shallow notch, in the shape of the ends of the wooden post, into the sides of the handle and glued it in there using both hot glue and super glue. Now that the actual handle is finished, I attached that entire thing onto the Styrofoam disk with both super glue and hot glue. If you want even more security and nut and bolt on both ends could work too. 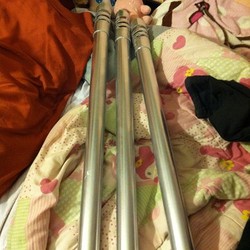 For the barrels I made the ends using craft foam but first cut out a pattern using just normal paper. I didn't have access to any, but it's recommended to use a plastic primer for spray paint before painting the barrels. Once you're ready spray paint it with metallic paint. Since the ends are pink I later went and wrapped a sheet of paper around each barrel just under the craft foam part and then spray painted it. Remember to seal all craft foam pieces with before hand. For the rest of the attachments I used a mixture of craft foam and expanding foam. For other two pieces that go around the barrels I used crafting foam. I cut out a circle then places the pvc pipes ontop of that and traced 3 smaller circles into that then cut it out -this makes sure it'll fit right around the barrels. For the handle at the end of the mini gun I used a card board cut out of the shape I wanted and cover it with expanding foam, shaped it and then covered it in paper mache and attached it with super glue and hot glue. I did the same for the small hook-like piece that comes off of that. The vent-like design on the side is made from crafting foam as well. I first cut out the pattern on a normal sheet of paper then traced it onto crafting foam, cut that out then glued it to the funnel part with hot glue. For the bucket part, I once again used craft foam and cut out little half oval every inch or so across a long rectangular craft foam piece. I used hot glue to attach it. I took all those pieces out and spray painted that. For the front handle I just spray painted the whole thing pink then went back later and used acrylic paint to paint the handle brown and add slight wood detailing. For the bottom piece I first spray painted the entire bucked with metallic grey paint, once dry I wrapped that in paper and spray painted the funnel part with the pink paint. I'd later go back and use an orangey-yellow color for the cut out half oval pieces of the bucket, and using the same technique and paint as I did with the wooden part of the front handle, I painted the back handle. Note: The reference photo I used had wooden handles and the back one looked barrel (like wooden barrel, think root beer or something) shape. 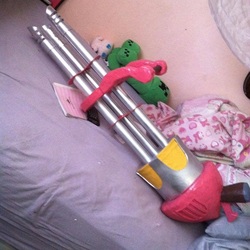 I also cut out a circular piece of craft foam that fit in the opening of the bucket and had 3 smaller cut outs that fit the pattern/shape of the pvc pipes and painted that with the metallic grey. I slide all the pieces onto the barrel then placed them where I wanted them in the bucket and filled it with expanding foam. I used the expanding foam like glue since I knew it'd be the sturdier option for keeping the pvc pipes in place. Keep in mine you're going to have to sit there for 5 minutes holding them as still as possible while the expanding foam sets and then have some set up so you can have the barrels facing upwards, to finish drying completely for the next like 15 hours. I'd later go back and super glue and hot glue all the rest of the pieces on the barrel in place. If you have longer nuts and bolts available to you, I'd recommend attaching those through the bottom of the Styrofoam disk and the two bottom pvc pipes for more security. The ears were cut out in craft foam and painted with acrylic paint. I just attached those with hot glue to the Styrofoam disk. And the bottom piece was made from two identical pieces of cardboard and expanding foam. I covered one cardboard piece in expanding foam, let that dry, cut off the excess around the side then made the top (top as in when it's laying flat on what would technically become the side after it's attached) as even as possible then hot glued on the other piece of cardboard. Then I went around the sides/edges and covered it in craft foam. I also traced out that same shape (as the cardboard) 2 more times in craft foam, only with a center piece of the cut out as well, and glued that onto either side of that piece. Seal that and spray paint it pink and once that dries paint the middle (that was cut out from the craft foam) purple using acrylic paint. Go ahead and attach that to the underside of the mini gun using hot glue and super glue to glue it onto the bottom of the bucked and bottom of the front handle. I shadowed and highlighted everything using oil paints. I'll probably make an entire post on highlighting/shadowing, like where's best later on (or someday xD) but for more tips check the Fishbones post (posted right before this). I used a guitar strap to carry it, making a loop with one end and looping it around the top pvc pipe just behind the front handle and bolting it to the bucket piece on the side that rests against me.  And finished. :) Hope you all enjoyed this post and/or found it helpful.
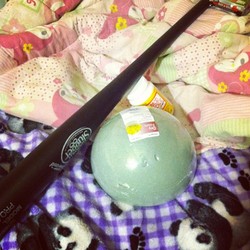
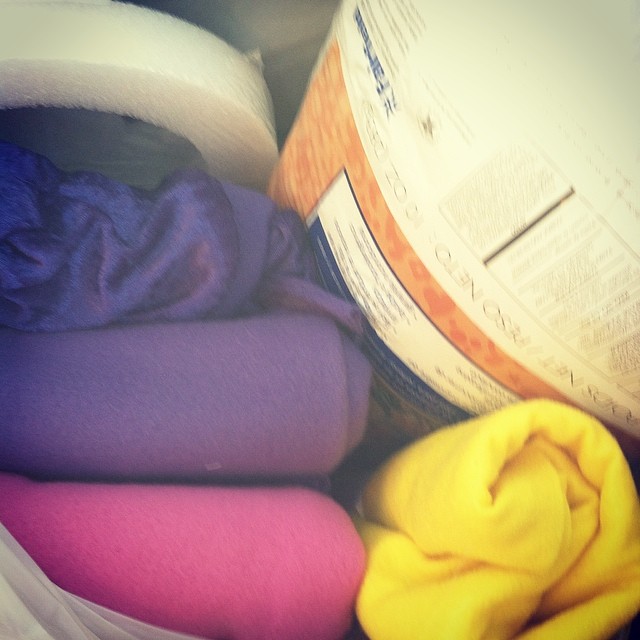
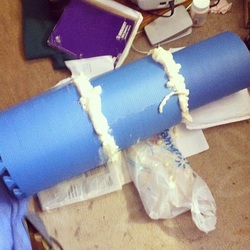
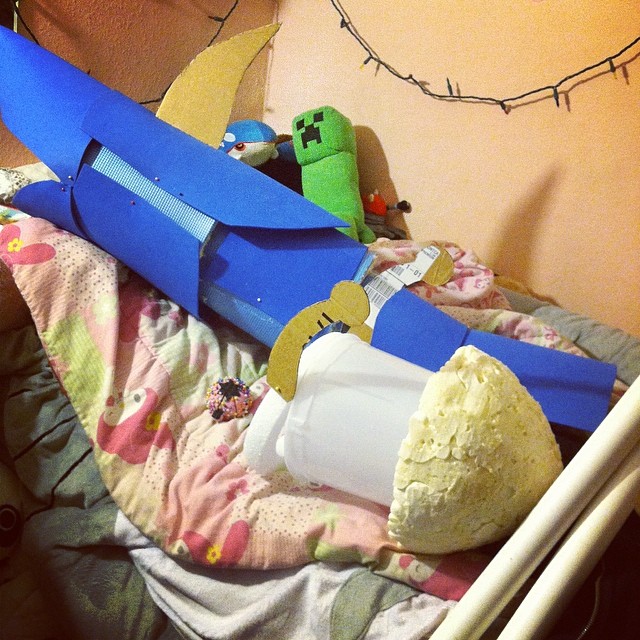
~Positive outcomes only. Here's a little bit on how I made Fishbones, Jinx's rocket launcher from the League of Legends video game. So first I started off by gathering my supplies. I used a lot of different kinds of foam ~craft, EVA, expanding~ and glue ~super, hot~. I bought EVA foam squares (aka exercising mats) and turned those into the base of Fishbones. Most people used a large pvc pip or one long even strand of foam or something else that's sturdy. But at the time of making this it appeared to me that Fishbones had levels throughout it, although it could've been the different sizes of armor on him.  Either way, in order to achieve this look I took 2 squares and formed a circle with them (just by gluing them together it shaped correctly ~same with the rest) to create the first half. I took 2 and a half for the second piece and for the 3rd used a little more than 1. Reminder I was basing this off of the music video version of her, and in the exact paused scene I was referencing, Fishbones looked to be about as tall as she is. All the cosplayers of Jinx I've come across go off of the video game model when it's miniaturized on her back, so if mine is looking over-sized, that's why. I wanted to go all out huge. A rocket launcher would be huge in reality anyways xD.
To attach all the pieces together I laid them so that the little "teeth" on the bottom piece of each would lay just after the little "teeth" on the top piece. Basically I just laid them inside each other until it looked about even. Then I placed the bottom two on top of different sized objects (books) to get it so that the piece would lay center with no foam pieces actually touching each other. And then I took a can of expanding foam and foamed all around the lower piece and inside of the large piece (using it like glue but to fill in the gaps as well). Since the foam expanding a lot more in some parts than others, I had to go back through with a knife (or a long bladed box cutter would work) and remove some of the foam (in curved cuts) to let the eva be able to even out and make everything as even as possible. Once I did that I finished it off by removing all the excess foam on the outside (I didn't bother with the inside, that part will be blocked off anyways).
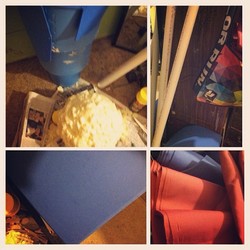
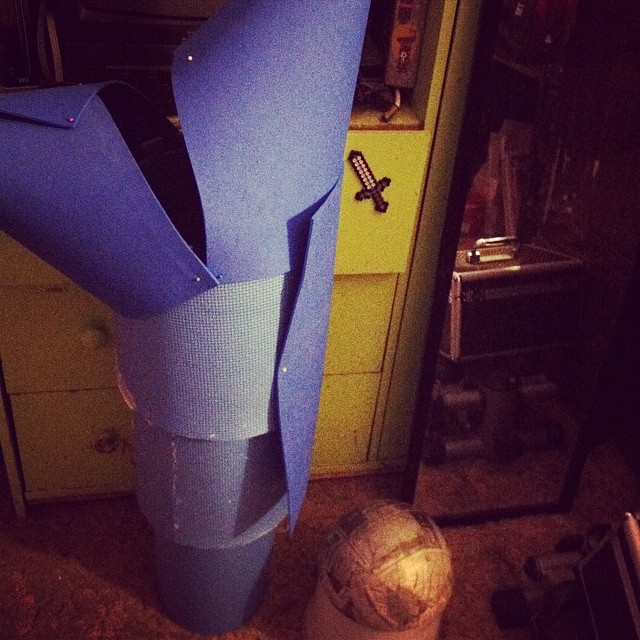
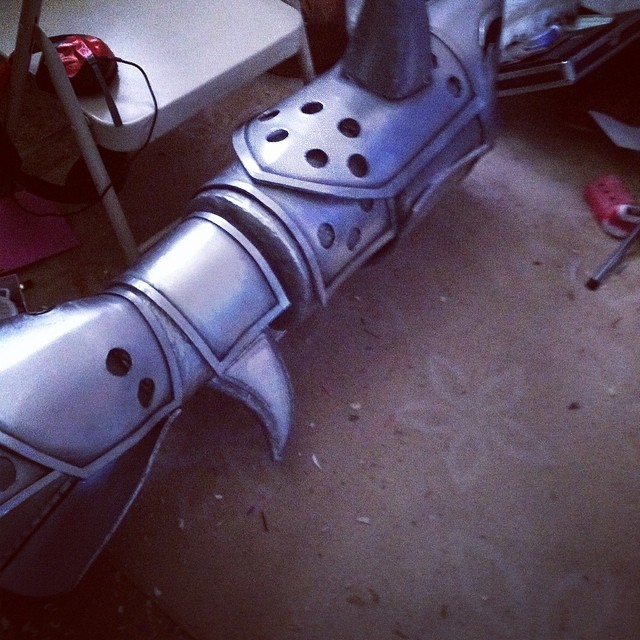
Next, I used craft foam to make the armor pieces. Before cutting anything I laid it out and pinned it (using sewing pins) to the eva foam and drew out a rough sketch of the shape I'd want it at using a pencil (and light pressure!). For the fins and the handle I took a cardboard outline and covered it in expanding foam, shaped it with a box cutter and steak knife, then paper mache-d those. I made the handle larger because I've planned to revisit this and alter the prop when I have money for it. I found a small portable fog machine online that has a small switch box for it so the handle is designed for me to be able to cut out and place the switch box inside of it with the flips sticking out and just poke a hole through the bottom (which means wiring has to be detached and reattached but whatevs :P) and it'll be able to be strung through the prop and connect to the fog machine. I also wanted to wire in lights to the switch box as well. But that's for a later date. In order for that expected mess and the current mess to be nicely hidden I cut out circular shapes out of craft foam, one that'd fully cover the back and fill the hole completely and another for the front that covers most of it but leaves spaces so that the fog could still get through. To attack these I took all the extra teeth that I had cut off of the eva foam from earlier, stacked them up and glued them to be the same height as the 2 different levels and glue them into the props then the circular pieces onto that (it also made the prop sturdier). So that the tails fins at the back would be sturdy when getting knocked around a bit I took thin wooden sticks/post (circular onces) and attached that to the center underneath/inside of each fin with glue. I also used a knife to cut in ridges every so often so it looked like it'd was metal piping or wiring and fit in with the rest of the prop. For the outline of the armor I cut thin (maybe an inch or 1/2 an inch) of craft foam and glue it onto the armor pieces. The teeth where triangle shapes cut from craft foam as well and attached to the head with hot glue.  Before gluing anything onto the base I unpinned it all and took it all off so that the base could be paper mache-d. There's a rough side and a smoother side on this eva foam but I when with the rough side (mostly because for me it didn't matter). In order to paint foam you have to seal with (either with wood glue, or plastic dip I hear works) ~it was out of my budget though either way, but old news paper and .79 cent Elmer's glue mixed with water wasn't! That's how you paper mache by the way. Take either the more expensive mod podge (which I did once because I didn't know ;-; ) or Elmer's (craft) glue and mix it with equal parts water. Paper mache will make some areas a little wrinkle-y though. Just as a heads up. In photographs its an easy fix with lighting and smoothing it in editing but it may be noticable especially when close up a conventions. 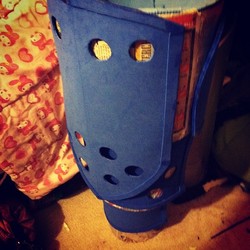 Once that's dry go ahead and attach all the armor pieces. Once that was mostly attached I went ahead and used a box cutter to cut out the holes in the armor. Using light pressure and a cardboard sheet underneath, I made sure I didn't cut through the Eva foam. In order to get even hole sizes I used a spool of thread and traced that lightl with pencil. I eyeball-ed the spacing between each though. I attached the head pieces on, so that they'd be movable, using nuts and bots. It's easy to just poke a screw through the foam so you're going to need a nut at the end of it so that the screw doesn't just slide out and you can tighten it enough to make the head stay in place and not just easily flop back down or fall off. 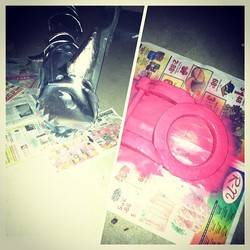 Once that was all done I went ahead and painted all the armor pieces with wood glue to seal it. A smarter quicker (but slightly more expensive way) to coat it is with different sealers (like plastic dip) or spray wood glue ~I already owned lots of wood glue (thanks grandpa!) so I used what I had. Once that's all dried I took it outside, laid down some new papers and coated it twice with metallic "aluminum" colored spray paint.
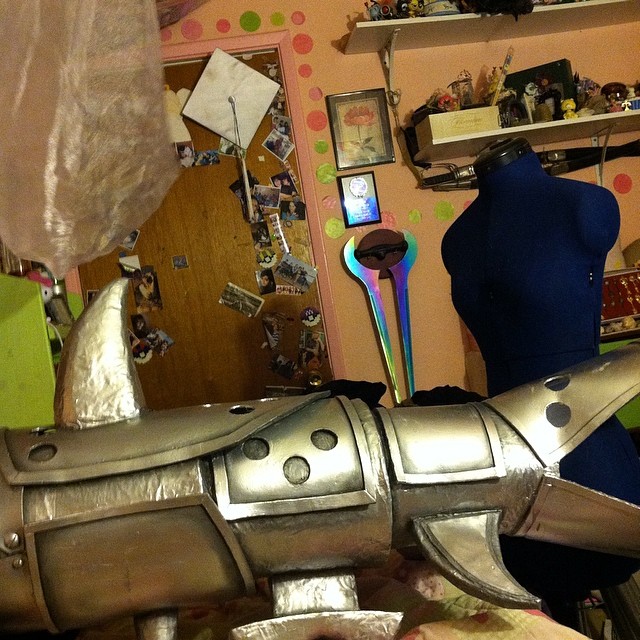
For the shading and highlighting I used oil paints I bought from walmart. Acrylic paints work too but it dries a lot faster and can be more difficult to blend. Oil paints take a day or two until they're completely dry and are easy to smudge out and blend. I shadowed every ridge, the more underneath something (whether it be a prop or another piece of armor) that more shadow and darker of shadow I made. For the highlighting, I highlighted just a long, very thinnly, along the corners of the ridge of the different pieces of armor. I also took a small amount and blended, blended, blended it along the top curvatures of the head piece and fins. Once the highlighting and shadowing was done I coated once more in gloss-y, non-yellowing clear spray paint. I wanted it to still look metallic and oil paints dull out and matte that areas they're in but the gloss paint fixed that. For the eyes I took a sheet of plastic (a plastic bag jewelry came in ~same material of the bag wigs come in) and painted it. I did this so that the lighting in the future could show through it and make the eyes look like they're glowing that color. ~I actually attached a flashlight (a small one) at the con using duct tape (ghetto??? xD ) and it worked like I wanted :3 Although it wasn't noticeable in the lighting. If you have a brown belt go ahead and use that for the belt around fishbones. I didn't have one to spare though so I just used some belt-like fabric I had and shaped a belt buckle out of polymer clay. Then glued that all on. 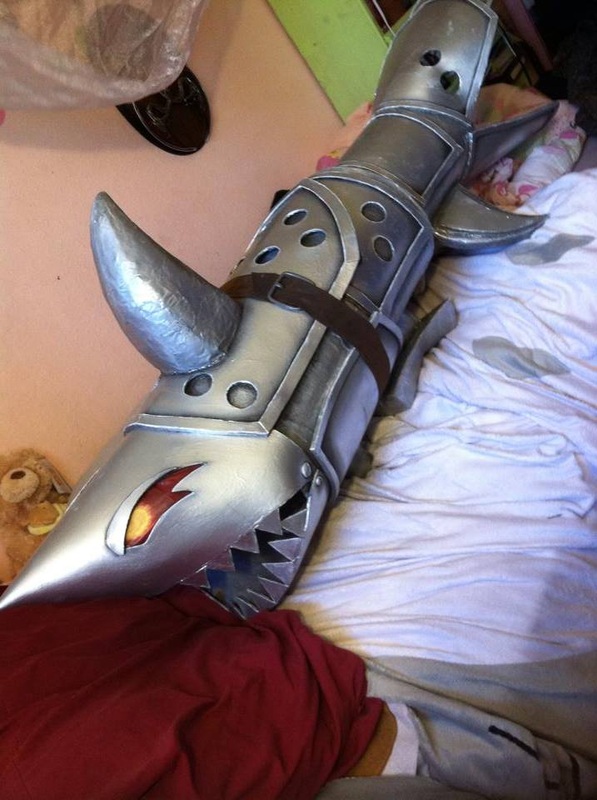 And finished!
I wasn't 100% happy with this. I could do better, especially if I had better material and the right ones. But for what I had to work with I am happy with the outcome. Oh and in order to carry it around, at the convention I attached a guitar strap to the underneath using 2 nuts and bolts (same technique as the head). It turns out this post is a lot more than a little bit? o.O ~Positive outcomes only :) |
Arlena FaeCosplay Tutorials. Hauls & Reviews. Photography. Rambles and Advice. Categories
All
Archives
August 2018
Use the code: "arlenafae" for 10% off purchases at:
http://fashionkawaii.storenvy.com/ |


 RSS Feed
